Polka Dot Nail Designs for Short Nails
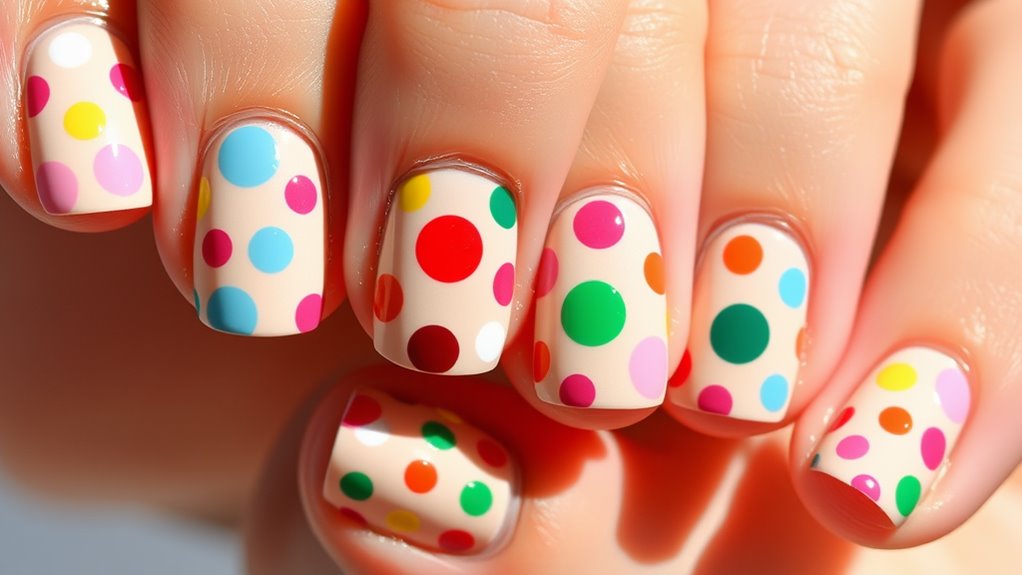
Polka dot nail designs are a fun way to jazz up your short nails! Start by picking bright colors like hot pink or sunny yellow, or go for soft pastels if you want something more subtle. You can use a dotting tool or even a bobby pin to make perfect dots. Mix up sizes for a playful pattern! After you’ve created your masterpiece, seal it with a top coat to keep it shiny. Don’t forget to give your nails some love by moisturizing them! If you keep going, you’ll discover even more tips and tricks to perfect your nail art!
Choosing the Right Colors
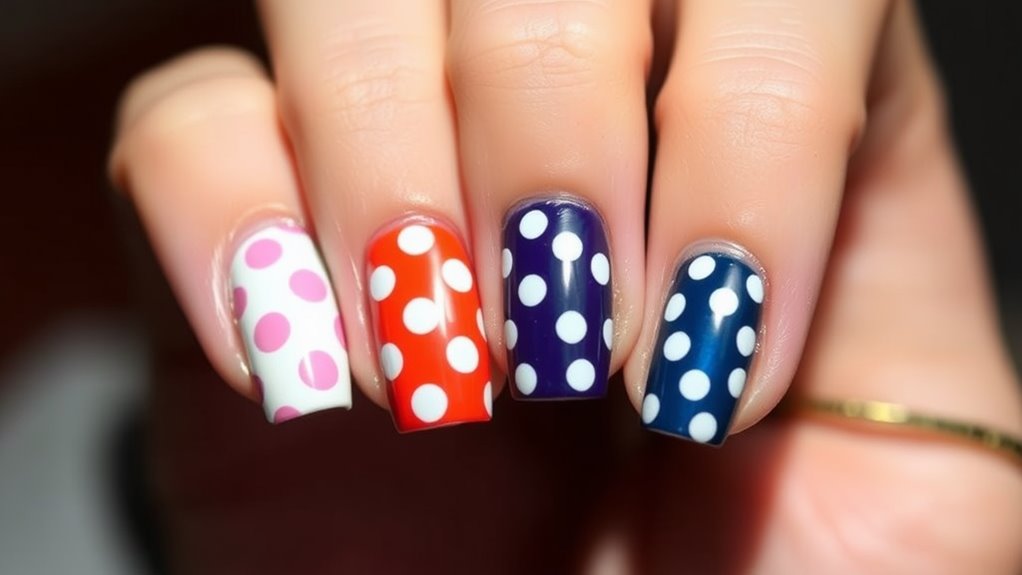
When it comes to polka dot nail designs, picking the right colors can make all the difference. You’ve got a blank canvas on your nails, and the colors you choose can totally change the vibe of your design.
If you want a fun and playful look, think about bright colors like hot pink, sunny yellow, or electric blue. These shades pop and bring a smile!
On the other hand, if you’re aiming for something more elegant, consider soft pastels like lavender, mint green, or a classic white. These colors are subtle but still stylish. You can also mix and match! For example, a light pink base with dark pink dots can create a cute contrast.
Don’t forget about seasonal colors, too! Spring yellows and greens can brighten up your day. In fall, rich oranges and deep reds can feel cozy.
And hey, if you’re feeling adventurous, try a metallic shade! Silver or gold polka dots can add a touch of glam.
Ultimately, the colors you choose should reflect your personality. So grab those polishes, let your creativity flow, and get ready to rock those polka dots!
Tools for Perfect Dots
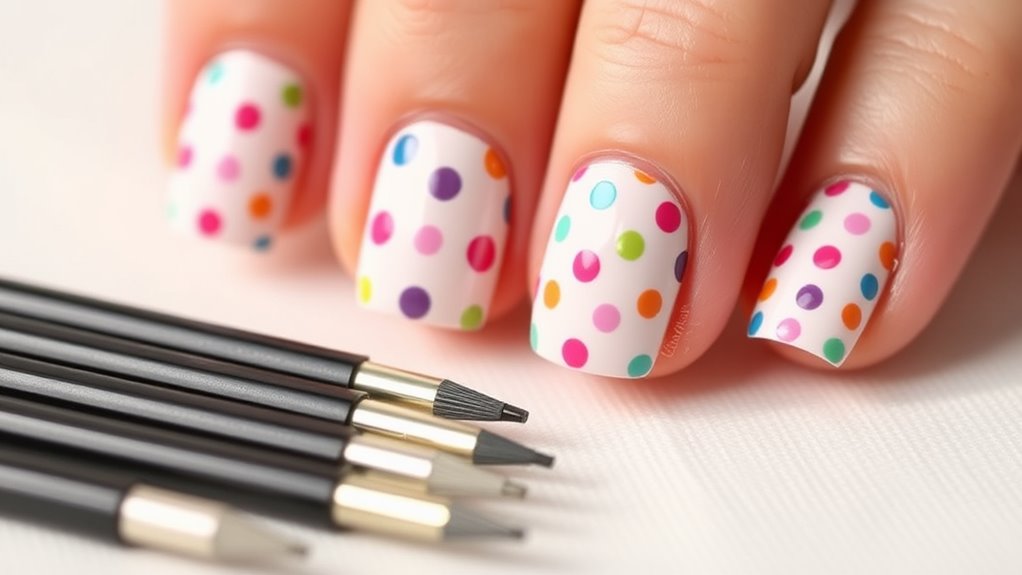
To achieve perfect polka dots on your nails, having the right tools is essential. First off, grab a dotting tool. It’s a handy little gadget that comes with different-sized tips. You can find them online or at beauty stores.
If you don’t have one, don’t worry! A bobby pin or toothpick works just as well. Just dip the end into your nail polish, and voilà!
Next, you’ll want a good quality nail polish. Choose bright, bold colors for a fun look, or soft pastels for something sweet. Make sure the polish isn’t too thick; otherwise, your dots might turn into blobs!
Also, consider using a base coat. It helps the polish stick better and makes your dots pop.
Don’t forget a top coat, too! It’ll seal the design and give your nails a nice shine.
Creative Dot Patterns
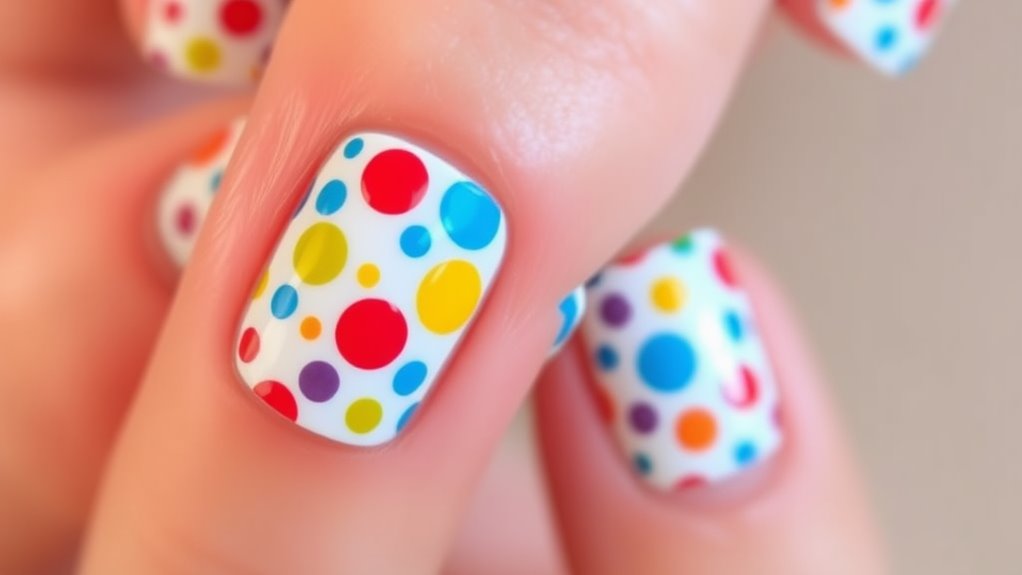
Polka dot nail designs offer endless opportunities for creativity, allowing you to mix and match colors and patterns to showcase your style. You can get super playful with your dots!
Start by choosing a base color that makes you happy, like a bright pink or a calming blue. Then, think about the dot colors. Maybe you want to use white and gold for a classy look, or go wild with neon shades for a fun vibe.
You can create different patterns too. How about alternating large and small dots? This adds depth and interest.
Or, try creating a grid pattern with dots evenly spaced out. It’s like a little game on your nails! If you’re feeling adventurous, you can even layer dots by placing a smaller dot on top of a larger one.
Step-by-Step Application Tips
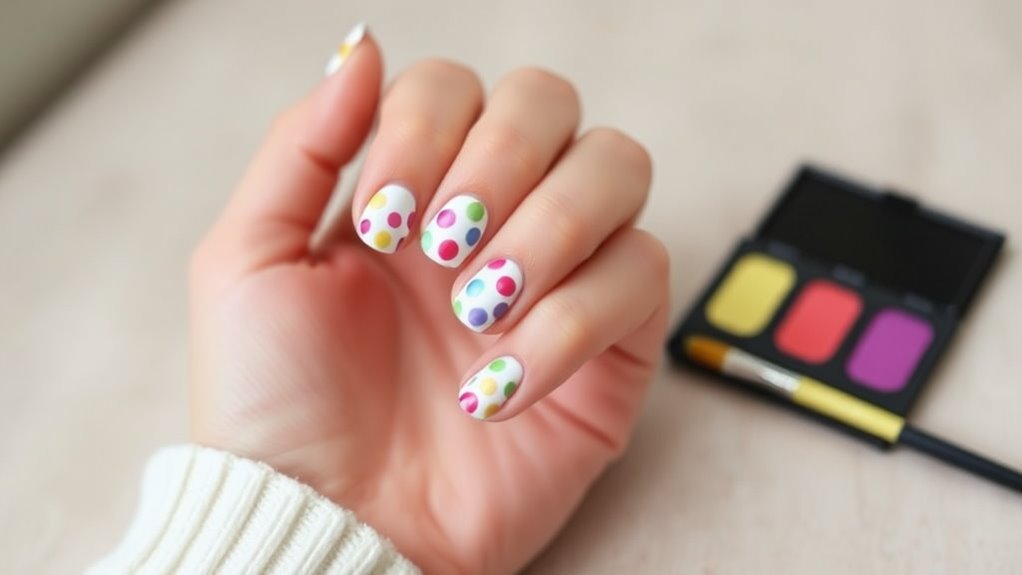
Getting the perfect polka dot nail design is easy with a few simple steps. First, start with clean nails. Remove any old polish, wash your hands, and push back your cuticles.
Next, grab a base coat and apply it to your nails. This will protect them and help the polish stick better. Once that’s dry, pick your favorite nail polish color.
Now, here’s where the fun begins! Using a dotting tool or even a toothpick, dip it into a contrasting polish color. Don’t worry if you don’t have a dotting tool; a bobby pin works too! Gently press the tool onto your nails to create dots. You can make them big or small, spread them out, or cluster them together—it’s totally up to you!
Once you’re happy with your design, let it dry completely. Finally, seal everything with a top coat for extra shine. Voila! You’ve got adorable polka dot nails that show off your personality.
Just remember, practice makes perfect. So, if your first attempt isn’t perfect, laugh it off and try again!
Maintenance and Care for Designs
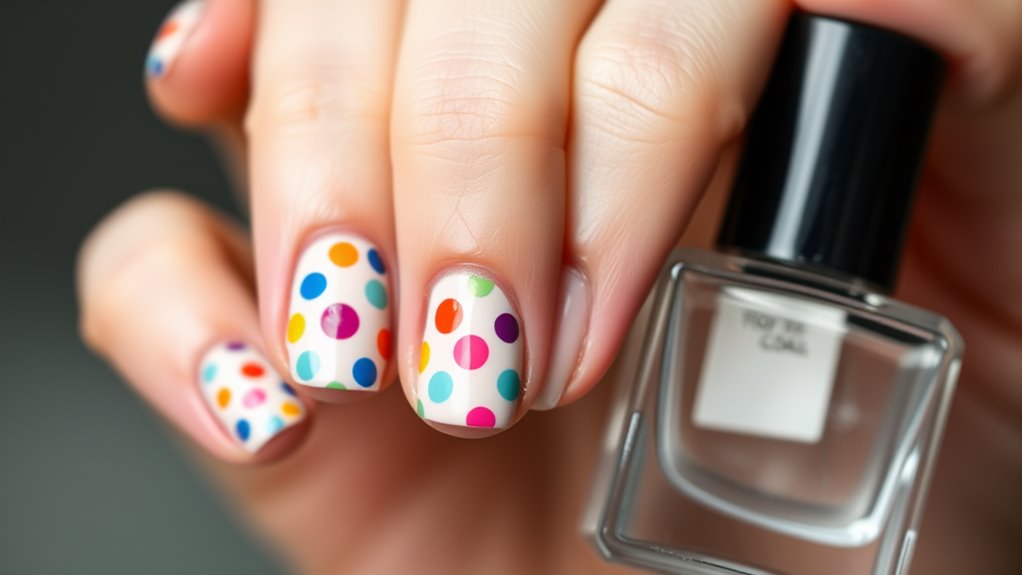
Maintaining your polka dot nail designs is essential for keeping them looking fresh and vibrant. To start, always apply a top coat every few days. This not only adds shine but also protects your design from chips and scratches. If you notice any fading, a quick touch-up with your nail polish can do wonders. Just dab a little color on the dots that need a boost, and you’re good to go!
Next, be gentle! Avoid using your nails as tools. Opening cans or scratching surfaces can ruin your beautiful dots faster than you can say “polka dot.” When washing dishes or doing chores, wear gloves to keep your nails safe.
Lastly, keep your nails moisturized. A good hand cream will help prevent dryness and keep your cuticles happy. Trust me, happy cuticles mean happier nails!
If you ever need a break from the design, soak your nails in warm soapy water, remove the polish gently, and give your nails a little rest.
Conclusion
Now you’re all set to rock those polka dot nails on your short nails! With the right colors and tools, you can create fun dot patterns that’ll make your fingertips pop. Just remember to follow those application tips for a flawless finish. And don’t forget to take care of your designs so they stay fresh and fabulous. So go ahead, grab your polish, and let your creativity shine! Happy decorating!

