Ombre Nail Designs Inspired by Nature
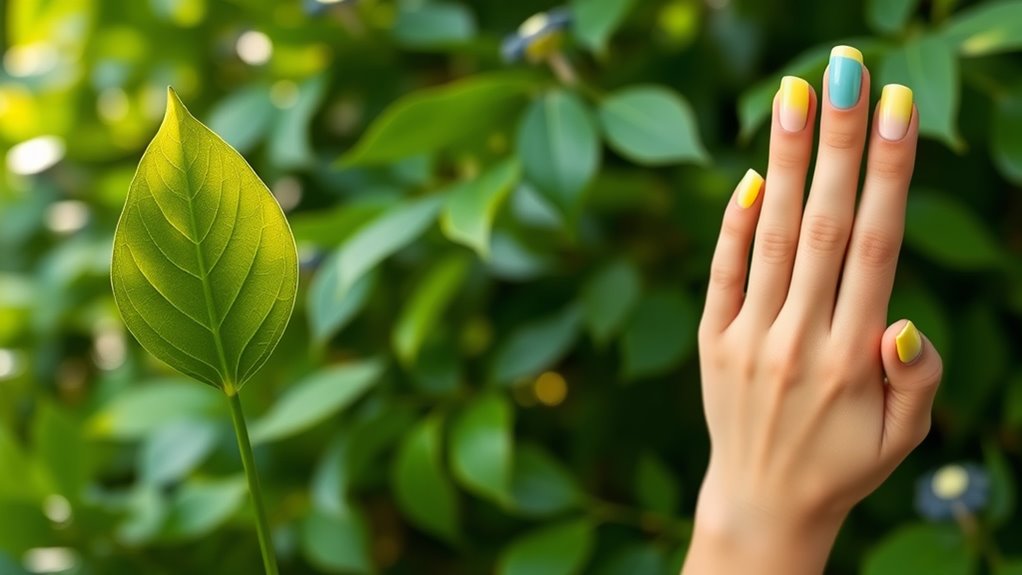
Ombre nail designs inspired by nature are a blast and let you explore your creativity! You can try floral gradients for a garden feel, or mix warm sunset colors like oranges and pinks for a stunning look. Ocean waves with blues and greens can keep things cool, while earthy tones reflect the beauty of forests. Want mountains? Blend soft blue skies with deep greens and white tips for snow-capped peaks! The best part? It’s all about layering and having fun! So, get your polishes and sponges ready, and let your nails tell a story that nature inspires! You’ll find more ideas waiting!
Floral Gradient Techniques
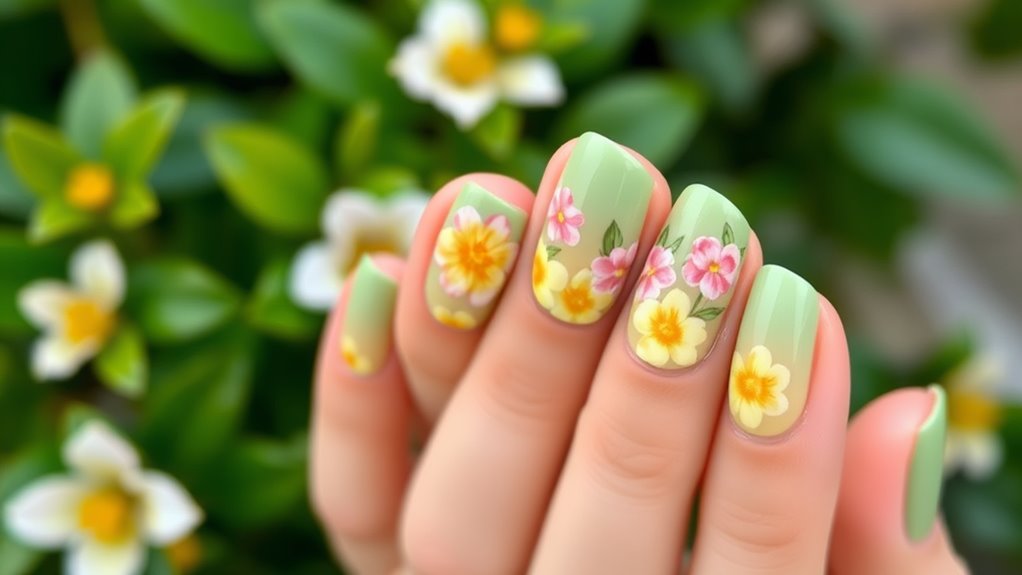
When you want to add a touch of elegance to your nails, floral gradient techniques are a fantastic choice. They’re like a garden blooming right on your fingertips!
To start, pick two or three colors that remind you of your favorite flowers. Soft pinks and vibrant yellows work well together, but don’t be afraid to mix it up.
First, paint your nails with a base coat in the lightest color. Once that’s dry, grab a makeup sponge and dab on the darker shades, blending them gently. You can create a smooth shift from one color to another, just like a beautiful sunset—except with flowers!
After you’ve achieved your desired gradient, apply a top coat to seal in your masterpiece. This will give your nails that shiny, polished look and help your design last longer. It’s like protecting your garden from pesky bugs!
If you want to take it up a notch, try adding tiny floral designs or some glitter to your nails for an extra pop. Floral gradients aren’t just pretty, they’re also a fun way to express your creativity.
Sunset Ombre Color Palettes
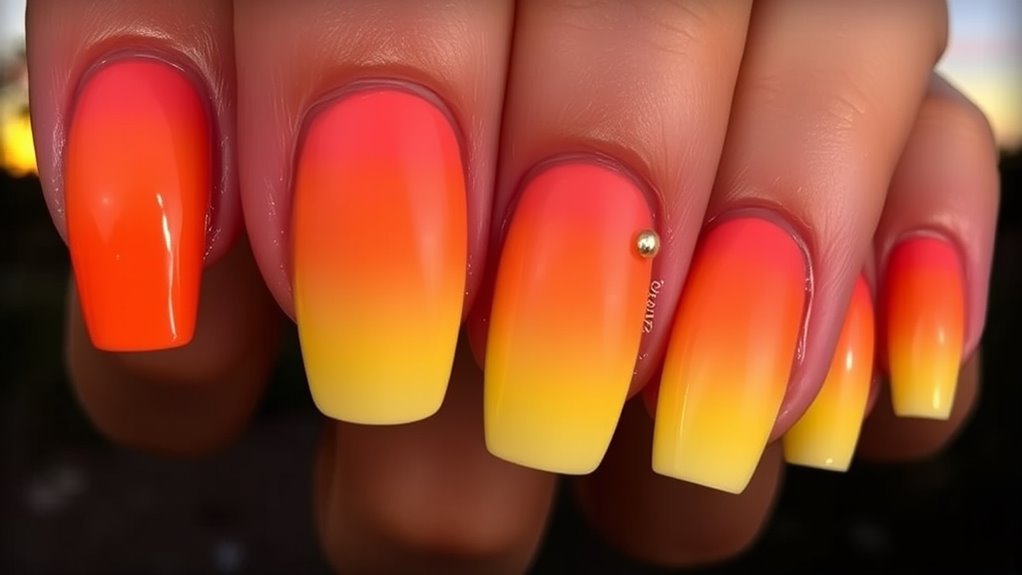
There’s something magical about sunset ombre color palettes that can transform your nails into stunning works of art. When you think about sunsets, you might picture bright oranges, soft pinks, and deep purples blending seamlessly together. That’s exactly what you want for your nails!
You can start with a warm yellow at the base, blending it into a vibrant orange, and then finish with a rich, purple tip. It’s like having the sky on your fingertips!
To create this beautiful look, you’ll need a few nail polishes in those colors. Don’t worry if you’re not a pro; you can use a makeup sponge to help blend the colors together. Just dab it on your nails, and voilà!
If you’re feeling extra creative, try adding a little glitter to mimic the twinkling stars that appear as the sun sets.
Plus, don’t forget to seal everything with a top coat; it keeps your masterpiece shiny and helps it last longer.
Ocean Wave Inspirations
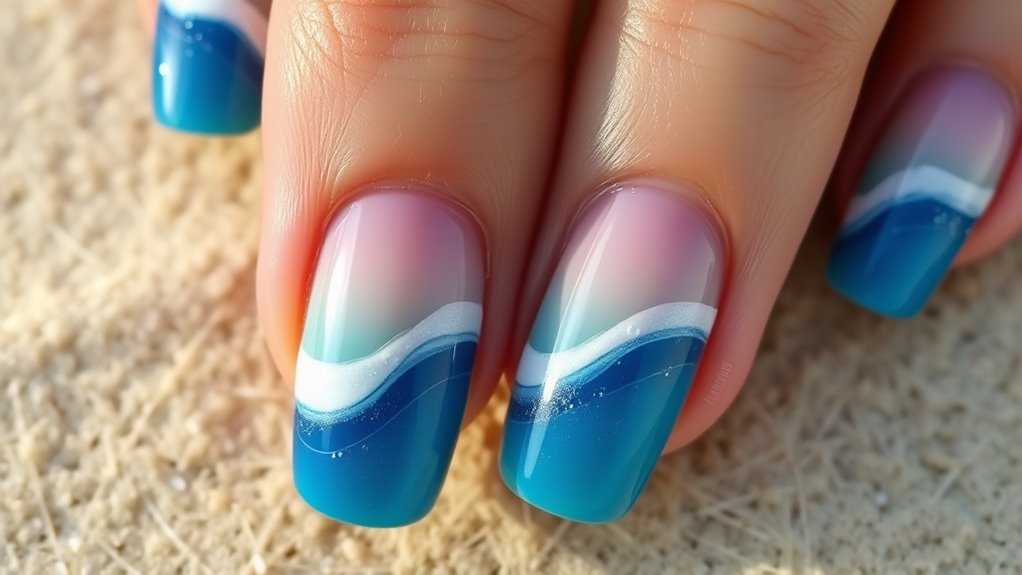
Inspired by the rhythmic beauty of ocean waves, you can create stunning ombre nail designs that evoke the tranquil colors of the sea. Imagine the gentle blend of blues and greens, like the water on a sunny day.
Start with a deep navy at the base of your nails, representing the ocean’s depths. Then, gradually blend in lighter shades, maybe a turquoise or seafoam green, moving towards the tips. It’s like bringing the ocean right to your fingertips!
To add a little sparkle, consider using glitter polish to mimic the sunlight dancing on the waves. You can even incorporate white tips to resemble frothy waves crashing on the shore.
Don’t worry if it seems tricky; practice makes perfect!
For an extra twist, try adding tiny seashell decals or starfish stickers over your ombre base. This way, your nails become a mini ocean adventure!
Forest and Tree Designs
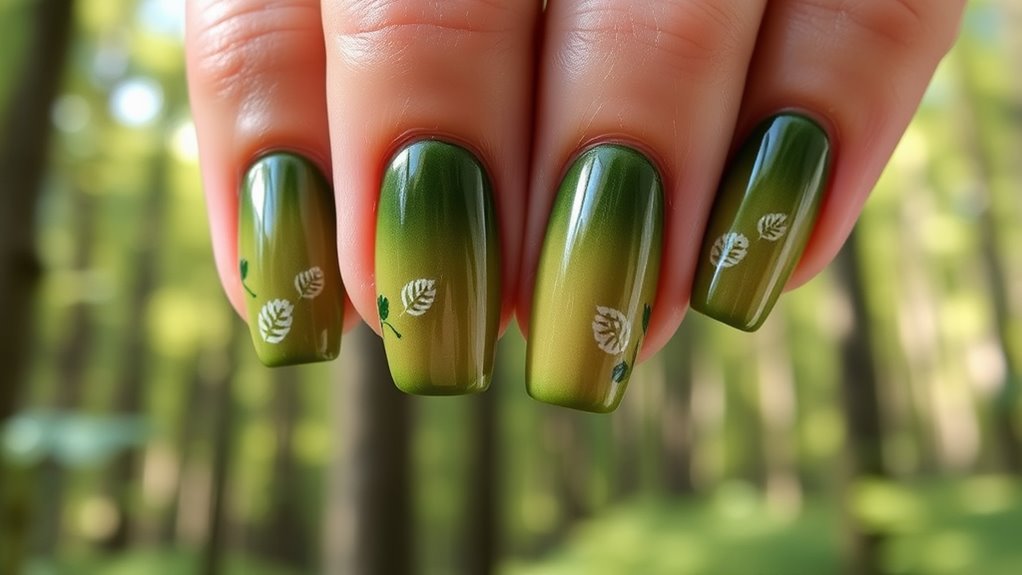
Amidst the serene beauty of a forest, you can create enchanting ombre nail designs that reflect the rich colors of nature. Imagine the soft greens of leaves blending into the warm browns of tree bark. Start with a light green at the base of your nails, gradually evolving to a deeper, earthy brown at the tips. It’s like capturing a forest in the palm of your hand!
To add some flair, try painting cute little trees on one or two accent nails. Use a fine brush to create tiny pine trees or whimsical oaks that peek out from the edges. You could even sprinkle in some glitter to represent sunlight filtering through the leaves.
For a more dramatic effect, think about using a sunset-inspired ombre with deep oranges and reds that mimic the colors of fall foliage. This technique lets you channel the altering seasons while keeping your nails looking fabulous.
Plus, with each glance at your nails, you’ll feel a little closer to nature, even if you’re just sitting in class! So grab your polishes and let your creativity run wild, just like the forest itself!
Mountain Scenery in Nails
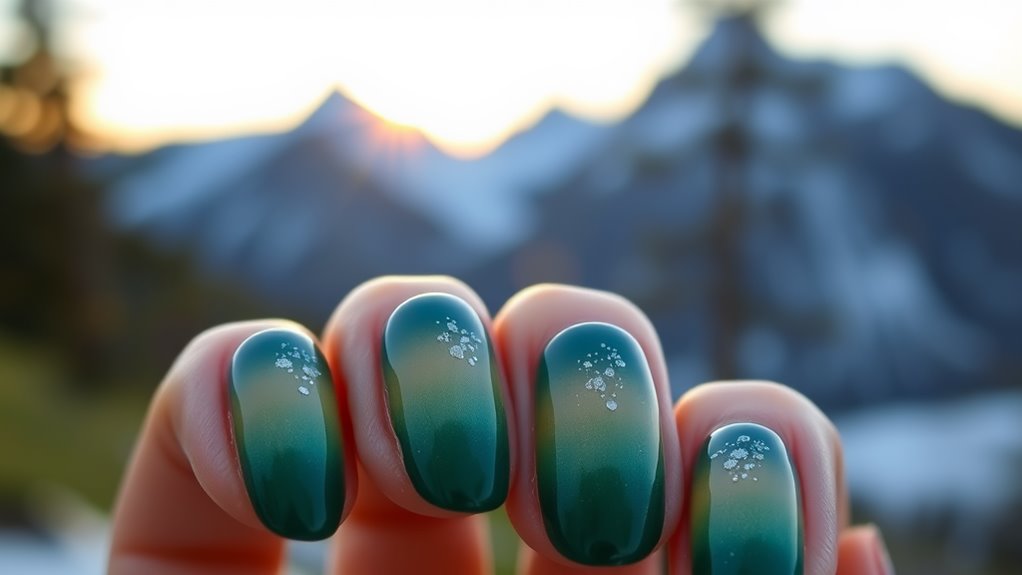
Mountain scenery can transform your nails into a breathtaking landscape that captures the majesty of nature. Imagine having those stunning peaks and valleys right at your fingertips!
To create this look, start with an ombre base. Choose a soft blue for the sky, blending it into a deep, earthy green for the ground below.
Next, use a fine brush or a toothpick to paint in mountain shapes. You can go for tall, jagged peaks or gentle, rolling hills—whatever speaks to you. Don’t forget to add some white tips to mimic snow-capped mountains. It’ll really make your design pop!
To finish, a topcoat will seal everything in and give it that glossy shine. Plus, it’ll add a little protection, so your beautiful nails stay looking fresh longer.
If you want to add a bit more flair, consider painting tiny trees or a sun peeking behind the mountains. It’s all about expressing your love for nature!
Desert Sunset Ombre Styles
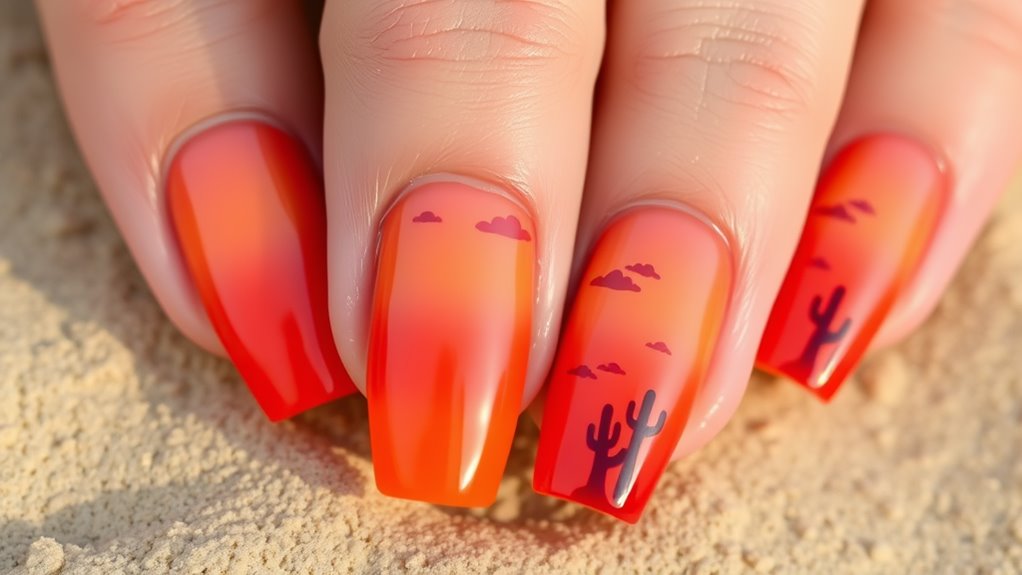
Creating a stunning desert sunset ombre on your nails can transport you to a serene evening where the sky meets the horizon in vibrant hues. You can easily achieve this beautiful look by blending warm colors like orange, pink, and deep purple. Start with a light base coat to make those colors pop.
Once that’s dry, apply a coat of your lightest shade, like a soft peach, as your base. Then, take a makeup sponge and dip it into your chosen colors, layering them from the tip of your nail down to the base.
Don’t worry if it looks a bit messy at first; that’s part of the fun! Just gently dab the sponge on your nails to blend the colors together.
After you’ve got that perfect gradient, seal it with a top coat for a glossy finish. You might even want to add tiny gold or silver sparkles to mimic stars twinkling in the desert sky.
Rainforest Color Blends
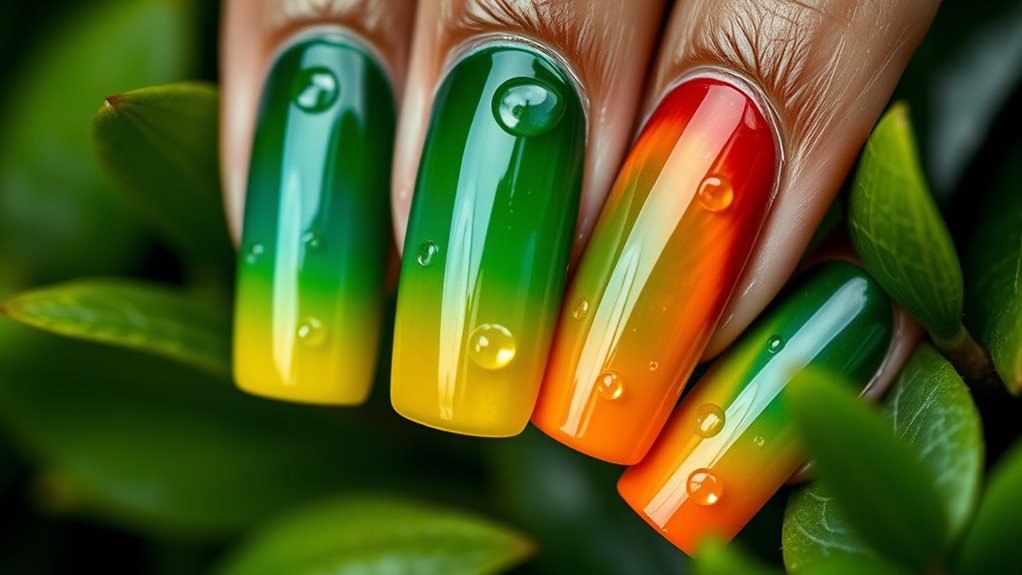
After capturing the beauty of a desert sunset, why not embrace the lush vibrancy of a rainforest with your nail designs? Think about the rich greens of towering trees, deep blues of hidden waterfalls, and bright pops of colorful flowers. You can create an eye-catching ombre effect that brings the rainforest to life right on your fingertips!
Start with a deep green at the base of your nails, blending it gradually into a lighter shade toward the tips. This mimics the leaves swaying in the canopy. Next, try adding a splash of blue at the tips to represent the invigorating waters. Don’t forget those vibrant flower colors! A hint of bright pink or yellow at the very tips can give your nails that tropical flair.
To add some fun, consider accent nails with tiny leaf designs or glitter to represent sunlight filtering through the trees. It’s like wearing a mini rainforest!
Sky and Cloud Effects
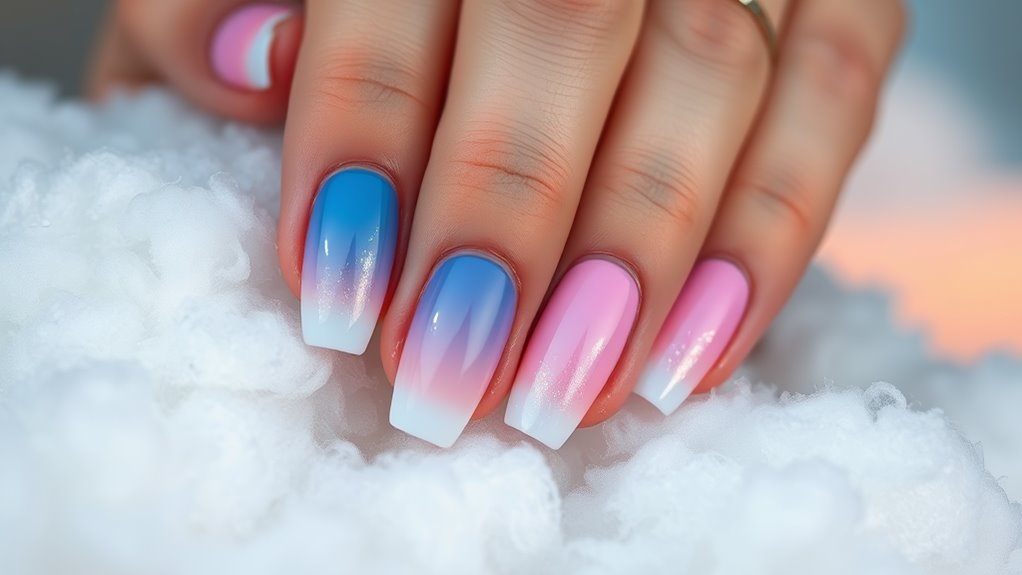
How can you capture the serene beauty of a clear blue sky and fluffy white clouds on your nails? Creating sky and cloud effects is easier than you might think!
Start with a soft blue polish as your base. You can pick a light shade that reminds you of a sunny day. Apply two coats for a nice, even finish.
Next, it’s time to add those lovely clouds. Using a small makeup sponge, dab on some white polish. Make sure to use a gentle stippling motion; you want those clouds to look puffy and light, not like you’re trying to cover the whole sky!
You can even mix in a bit of gray for some shadow, giving your clouds depth.
Once you’re happy with your sky and clouds, seal it all in with a clear topcoat. This not only makes your design shine but also keeps it lasting longer.
And remember, if you get a little paint on your skin, don’t stress! Just grab a cotton swab and some remover.
Embrace your inner artist, and enjoy the compliments when everyone notices your beautiful sky-inspired nails!
Seasonal Nature Ombre Trends
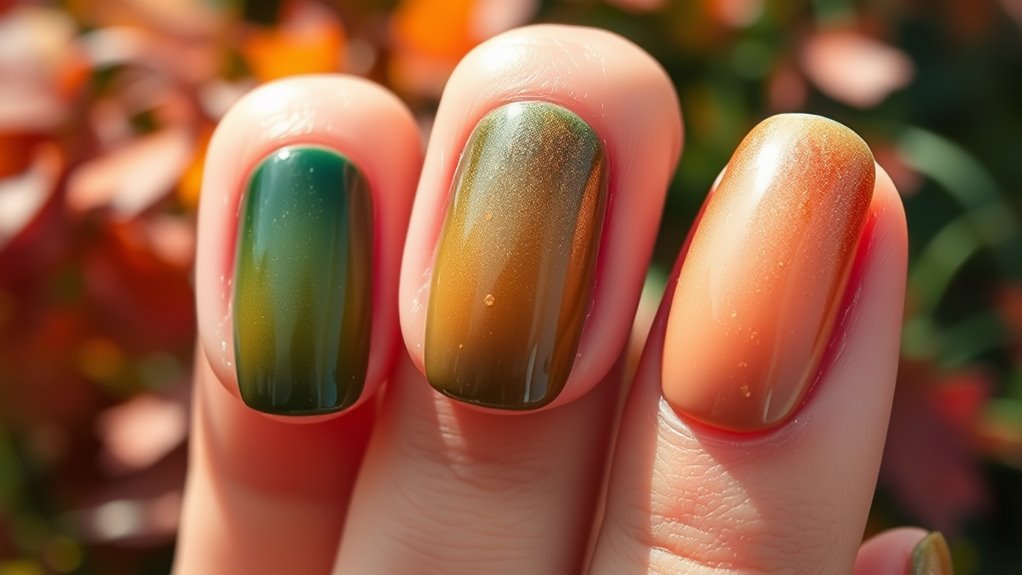
As the seasons change, so do the colors that inspire our nail art, making seasonal nature ombre trends a perfect way to celebrate the beauty around you.
In spring, think of soft pastels like pink and lavender, blending them for a fresh, floral look. You can almost smell the flowers blooming!
Summer calls for vibrant hues, like sunny yellows and ocean blues. Imagine your nails reflecting the bright sun and playful waves—it’s like a beach party for your fingers!
When autumn arrives, rich shades of red, orange, and brown can create a warm, cozy vibe. It’s like having a mini fall festival on your nails, complete with crunchy leaves!
Finally, winter brings cool tones like icy blues and silvery whites, perfect for a frosty, festive touch. Your nails can sparkle like freshly fallen snow!
No matter the season, ombre designs let you express your love for nature. Just think about your favorite season and the colors you see around you.
Tips for Perfect Ombre Nails
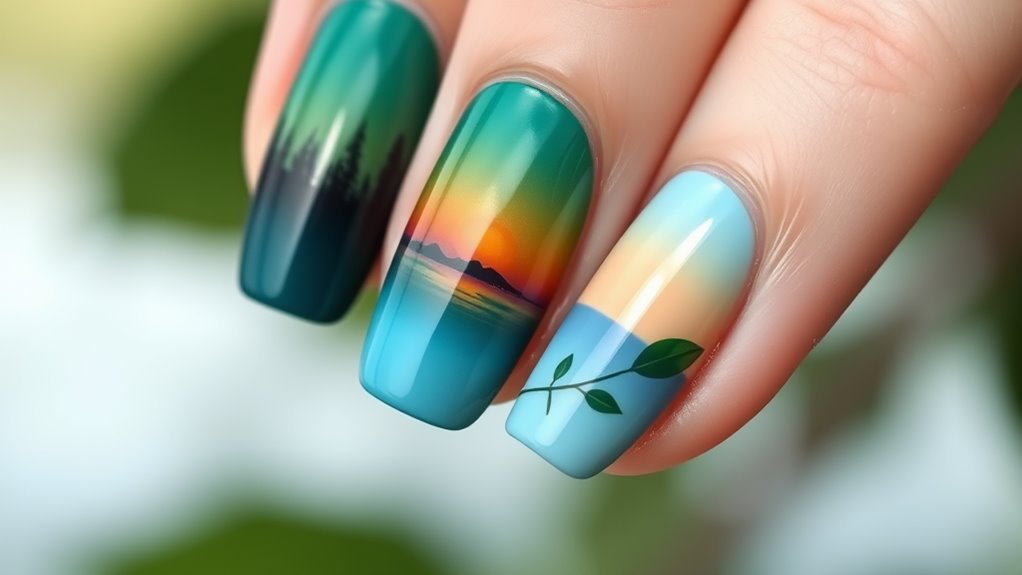
Achieving the perfect ombre nails requires a bit of technique and practice, but it’s totally doable! First, gather your supplies: nail polish in two or more colors, a makeup sponge, and a base coat.
Start with a clean nail, and apply your base coat to protect your nails. Once that’s dry, paint a stripe of each polish on the sponge, blending them slightly in the middle.
Next, dab the sponge onto your nail, starting from the tip and moving toward the base. Don’t worry if it looks messy at first; it’ll get better! You can repeat this step for a more vibrant look. Just remember to let each layer dry before adding more polish.
For a smooth finish, use a small brush dipped in nail polish remover to clean up any excess polish around your cuticles.
Finally, seal your masterpiece with a top coat to keep your ombre nails looking fabulous.
And there you have it! With a little practice, you’ll be rocking those ombre nails like a pro.
Conclusion
So, there you have it! You can create stunning ombre nail designs inspired by nature. Whether you choose floral gradients, sunset shades, or ocean waves, the possibilities are endless. Don’t forget to have fun experimenting with colors and techniques! Remember, practice makes perfect, so don’t get discouraged if your first try isn’t flawless. Just like nature, your nails can be unique and beautiful. Now grab those polish bottles and let your creativity shine!
