How to Achieve a Perfect Classic French Manicure
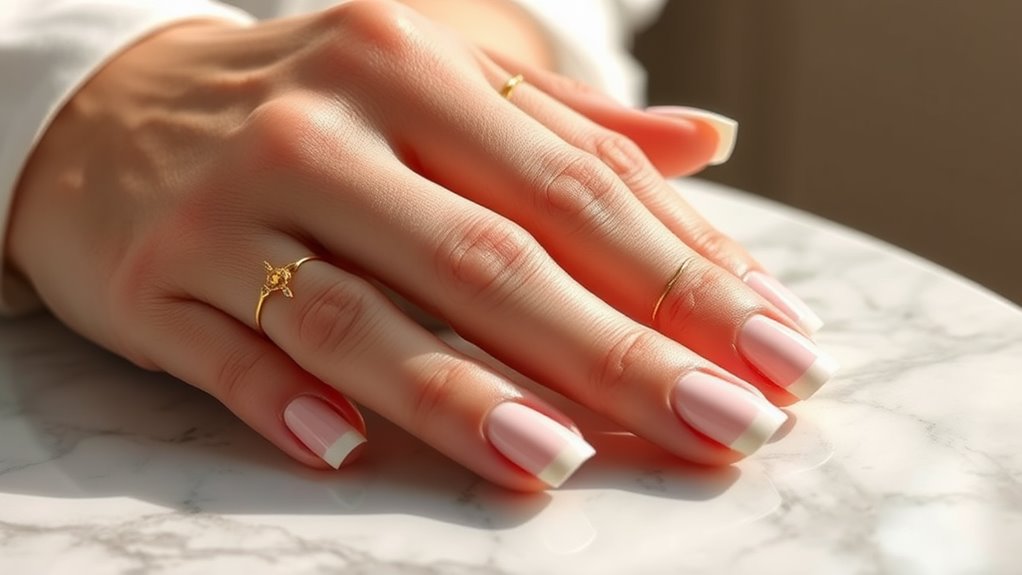
Achieving a perfect classic French manicure is super fun and easy! First, gather your supplies, like a base coat, sheer pink polish, and white polish. Clean your nails well, then gently push back your cuticles. Shape your nails with a file to your favorite style. Next, apply a base coat, let it dry, then add that lovely pink polish. For the smile line, use a fine brush to create a smooth curve, and paint the tips white. Finish with a shiny top coat! Trust me, you’ll want to show off your fabulous nails—and there’s more to learn about keeping them looking great!
Gather Your Supplies
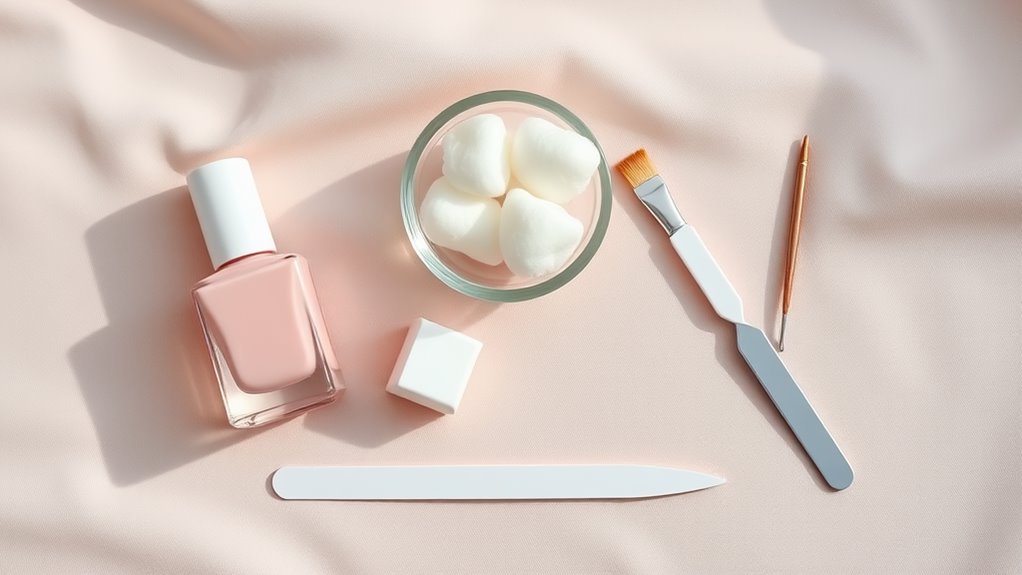
To nail the perfect French manicure, you’ll first need to gather your supplies. Think of it like preparing for a fun art project; you want everything ready to go!
Start with a base coat, which helps your nails stay healthy and makes your polish last longer. Next, grab a sheer pink or nude polish for that classic look. This polish is your canvas!
You’ll also want a white polish for the tips. It’s like icing on the cake, giving that fresh, clean finish. Don’t forget a top coat to seal everything in and add shine.
You’ll need some tools, too. A nail file, buffer, and cuticle pusher are essential for prepping your nails. If you like precision, consider getting some nail tape or a fine brush for those tips.
Oh, and a small bowl of warm, soapy water can be handy for soaking your nails. Finally, have some cotton balls and nail polish remover on standby—you never know when a little mistake might happen!
With your supplies ready, you’re all set to transform your nails into a French manicure masterpiece!
Prepare Your Nails
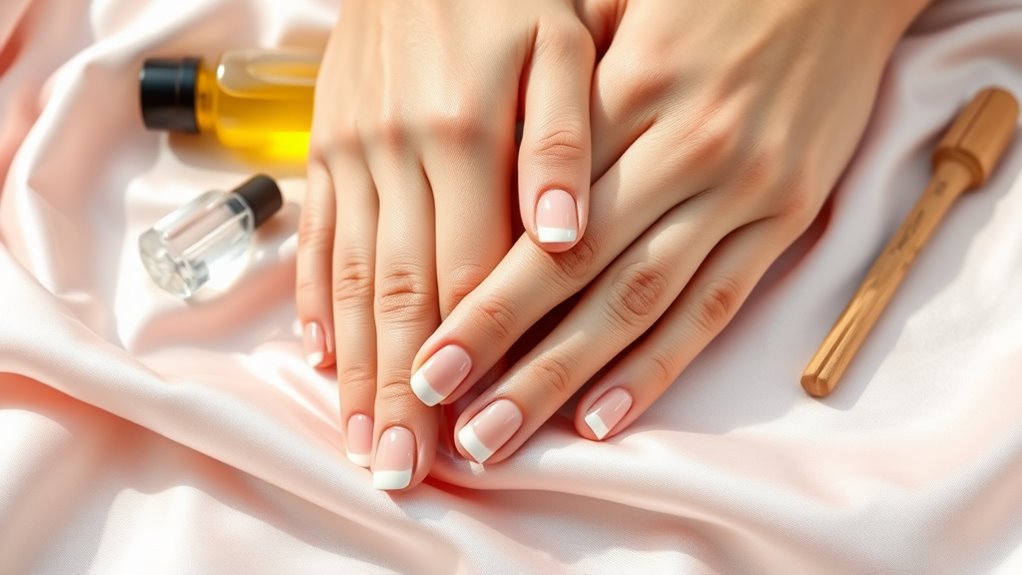
A flawless French manicure begins with well-prepared nails. First things first, you’ve gotta make sure your nails are clean and free of any old polish. Grab some nail polish remover and a cotton ball—this is your time to shine! Wipe away any remnants of yesterday’s color, and you’re off to a great start.
Next, wash your hands with soap and water. This helps remove oils and dirt, making it easier for your manicure to last. Don’t skip this step; your nails deserve a spa day too!
After washing, dry them thoroughly with a towel.
Now, let’s check your cuticles. If they’re looking a bit wild, gently push them back using a cuticle stick. You can also trim any hangnails, but be careful not to overdo it. Remember, your nails should look neat and tidy, not like they’re preparing for a wrestling match!
Shape Your Nails
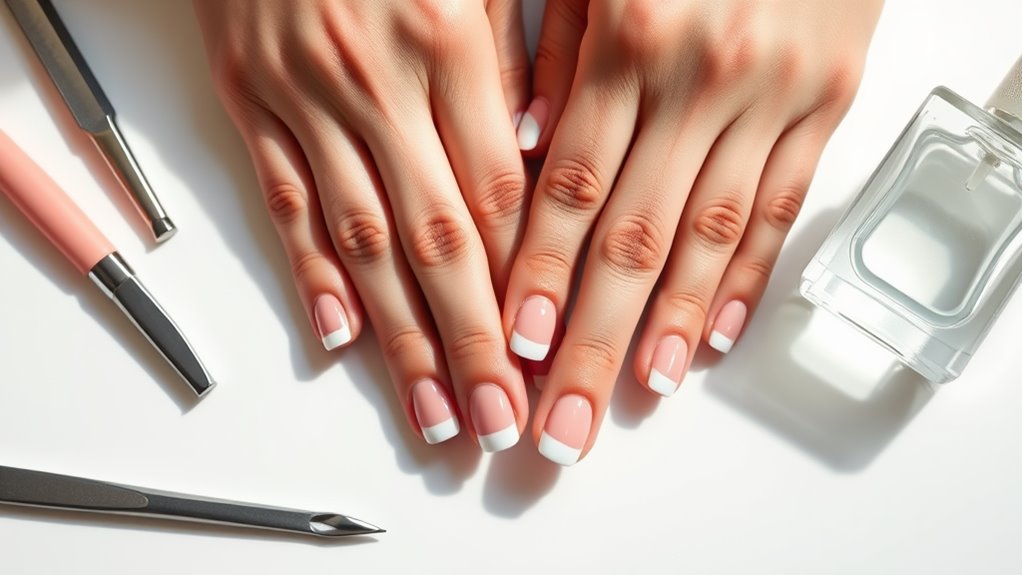
Shaping your nails is an essential step that often gets overlooked, but it can make all the difference in achieving that perfect French manicure. You want your nails to look neat and polished, so let’s get started!
First, decide on the shape you like best. Popular choices include square, oval, and almond. Each shape offers a different vibe, so pick what suits you!
Once you’ve chosen your shape, grab a nail file and start gently filing your nails. Remember, don’t saw back and forth like you’re trying to chop wood! Instead, file in one direction to avoid splitting.
If you’re going for square, keep the edges straight. For an oval look, round the tips slightly. Almond shapes should taper in gently.
Don’t forget to check for any rough edges! Smooth them out so your nails feel as good as they look.
And if you accidentally file too much, don’t panic! Just embrace the new shape; it’s all part of the nail adventure.
In the end, shaped nails will create a stunning canvas for your French tips, making your manicure pop even more. Happy filing!
Apply Base Coat
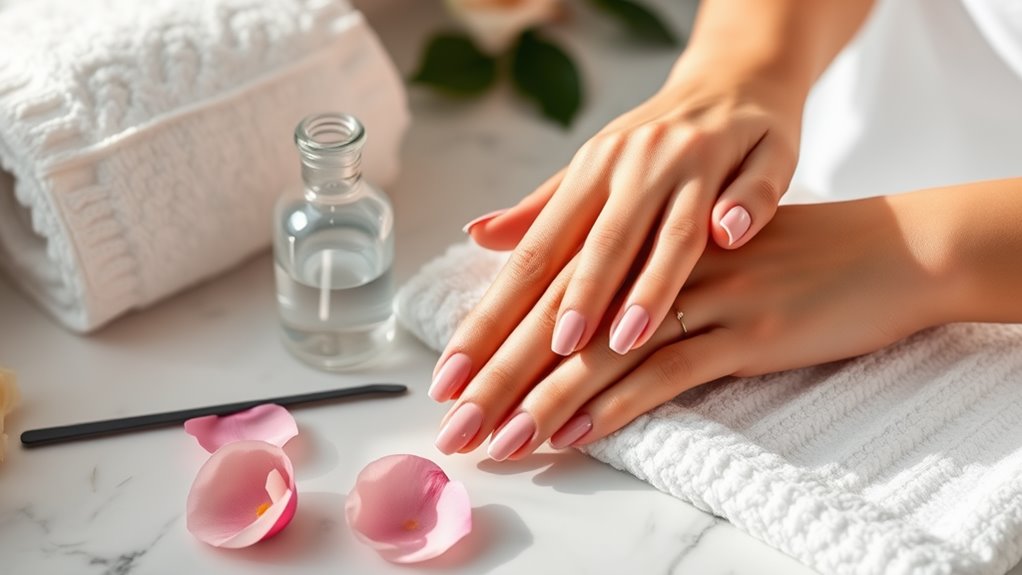
Applying a base coat is essential for a flawless French manicure, and it’s often the step that sets the stage for everything that follows. You might think of it as the foundation of a beautiful house; without it, the whole thing could crumble!
Start by picking a good-quality base coat. This helps your nail polish stick better and prevents your nails from getting stained.
Before you apply, make sure your nails are clean and dry. You don’t want any old polish or dirt getting in the way. Now, take your base coat and apply a thin layer to each nail. Brush it on gently, covering the entire nail surface. Don’t forget the tips! This little detail can help your polish last longer, just like a good cup of coffee needs the right mug.
Once you’ve painted all your nails, give the base coat a few minutes to dry. You can do a little dance while you wait—it’ll make the time fly!
Once it’s dry, you’re ready to move on to the fun part: painting your tips. So let that base coat work its magic, and get ready for a stunning French manicure!
Choose the Right White
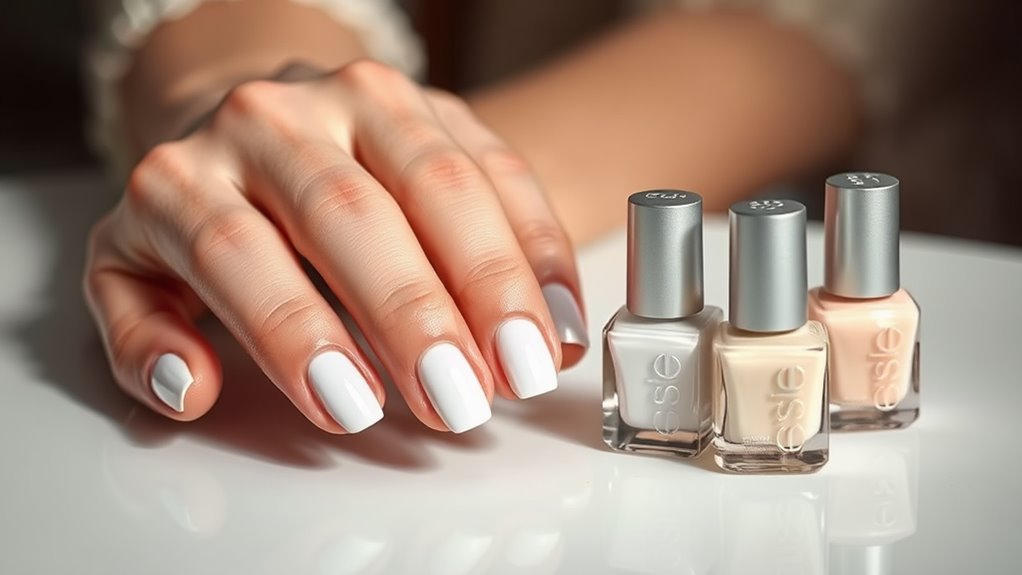
With your base coat dry, it’s time to focus on one of the most important elements of a French manicure: choosing the right white polish. You might think all whites are the same, but trust me, they’re not! You want a bright, clean white that really pops against your natural nail color.
Look for a polish that has a smooth, creamy consistency. This way, it’ll glide on easily and give you an even finish. If you’re feeling adventurous, consider a slightly off-white or a soft pastel. These shades can give your nails a fresh twist while still keeping that classic vibe.
When you’re in the store, don’t hesitate to test a few polishes. A quick swipe on your nail can show you how the color looks in different lighting.
And remember, the formula matters too! A long-lasting polish can save you from touch-ups later on.
Create the Smile Line
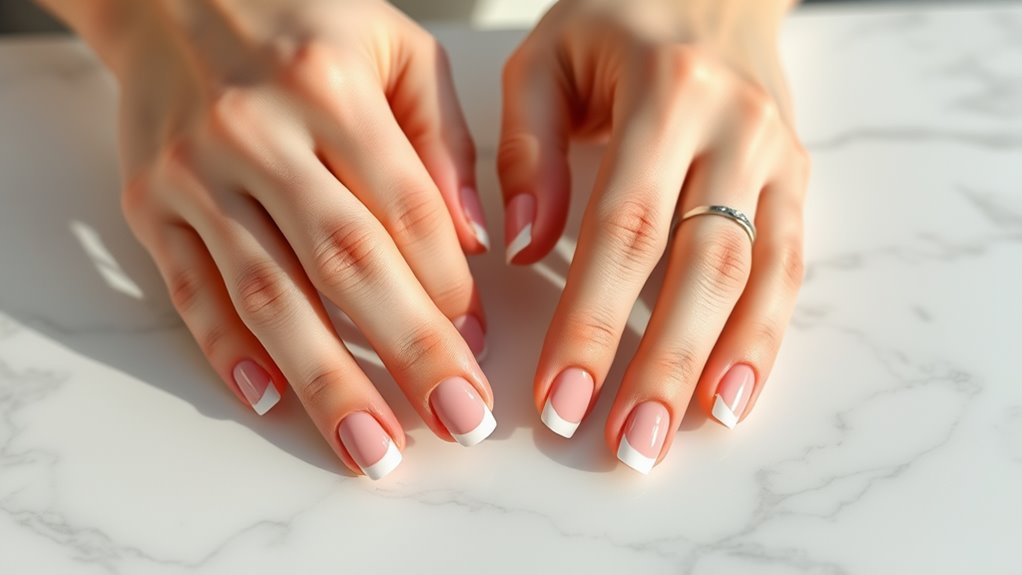
Creating the perfect smile line is essential for achieving that classic French manicure look. This line is the curved edge that separates the white tip from your natural nail.
To start, grab a fine nail brush or a striping brush, which can be your best friend here. You’ll want to make sure it’s clean and dry, ready for action!
First, hold your hand steady. You don’t want your smile line to look like a wobbly rollercoaster ride! Lightly dip your brush into the white polish and begin at one side of your nail. Gently draw a curve toward the other side, imagining you’re sketching a smile.
If it doesn’t come out perfect on the first try, don’t worry! You can always fix it. Just keep a small brush handy for touch-ups.
Apply the Pink Polish
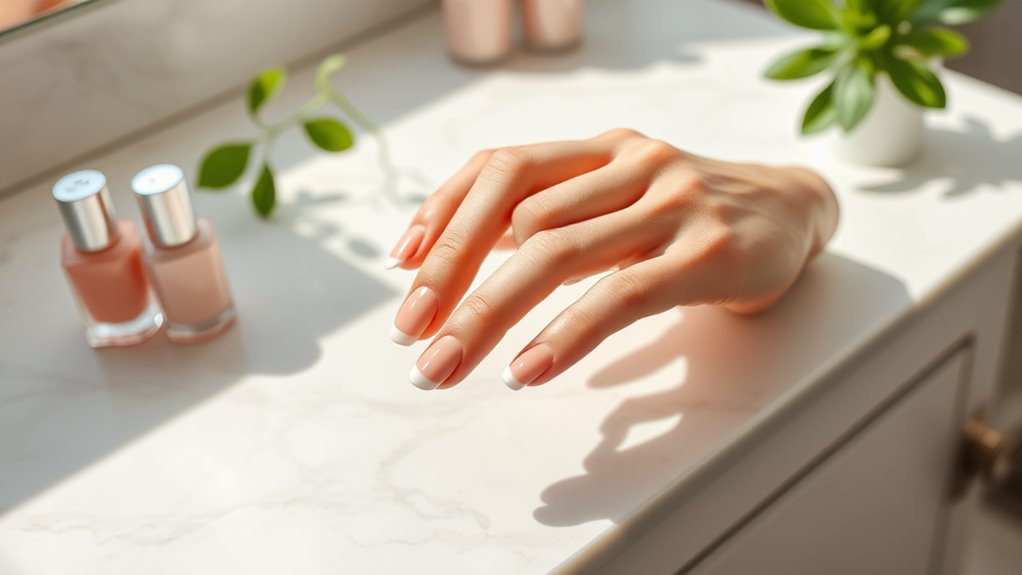
Now that your smile line is flawlessly crafted, it’s time to add the pink polish that gives your French manicure its signature look. Grab your favorite pink polish—this is where the magic happens! Start by shaking the bottle gently to mix the polish. It’s like giving it a little dance party!
Next, dip your brush into the polish, then wipe one side against the rim of the bottle. This helps prevent any messy drips.
Now, carefully paint the pink polish on the rest of your nail, just below that beautiful smile line you created. Try to keep the polish as even as possible, and don’t worry if it doesn’t look perfect right away. You can fix that later!
Make sure to cover the entire nail, but be careful not to overrun that smile line. If you do, just grab a small brush or a cotton swab dipped in remover to tidy it up.
Let the pink polish dry completely, so you don’t end up with any smudges. Remember, patience is key! Once it’s dry, you’ll see how lovely your nails start to look.
Add Top Coat
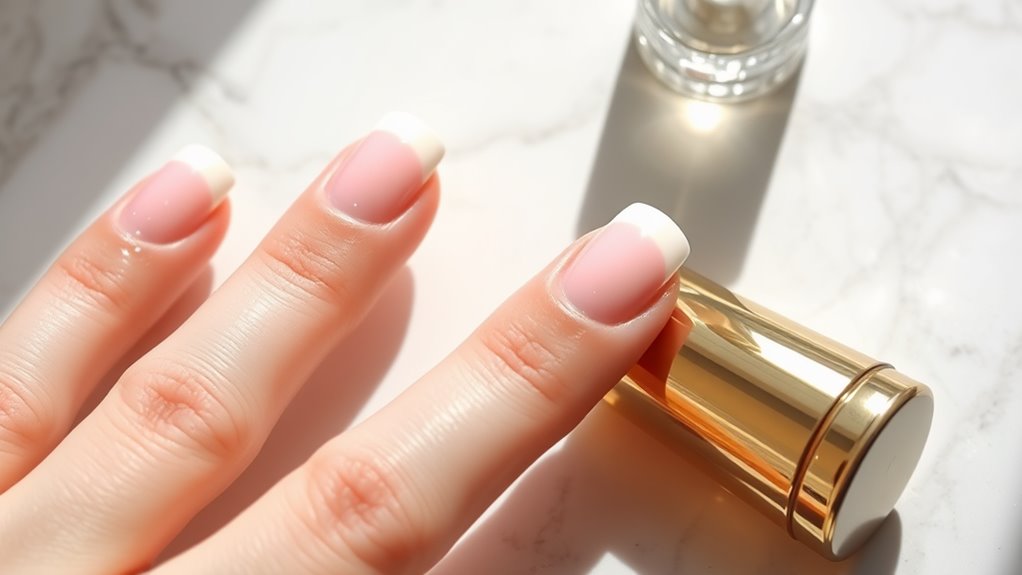
After your pink polish has dried to perfection, it’s time to seal the deal with a top coat. This magical layer not only adds shine but also protects your hard work from chips and scratches.
Grab your top coat and give it a little shake to mix it up. You want it smooth and ready to go!
Start by applying a thin layer over each nail. Make sure to cover the entire pink polish, including the tips. This is where the magic happens! The top coat will make your nails look glossy and fresh, like you just walked out of a salon. Who doesn’t love that feeling?
Don’t worry if your application isn’t perfect; the top coat can help even things out a bit. Just be sure to work quickly and avoid going back over areas that have started to dry. You want to keep it smooth and shiny!
Once you’ve covered all your nails, give them a few minutes to dry. If you can resist the urge to touch anything, you’ll be rewarded with a gorgeous, long-lasting finish.
Final Touches and Care
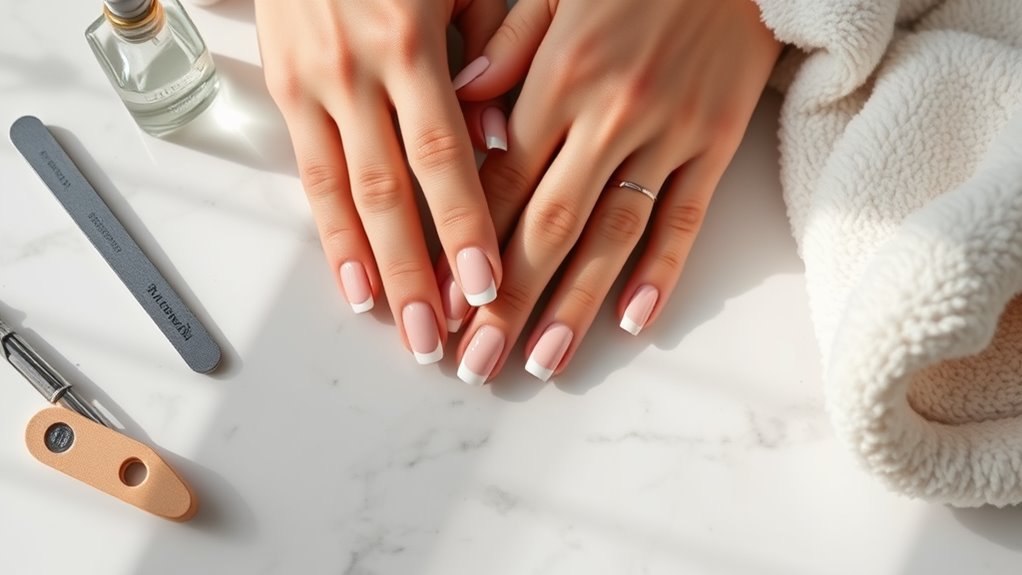
To make your French manicure truly stand out, adding a few final touches can elevate your look considerably.
First, consider applying a cuticle oil. This little gem nourishes your cuticles and gives your nails a healthy, shiny finish. Just a drop or two rubbed in will do wonders!
Next, if you want to add a fun twist, try some nail art. A tiny heart, a sparkle, or even a simple dot can personalize your manicure without going overboard. Remember, less is more!
Once you’re all done, keep your nails safe by wearing gloves when doing chores. Nobody wants to chip their perfect manicure while washing dishes, right?
And don’t forget to reapply your top coat every few days to keep that shine and protect your nails.
Lastly, take a moment to admire your hands. You’ve created a classic look that’s elegant and chic!
With just a little care, your French manicure will last longer, keeping you looking fabulous. So, strut your stuff and show off those gorgeous nails! You deserve it!
Conclusion
Now you know how to create a perfect classic French manicure! With your supplies ready and a little practice, you can make your nails look fabulous. Remember, it’s all about the smile line and the right pink polish. Don’t forget to take care of your nails afterward, too! So go ahead, show off your pretty nails and impress your friends. Who knew nail art could be this fun? Happy polishing!

