DIY Rhinestone Nail Art- Tips and Tricks
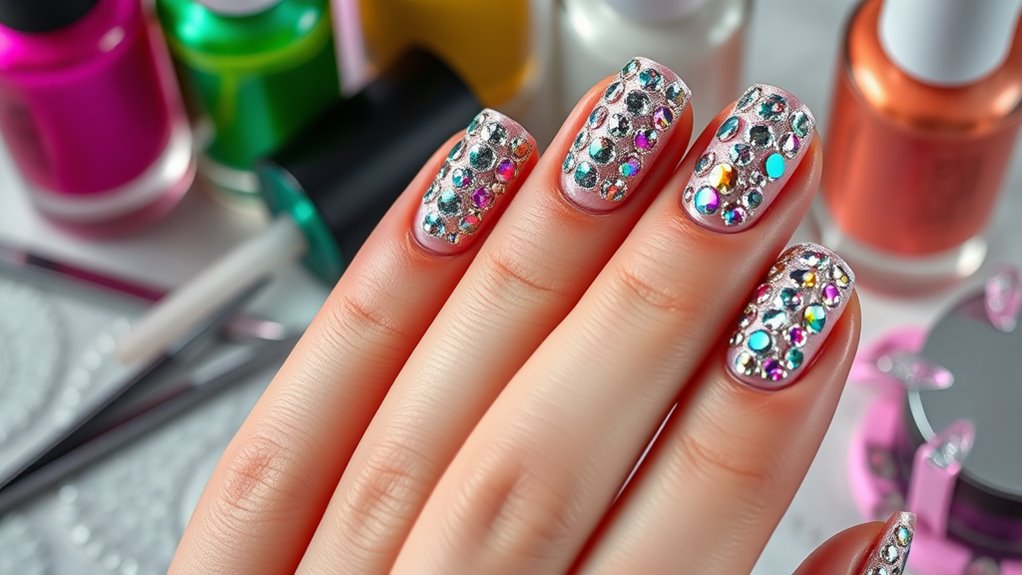
DIY rhinestone nail art is a fun way to jazz up your nails. First, you’ll need some tools like a base coat, top coat, nail glue, and rhinestones in different sizes and colors. Start by prepping your nails—clean, trim, and buff them for the best outcome. When choosing rhinestones, mix sizes and colors for a playful look but remember, balance is key! Use a dotting tool or toothpick to place your gems precisely, and seal them with a top coat. Don’t stress if a rhinestone goes rogue; just try again! Stick around, and you’ll discover even more fabulous tips to shine!
Essential Tools and Materials
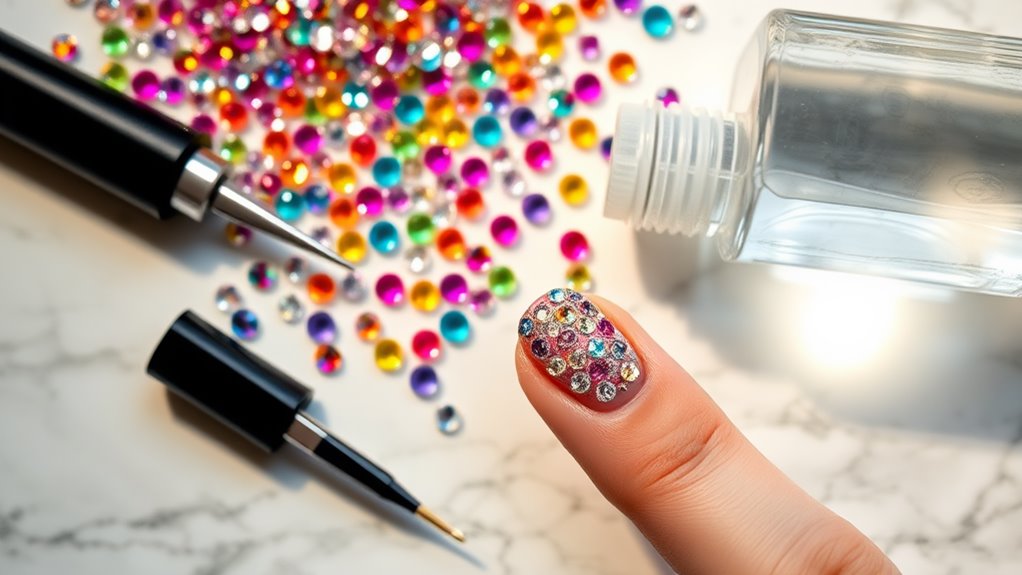
To create stunning DIY rhinestone nail art, you’ll need a few essential tools and materials to get started. First off, grab a base coat and a top coat. These are super important for keeping your nails healthy and your art looking fabulous.
You’ll also need nail polish in your favorite colors—pick a few shades that make you smile!
Next, don’t forget the rhinestones! They come in various sizes and colors, so you can mix and match to create your perfect design. A dotting tool or a toothpick is handy for placing those tiny gems, too. If you’re feeling fancy, a nail art brush can help with detailed designs.
Lastly, you might want a nail glue or clear polish to guarantee those rhinestones stay put. You wouldn’t want them to take a vacation from your nails, right?
And don’t forget a pair of tweezers; they can be a lifesaver when you’re trying to pick up those tiny stones.
With these tools and materials, you’re all set to release your creativity and make your nails shine like stars! So, let’s get started and have some fun!
Preparing Your Nails
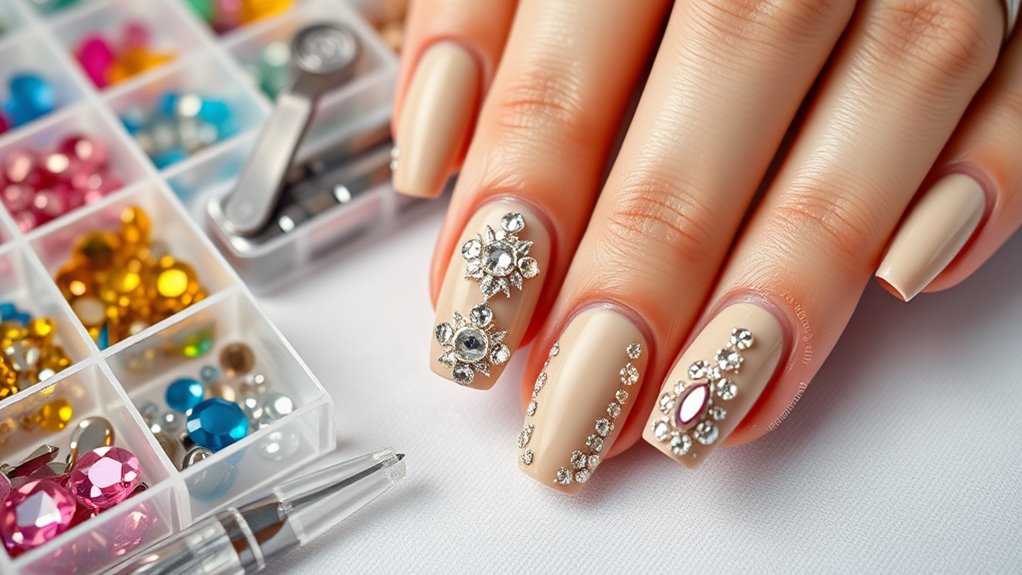
Once you’ve gathered your tools and materials, it’s time to prep your nails for the rhinestone magic ahead. Start by giving your nails a good wash. You want to remove any dirt, oils, or leftover polish.
Next, trim and file your nails to your desired shape. You can go for square, oval, or even stiletto—whatever floats your boat! Just make sure they’re all even, so your nail art looks extra fabulous.
Now, it’s time to push back those cuticles. Use a cuticle pusher gently, as you don’t want to hurt yourself. This step helps create a clean canvas for your rhinestones.
After that, buff your nails lightly to smooth the surface. You want them to shine like a diamond—well, almost!
Once you’ve done all that, apply a base coat. This not only protects your nails but also helps the polish stick better. Let it dry completely.
Trust me, this step is essential. You wouldn’t want your beautiful design to chip away after a day! Now you’re all set to let your creativity take off and get ready for some sparkling fun!
Choosing the Right Rhinestones
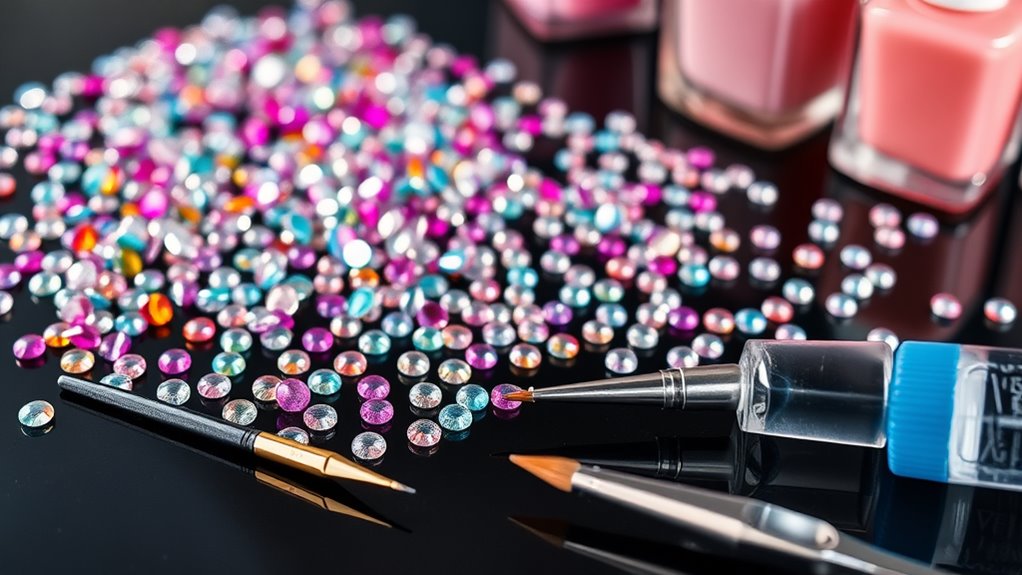
When it comes to choosing the right rhinestones for your nail art, think about size, shape, and color to achieve the look you want.
First, let’s talk size. Small rhinestones can create a delicate look, while larger ones make a bold statement. So, pick what fits your style!
Next up is shape. You’ll find round, square, star-shaped, and even heart-shaped rhinestones. It’s like a nail art party—each shape brings its own vibe.
If you’re going for something playful, star or heart shapes are perfect. If you want elegance, stick with classic round or square ones.
Now, let’s explore color. Rhinestones come in a rainbow of hues, from sparkly clear to vibrant red.
Consider your nail polish color and choose rhinestones that pop against it. You can even mix and match colors for a fun, eclectic look!
Just remember, if you go too wild, it might look like a fireworks display on your nails—unless that’s what you want!
Application Techniques
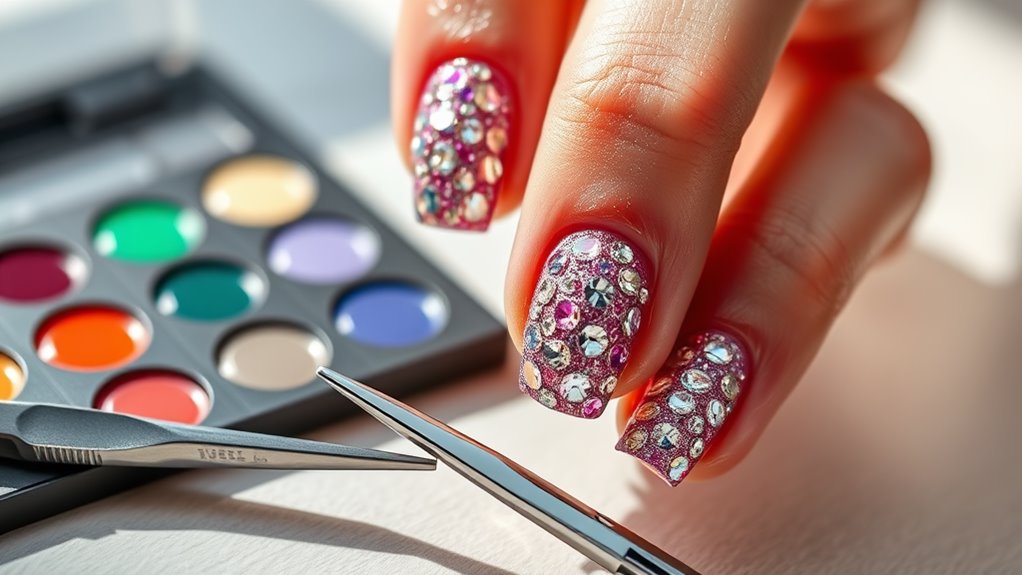
Applying rhinestones to your nails can elevate your nail art game and add a touch of glamour. To start, make sure your nails are clean and dry. This helps the rhinestones stick better.
You can use a dotting tool or a toothpick to pick up the rhinestones. Just dip it in some nail glue or topcoat, then gently press the rhinestone onto your nail.
Don’t worry if it feels a bit tricky at first; practice makes perfect! If you’re going for a more intricate design, consider using different sizes and colors of rhinestones. It adds depth and interest to your look.
Once you have your rhinestones in place, seal everything with a clear topcoat. This not only protects your art but also keeps the rhinestones from popping off at an inconvenient moment—like when you’re waving at your friends!
And remember, if you accidentally mess up, it’s totally okay. Just remove the rhinestones and try again. Nail art is all about having fun!
Creative Design Ideas
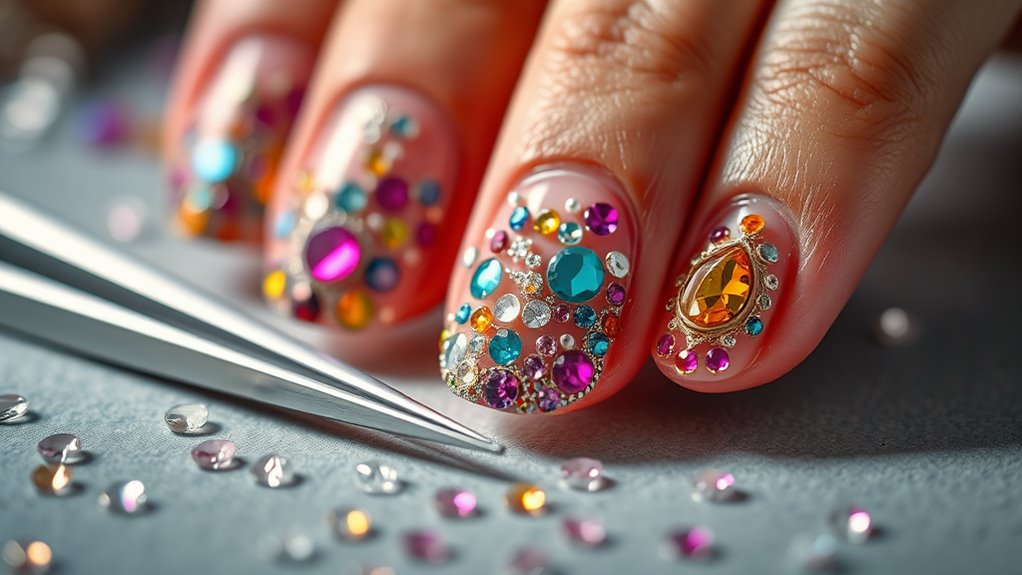
Get inspired to jazz up your nail art with creative rhinestone designs that reflect your personal style! You can mix and match different colors and sizes of rhinestones to create unique looks.
For a fun twist, try a gradient effect. Start with a few large rhinestones at the base of your nail and fade them out to smaller ones toward the tip. It’s like a sparkle waterfall!
If you’re feeling bold, consider making a statement with geometric shapes. Arrange your rhinestones in lines or triangles for a modern vibe. You could even spell out your initials or a fun word—how about “BFF”? You’ll have everyone asking where you got your nails done!
For a more subtle design, place rhinestones at the corners of your nails or create a delicate outline along the edges. This way, you can keep it classy while still adding some bling.
And let’s not forget seasonal themes! Use red and green rhinestones for Christmas or pastel colors for spring. The possibilities are endless, so let your creativity shine bright!
Securing the Rhinestones
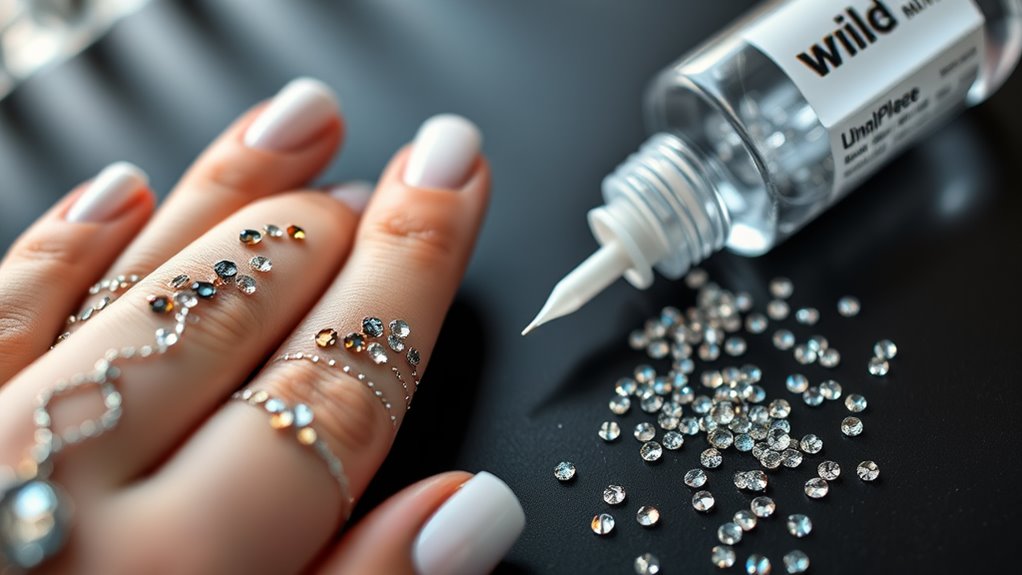
To keep your rhinestones securely in place, start by using a high-quality nail glue or top coat. You want something that’s strong enough to hold those sparkly gems without letting them pop off at the first sign of trouble.
Apply a small dot of glue on your nail where you want the rhinestone to go, then gently press the rhinestone onto the glue. It’s like giving it a cozy little home!
After placing your rhinestones, let them dry for a few minutes. This is vital! You don’t want to accidentally bump them and send them flying.
If you’re feeling fancy, you can also use a small brush to apply a top coat over the rhinestones. Just be careful not to drown them in polish! A light touch is all you need.
If you’re worried about losing any bling, consider using a clear gel top coat for extra security. It’s like a safety net for your nails!
Aftercare and Maintenance
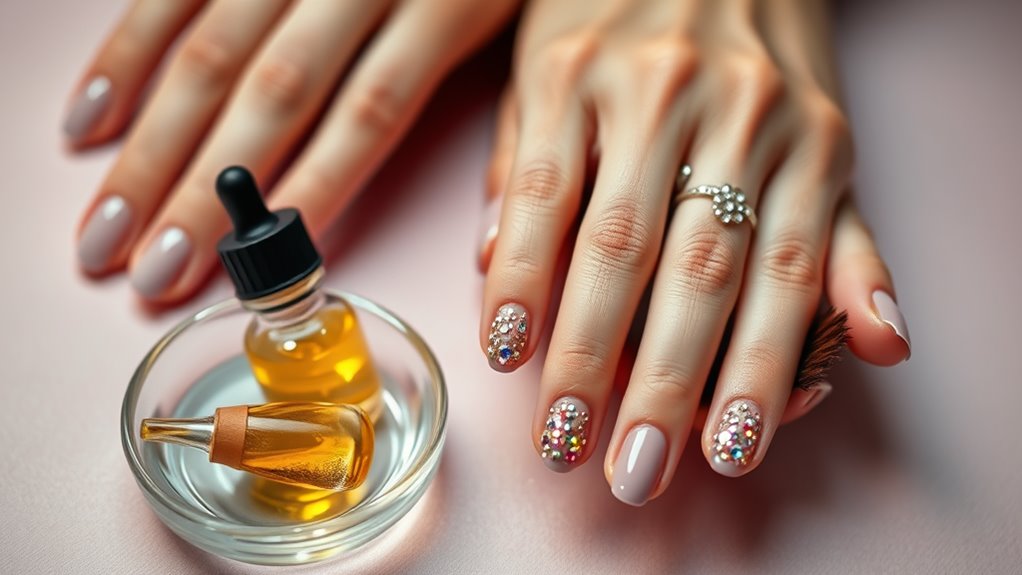
Once your rhinestones are securely in place, you’ll want to guarantee they stay dazzling for as long as possible. First things first, avoid soaking your nails in water for at least 24 hours. Water can loosen the adhesive, and we definitely don’t want that!
When washing your hands, be gentle; use a soft cloth to pat them dry instead of rubbing.
Next, be careful with your nails. Try not to use them as tools! Opening cans or scratching surfaces can chip your rhinestones.
If you find a loose stone, don’t panic! Just reapply a little nail glue and press it back in place.
For maintenance, consider using a top coat to add extra shine and protection. Just make sure it’s safe for rhinestones. You wouldn’t want to dull your sparkle!
And if you’re heading out, give your nails a quick check before you leave. You never know when a rogue rhinestone might decide to go on an adventure without you!
Conclusion
Now that you’ve got the scoop on DIY rhinestone nail art, it’s time to release your creativity! Remember, it’s all about having fun and expressing yourself. Whether you’re going for something simple or a super sparkly masterpiece, practice makes perfect. Don’t stress if it doesn’t turn out amazing the first time—just keep trying! So grab your tools, put on your favorite tunes, and let your nails shine like the stars they are! Happy decorating!

