Creative Ways to Customize Your Classic Nail Wraps
You can totally jazz up your classic nail wraps with some fun customization ideas! First, choose unique colors that show off your vibe—think bold reds or soft pastels. You can even add hand-painted details like flowers or stripes using a fine brush. Don’t forget about nail art stickers; they’re an easy way to add flair! Layering designs creates depth, and glitter or foil accents add that wow factor. Also, consider using temporary tattoos for cool combinations. With a little creativity, your nails will totally stand out! Stick around, and you’ll discover even more awesome tips and tricks!
Choose Unique Colors
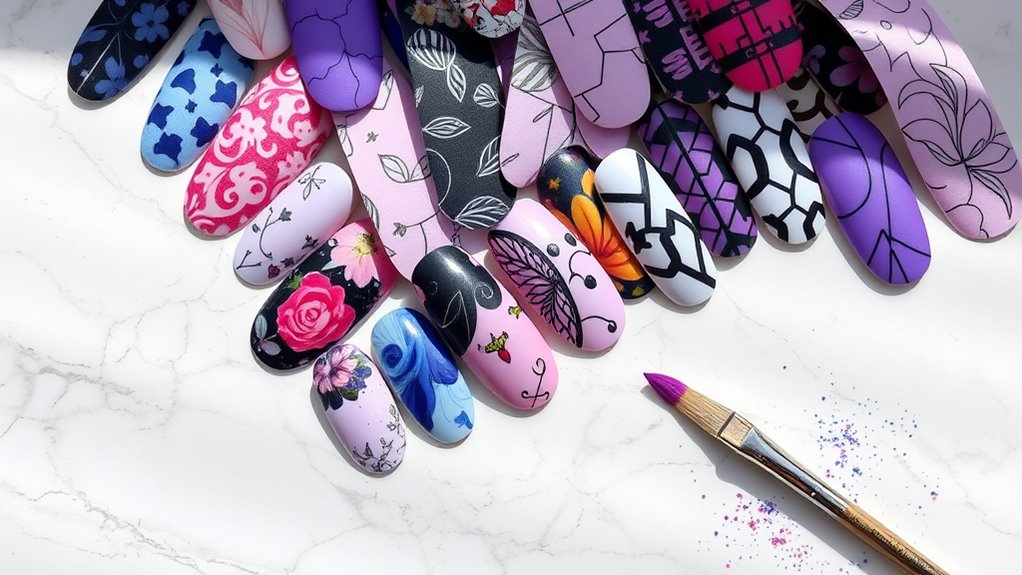
When you’re customizing your nail wraps, choosing unique colors can make all the difference in expressing your personal style. Think about what colors make you feel happy or confident. Do you love bold reds that scream “look at me”? Or maybe soft pastels that whisper elegance? Whatever your vibe, there’s a color out there for you!
Mix and match shades to create your own signature look. You could go for a rainbow of colors on each nail or stick to a chic monochromatic theme. Have fun experimenting!
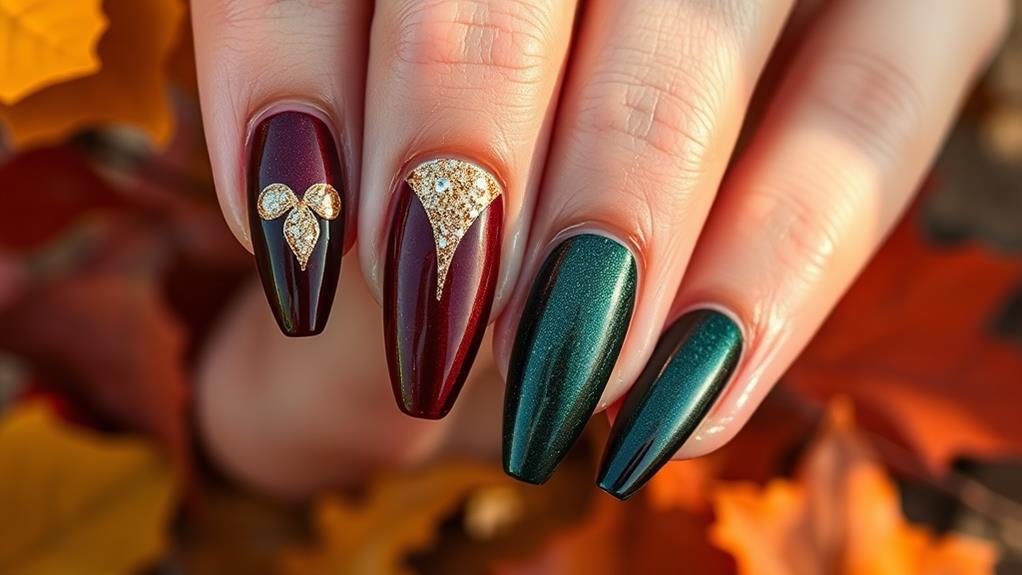
Don’t forget about seasonal colors too. Bright oranges and deep purples are perfect for fall, while vibrant pinks and sunny yellows can brighten up your summer days.
And hey, if you’re in a playful mood, why not try a color gradient? It’s like a mini sunset on your nails!
Remember, your nails are a canvas, and you’re the artist. So grab your favorite polishes and let your imagination run wild! With so many colors to choose from, you’ll definitely find the perfect shades that reflect who you are.
Add Hand-Painted Details
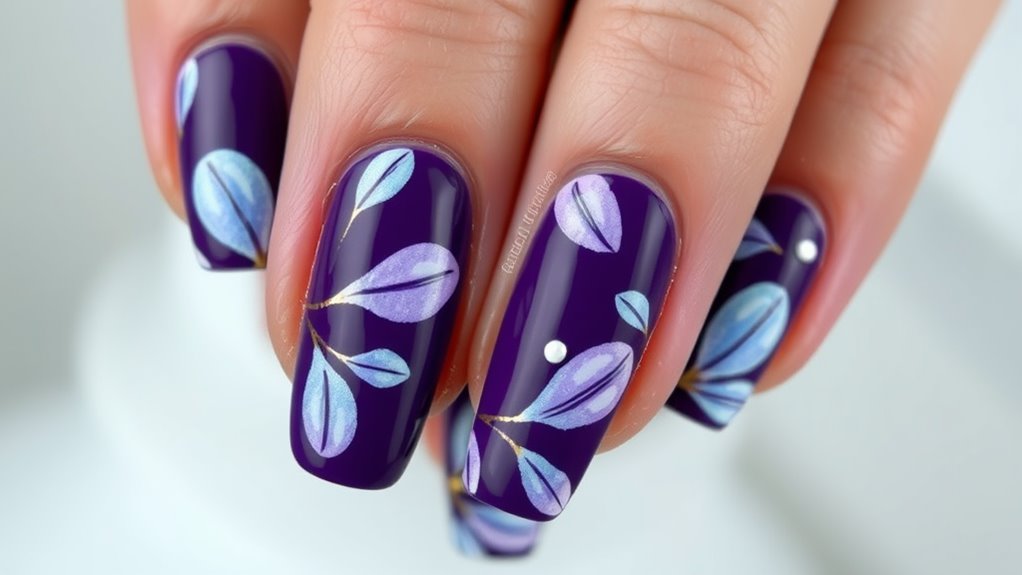
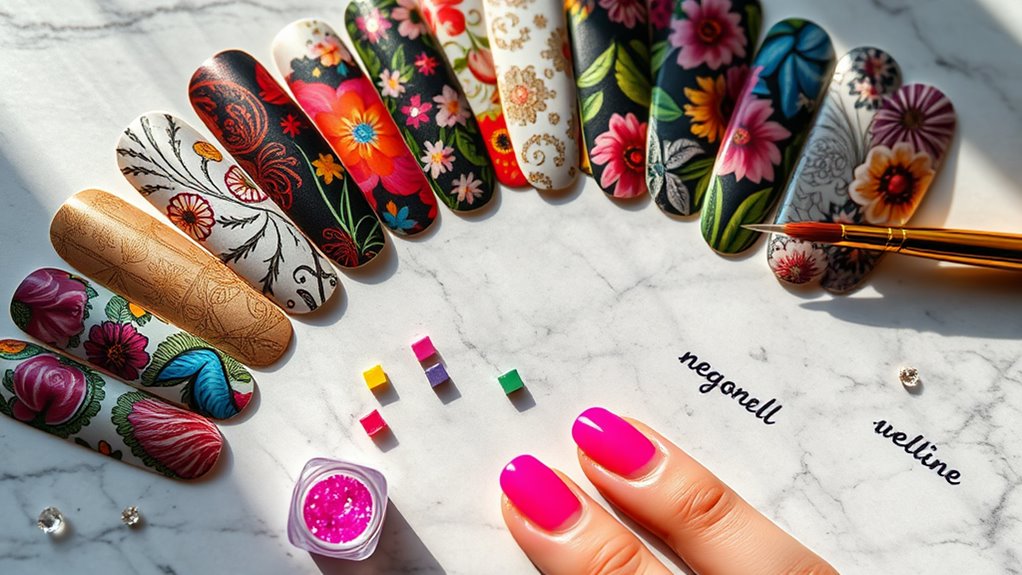
Adding hand-painted details to your nail wraps elevates your design from ordinary to extraordinary, showcasing your creativity and personal touch. It’s like giving your nails a mini work of art!
To start, gather some nail polish in your favorite colors and a fine-tipped brush. Don’t worry if you aren’t a pro; it’s all about having fun and experimenting.
You can paint tiny flowers, cute dots, or even little stripes. If you’re feeling adventurous, why not try painting a favorite quote or a fun pattern? Remember, practice makes perfect! You might want to practice on a piece of paper first, then go for it on your nails.
Don’t forget to let each coat dry before adding another layer. This way, you avoid smudges that can ruin your masterpiece. Once you’re done, seal your art with a clear top coat to keep it shiny and protected.
Hand-painted details can make your nail wraps truly one-of-a-kind. So grab those brushes, release your imagination, and take your nail wraps to a whole new level! Your friends will be amazed at your nail art skills, and you’ll feel like a nail design superstar!
Incorporate Nail Art Stickers
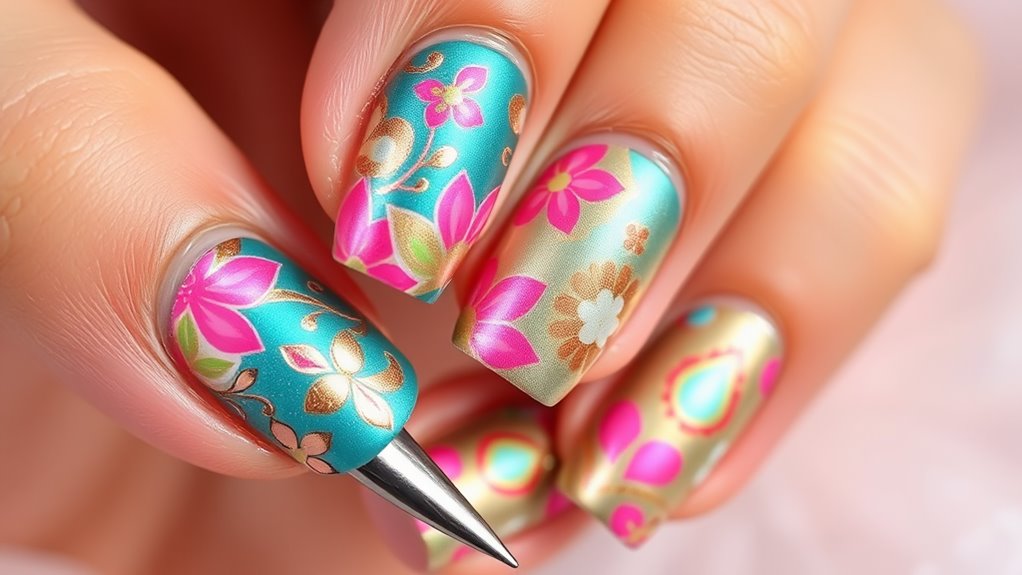
Nail art stickers are a fantastic way to enhance your nail wraps effortlessly. You don’t need to be a professional artist to create stunning designs. Just peel, stick, and voilà! Your nails transform from simple to fabulous in no time.
Start by picking stickers that match or contrast with your wraps. You might choose cute little flowers, dazzling gems, or even fun patterns. The options are endless!
Once you’ve picked your favorites, apply your nail wraps and let them set. Then, carefully position the stickers on your nails. You can place them at the base, tip, or even in the center—it’s all about what makes you happy!
If you’re feeling adventurous, try layering different stickers for a unique look. Just be sure to press them down well so they stick.
After you’ve arranged everything, seal your design with a top coat. This step will keep your stickers looking fresh and vibrant for longer.
Experiment With Layering Techniques
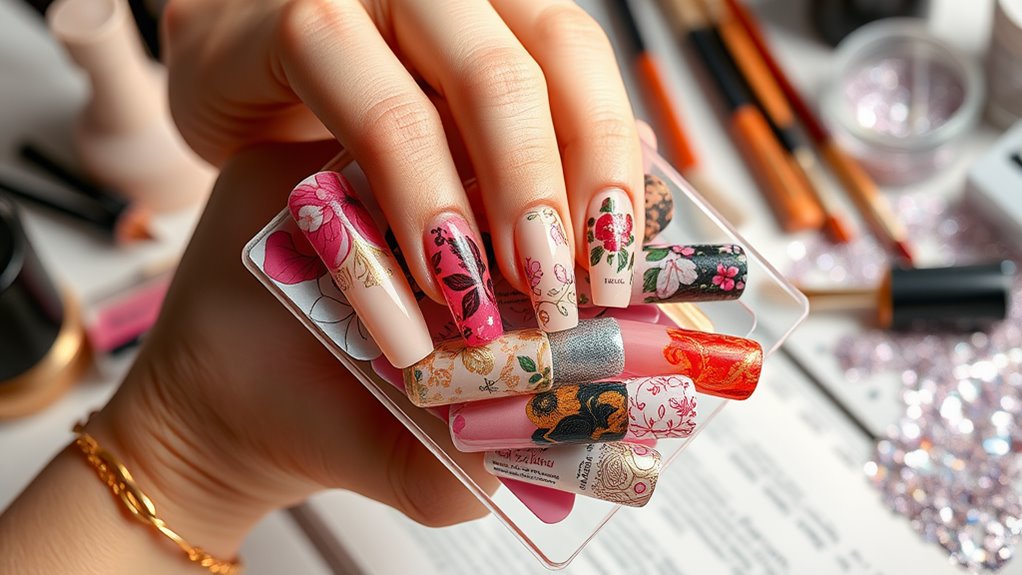
Layering techniques can elevate your nail wraps to a whole new level of creativity. When you start stacking different designs, colors, or patterns, it’s like adding extra scoops of ice cream to your sundae—delicious and fun!
First, think about the base layer. You might choose a solid color or a simple design as your foundation. Next, grab a contrasting wrap or a fun print to layer on top. Just make sure they complement each other!
You can also try layering wraps at different angles. Instead of placing them directly on top, why not tilt one slightly? It creates a cool, dynamic look that’ll definitely catch some eyes.
And don’t forget about mixing textures! If you have a matte wrap, pair it with a glossy one for some added dimension.
Feeling adventurous? Try cutting your wraps into fun shapes before layering them! Stars, hearts, or even stripes can add an unexpected twist.
Just remember, there’s no right or wrong way to experiment. It’s all about what makes you smile and feel fabulous. So grab those wraps and let your creativity soar!
Use Glitter and Foil Accents
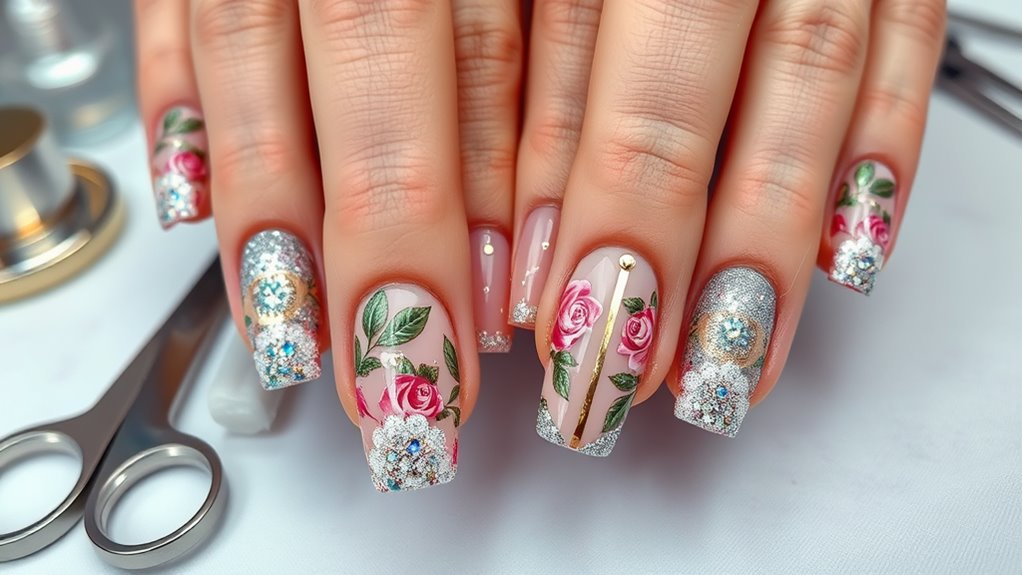
To take your nail wraps to the next level, consider incorporating glitter and foil accents. They’re like the cherry on top of your ice cream sundae! Adding a little sparkle can make your nails pop, turning a simple look into something fabulous. You can use glitter in various colors to match your mood or outfit. Simply sprinkle it on your wet nail wrap, and watch the magic happen.
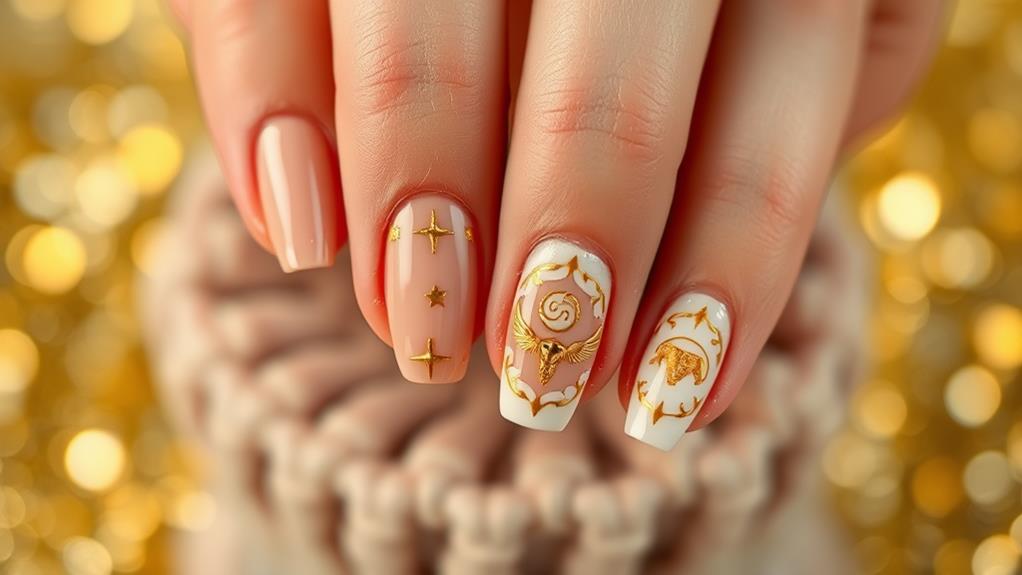
Foil accents are another fun option. They come in shiny gold, silver, or even rainbow shades, giving your nails a luxurious touch. To apply foil, cut it into small pieces and press them onto your nail wrap while it’s still tacky. You’ll feel like a nail artist in no time!
Mix and match glitter and foil for a dazzling effect. Imagine a glittery base with foil stars or stripes on top—how cool is that?
Just remember to seal your design with a top coat to keep everything looking fresh and shiny.
Try Water Marbling Effects
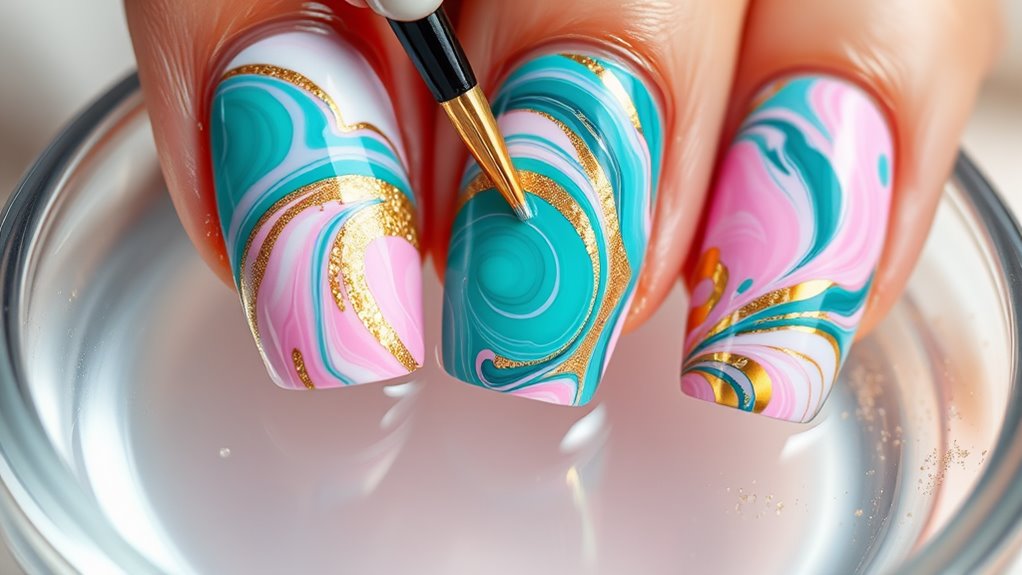
While experimenting with nail wraps, you might want to try water marbling effects for a stunning and unique look. This technique creates a beautiful, swirling design that’ll make your nails pop!
To start, gather some nail polish in your favorite colors, a shallow dish of water, and a toothpick or a small stick.
First, drop a few dots of nail polish onto the water’s surface. Don’t worry if they spread out; that’s part of the magic! Then, take your toothpick and swirl the colors together to create a marbled effect.
Next, dip your nail wrap into the water, allowing it to pick up the design. It’s like magic, but with polish instead of wands!
Once you’ve got the look you want, gently lift the wrap out of the water and let it dry. You might want to practice a few times, as it can be tricky at first.
But don’t fret—every attempt is a step toward nail art greatness! Plus, if it doesn’t turn out perfectly, just think of it as an abstract masterpiece.
Personalize With Nail Gems
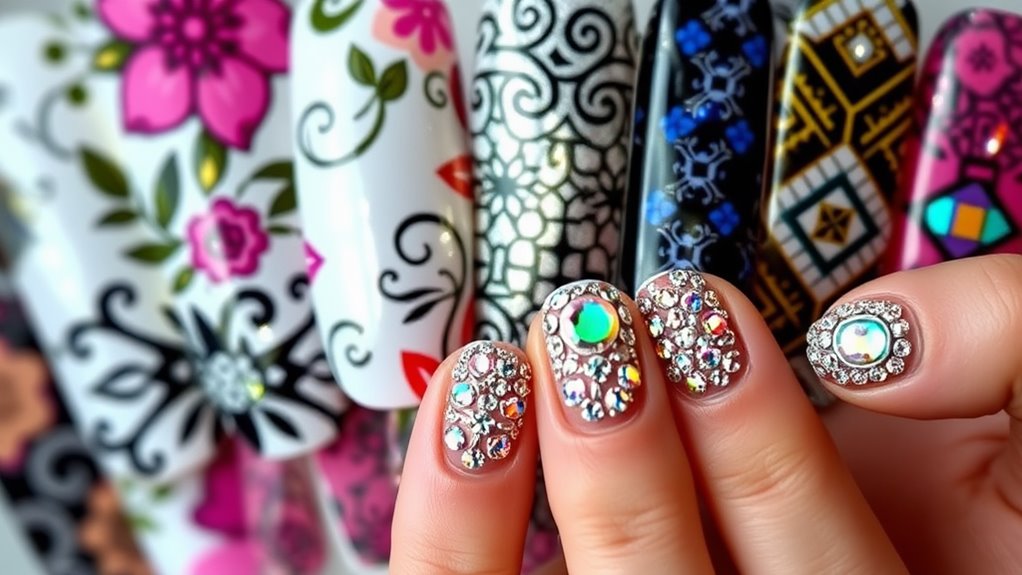
Elevate your nail wraps by adding dazzling nail gems for a personalized touch that really shines. Nail gems come in all shapes, sizes, and colors, making it super easy to match them with your mood or outfit. Plus, they’re a fun way to show off your style!
First, decide where you want to place your gems. You can create a cluster at the base of your nails, sprinkle them along the tips, or even form fun patterns. Just remember, less can be more, so don’t go overboard unless you’re aiming for a full-on glam look!
To attach the gems, use a clear nail polish or nail glue. A tiny drop is all you need, so you won’t turn your nails into a sticky mess! Once the gems are on, seal them with a top coat to keep them shining bright and secure.
If you worry about losing your gems, don’t stress! Just think of them as temporary jewelry for your nails. With nail gems, you can easily swap styles whenever you feel like it.
Create Custom Designs
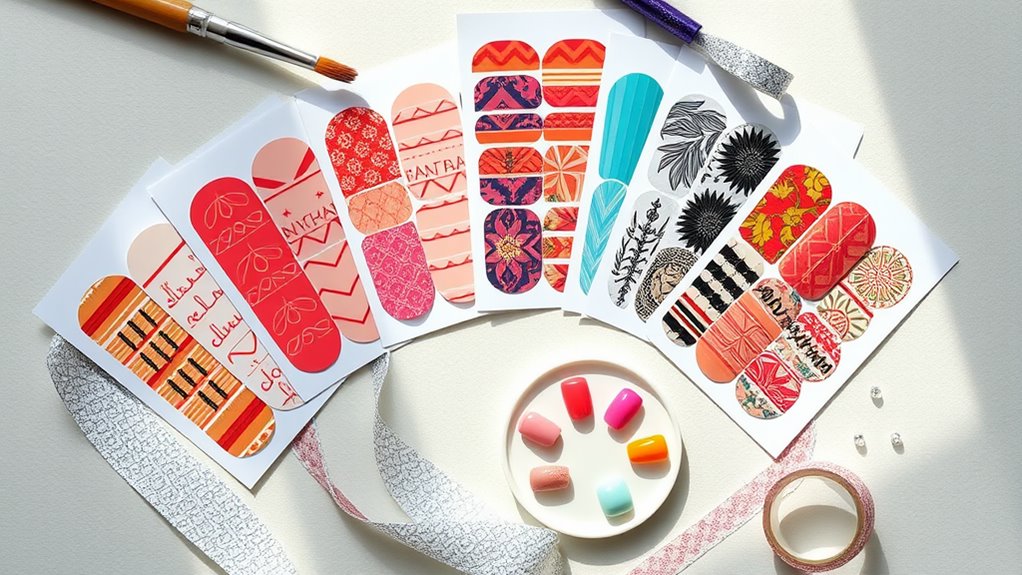
Creating custom designs for your nail wraps opens up a world of creativity and self-expression. It’s like painting a tiny canvas right on your fingertips! You can start by picking your favorite colors or patterns. Maybe you love polka dots or stripes? Go wild!
You can even mix and match different designs on each nail to show off your unique style.
Next, think about adding some personal touches. You could use stickers, stencils, or even paint to create fun shapes or doodles. If you’re feeling adventurous, try using a toothpick to draw tiny details. Just remember, practice makes perfect!
Don’t forget about themes! You can design your wraps based on holidays, seasons, or even your favorite movies. For example, a beach-themed wrap could have little suns and seashells.
Once you’ve got your designs down, apply them carefully to your nails. Make sure they fit well and look neat.
And if you mess up? No worries! Just peel it off and try again. With custom designs, your nails can be as fabulous and fun as you are! So, grab those nail wraps and let your imagination run wild!
Explore Temporary Tattoos
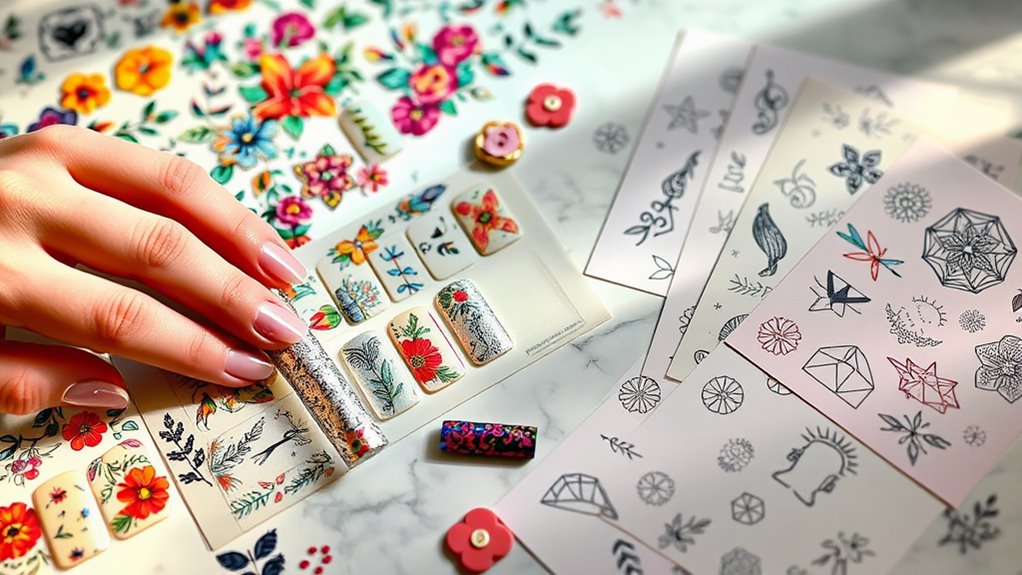
Temporary tattoos are a fun and versatile way to express your personality without the long-term commitment of permanent ink. They come in all sorts of designs, from cute animals to inspirational quotes.
Imagine adorning your nails with matching temporary tattoos that complement your nail wraps! It’s a simple way to create a unique look that stands out.
To start, pick a few temporary tattoos that catch your eye. You can find them in craft stores, online, or even make your own. Once you have your favorites, apply them to your skin or even on your nails. Just make sure the area is clean and dry for the best results. After applying, seal them with a clear top coat to help them last longer.
Mixing and matching tattoos with your nail wraps can bring your whole look together. Got a floral nail wrap? Add a tiny flower tattoo to your finger! Feeling a bit wild? Try some animal prints.
The combinations are endless! So, go ahead, explore the world of temporary tattoos and let your creativity shine. You’ll have a blast customizing your style, and you can change it up anytime you want!
Conclusion
Now that you’ve got some fun ideas, it’s time to let your creativity shine! Customizing your classic nail wraps can be a blast, whether you’re adding sparkly glitter or trying out cool water marbling. Remember, there are no rules—just your imagination! So grab your nail supplies, invite your friends over, and get ready to show off your unique style. Who knows? You might just start a new trend. Happy nail wrapping!
