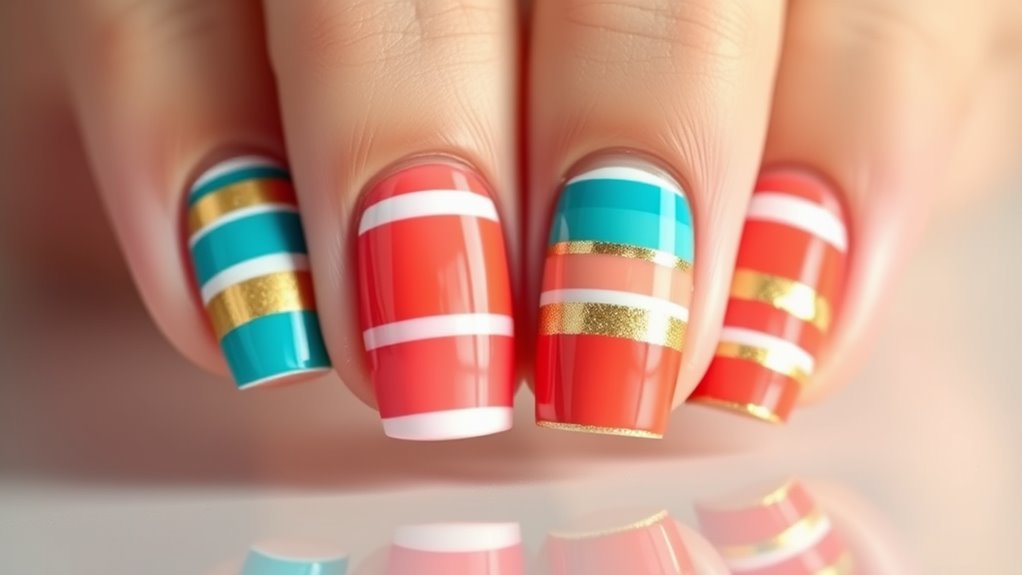
Creative Striped Nail Design Ideas
If you’re looking for creative striped nail design ideas, you’re in for a treat! You can opt for classic black and white stripes for a chic look, or try bold color block stripes to make a statement. Pastel rainbow stripes are perfect for a sweet, spring vibe, while metallic and glitter stripes add a touch of glamour. Geometric striped patterns can give a modern edge, and don’t forget about ombre or negative space stripes for something unique. With so many options, your nails will dance with creativity! Stick around, and you’ll uncover even more exciting tips and techniques.
Classic Black and White Stripes
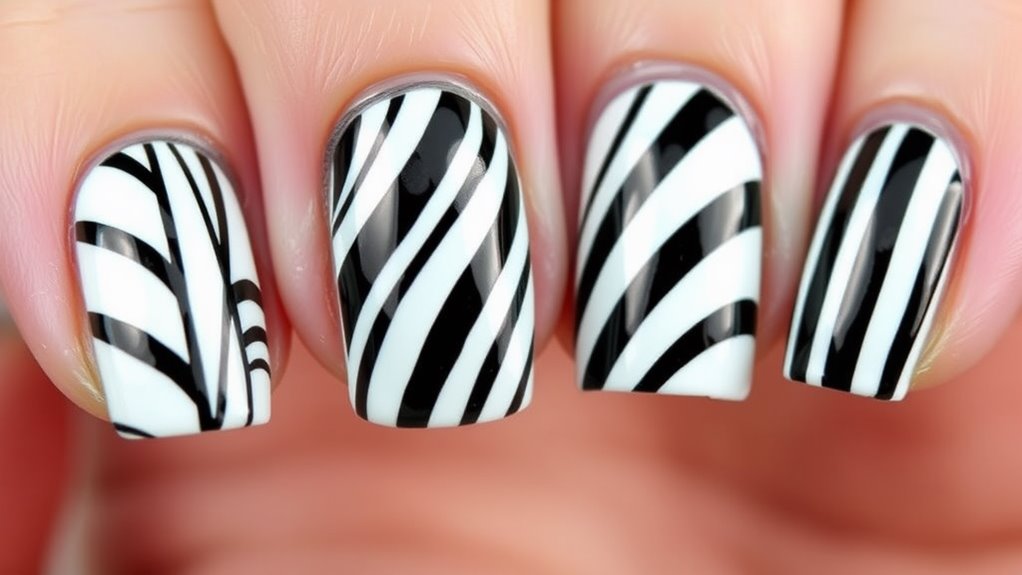
Classic black and white stripes are a timeless choice for nail designs, offering a chic and sophisticated look that never goes out of style. You can easily create this classic design at home with just a few simple steps.
First, start with a clean nail surface. Applying a base coat is a must; it helps your polish stick and protects your nails.
Once the base coat dries, grab your favorite black and white nail polishes. You can use tape to create clean lines, or if you’re feeling brave, freehand it! For a classic look, alternate between thick and thin stripes.
If you want to mix it up, try diagonal stripes or even a chevron pattern.
Don’t forget to seal your masterpiece with a top coat for extra shine and protection. And guess what? You can also add some sparkle! A little glitter on one of the stripes can add a fun twist.
Bold Color Block Stripes
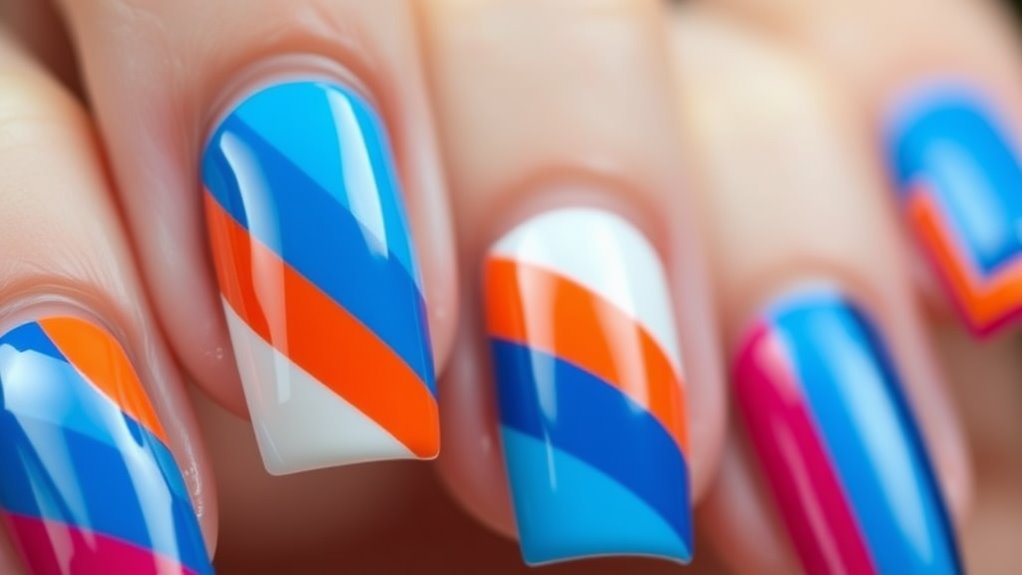
Bold color block stripes are a fantastic way to make a statement with your nails. If you want your nails to stand out and grab attention, this design is perfect for you! You can choose vibrant colors that really pop, like bright pinks, bold blues, or sunny yellows.
Mix and match those colors in thick stripes, and you’ll create a fun and lively look that’s sure to impress.
To get started, pick out your favorite nail polish shades. Apply a base coat to protect your nails, then paint on your chosen colors. You can use tape to create clean lines between colors. Just stick the tape where you want the stripes, paint over it, and peel the tape off while the polish is still wet.
Voilà! You’ve got beautifully defined stripes.
Don’t forget to seal your design with a top coat for extra shine and durability. It’ll keep your nails looking fresh and fabulous for days. Plus, if you make a mistake, don’t worry! You can always touch it up.
Pastel Rainbow Stripes
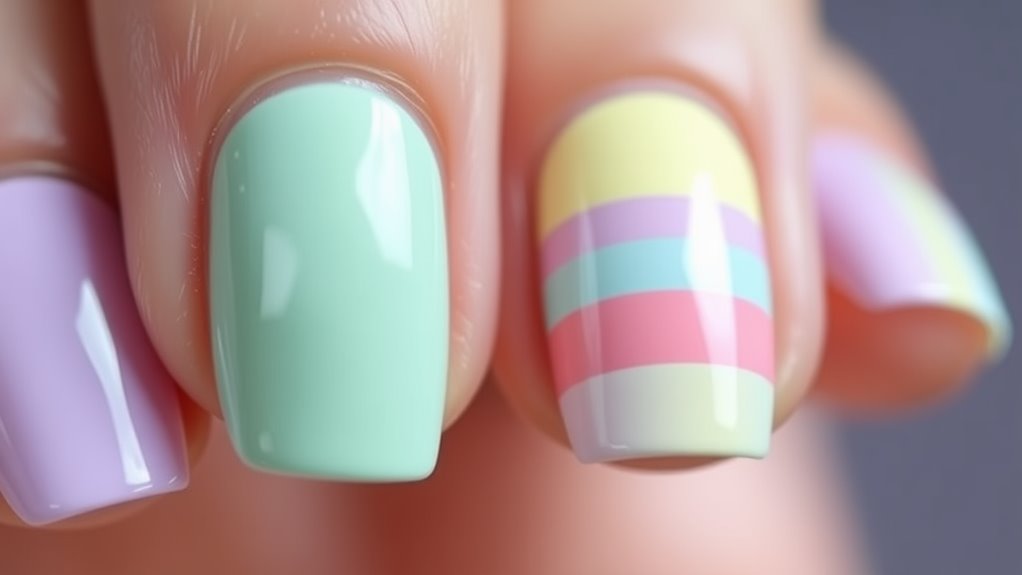
Pastel rainbow stripes are a delightful way to bring a soft, whimsical touch to your nail design. Imagine your nails showcasing a beautiful blend of colors, like a gentle sunset. You can use shades like baby pink, mint green, soft lavender, and light yellow to create this dreamy look. It’s like wearing a rainbow, but way more subtle!
To get started, pick a base color that complements your pastel palette. A light beige or pale peach works great! Once that’s dry, grab a thin nail brush or striping tape. With your chosen pastel colors, paint horizontal or vertical stripes on each nail.
Don’t worry about being perfect; the charm is in the uniqueness of each stripe. If you want to add some fun, try alternating the colors on each nail. This creates a playful effect that’s sure to catch attention.
And remember, you can mix and match colors to suit your mood or season! Once you’re done, finish with a clear top coat to seal the design. Now you’re ready to show off your enchanting pastel rainbow stripes, spreading joy wherever you go!
Metallic and Glitter Stripes
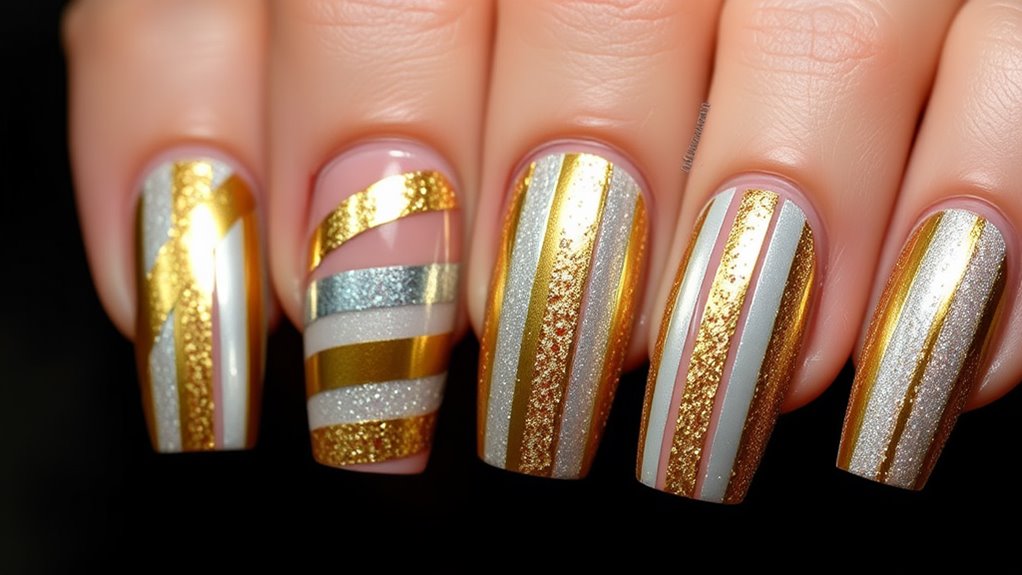
For those looking to add a touch of glamour to their nails, metallic and glitter stripes are the perfect choice. These eye-catching designs can make your nails look super stylish and fun! You can use metallic nail polish in colors like gold, silver, or rose gold. Just imagine how fab those shiny stripes will look!
To create your design, start with a base coat in a solid color—maybe a classic white or a bold black. Once that’s dry, grab your metallic polish and a thin nail brush or tape. Carefully paint or tape your stripes, making sure they’re evenly spaced. You can mix widths too, using both thick and thin stripes for a playful look.
But wait, there’s more! Add some glitter polish over the metallic stripes for an extra sparkle. You can even use different colors of glitter for a colorful twist. Just remember, less is more, so don’t go overboard unless you want to blind your friends with your dazzling nails!
With these metallic and glitter stripes, you’ll have nails that shine bright and steal the show wherever you go. Happy nail painting!
Geometric Striped Patterns
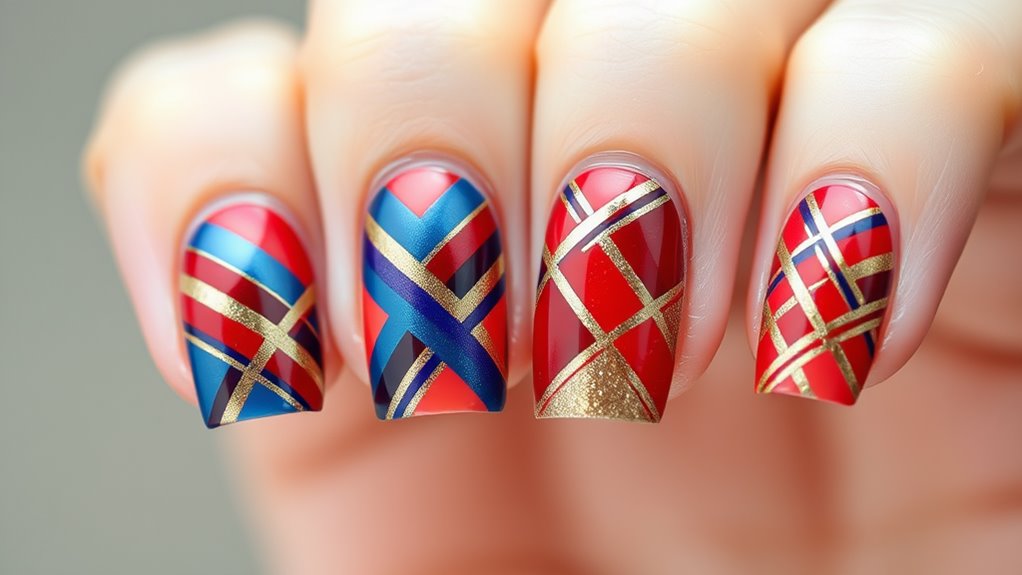
Geometric striped patterns are a fantastic way to elevate your nail game with a modern twist. If you want to stand out, these designs are perfect! Picture triangles, squares, or even zig-zags in bold colors. You can mix and match shapes to create something unique.
Start by painting your nails with a solid base color. Then, grab some nail tape. This little tool is your best friend for creating sharp lines! Stick the tape on your nails in whatever shape you like, cover the exposed areas with a different color, and then peel off the tape. Voila! You’ve got a stunning geometric design.
Don’t be afraid to play around with contrasting colors, like bright yellow against deep navy blue. This can make your nails pop! You can also use thinner stripes for a more delicate look or thicker ones for a bolder statement.
Feeling adventurous? Try adding some dots or swirls between stripes to spice things up. Remember, your nails are a canvas, so let your creativity shine!
With geometric striped patterns, you’re sure to impress everyone with your nail art skills. Happy painting!
Ombre Striped Manicures
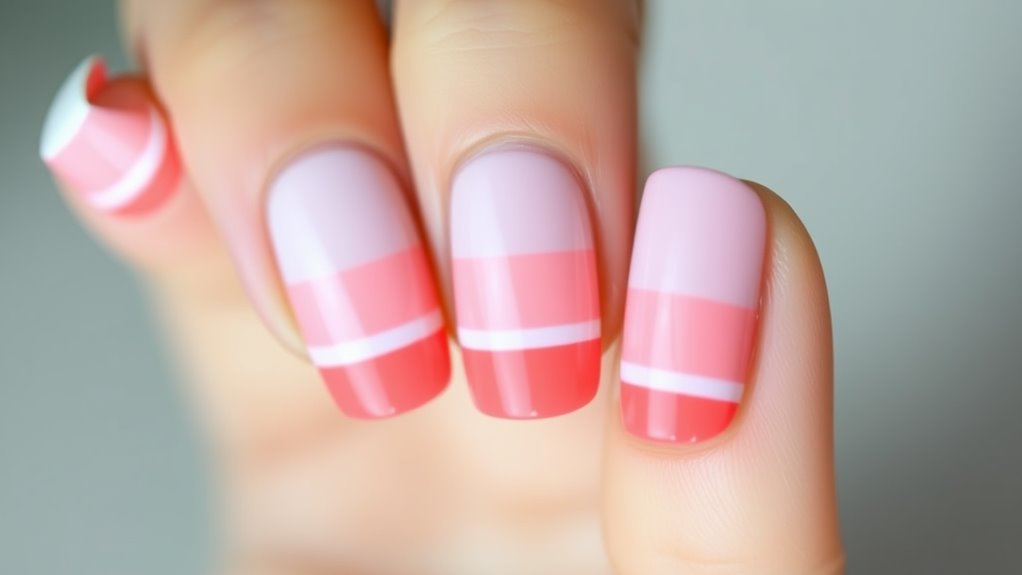
As you explore new nail art techniques, ombre striped manicures offer a stunning blend of colors that can transform your nails into a work of art. Imagine your fingertips showcasing a beautiful gradient that flows seamlessly from one shade to another, all while incorporating fun stripes. It’s like wearing a sunset on your hands!
To create this look, start by choosing two or three colors that complement each other. You can go for bold contrasts or soft pastels, depending on your style.
Next, paint your nails with a base coat to protect them. Once that’s dry, apply the lighter shade at the base of your nail and the darker shade at the tip, using a makeup sponge to blend the colors together gently. This gives you the ombre effect.
Now, for the stripes! You can use nail tape or a small brush to add stripes over the ombre. Think of it like adding a cherry on top of a sundae.
Finish with a top coat to seal the design and add shine. Trust me, you’ll get compliments everywhere you go! So, roll up your sleeves and let your creativity shine!
Negative Space Stripes
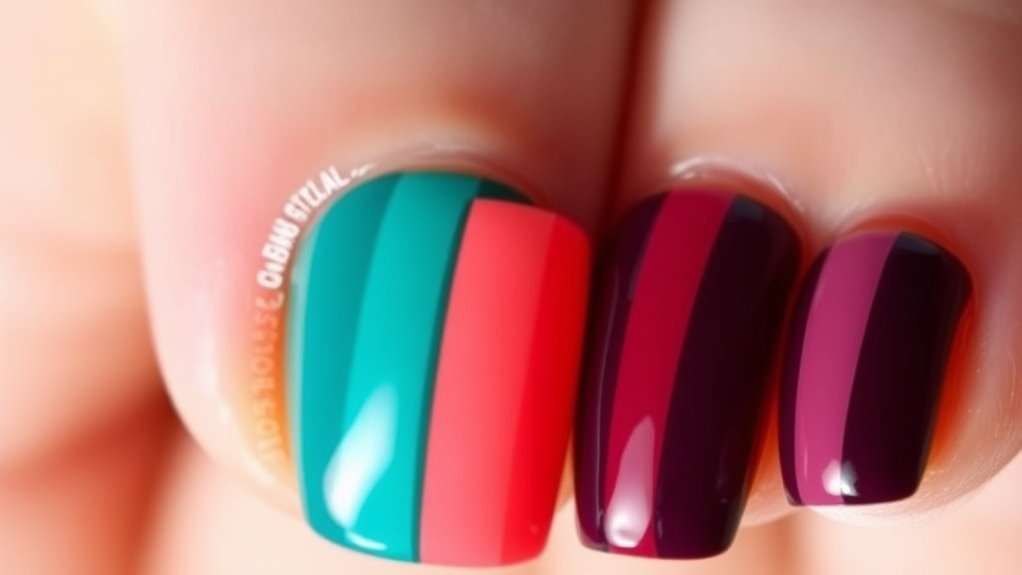
Negative space stripes are a fresh and modern twist on traditional nail art that let your natural nail shine through. This design is all about clever use of space, and it’s super fun to create! By leaving parts of your nail bare, you can mix colors and patterns in a unique way.
Imagine bright colors against your natural nail—it’s like a mini masterpiece on each fingertip!
To get started, you’ll need a base coat, your favorite nail polish colors, and some tape or nail striping tape. First, paint a base coat to protect your nails. Once it’s dry, apply tape to create the stripes. You can make them thick or thin, straight or diagonal—get creative!
After you’ve taped off the sections you want to paint, add your chosen colors. Once you peel off the tape, you’ll see those stunning negative space stripes.
This design works for any occasion, whether you’re going to school or hanging out with friends. Plus, it’s a great conversation starter!
Seasonal Striped Designs
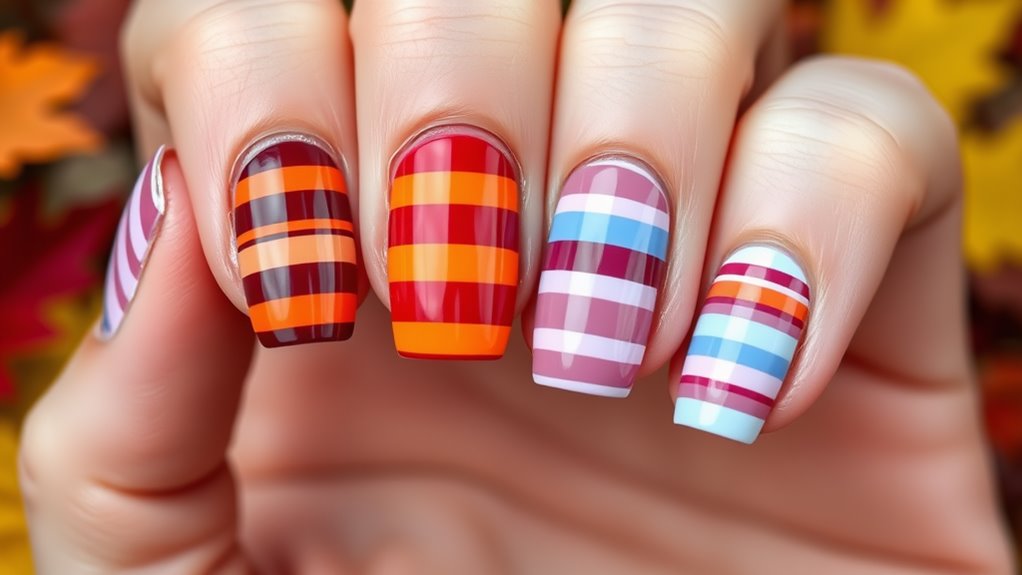
Seasonal striped designs bring a splash of fun to your manicure, allowing you to express your festive spirit with ease.
Whether it’s the bright colors of summer or the cozy hues of winter, you can create nail art that matches the season. For spring, think pastel stripes that make your nails look like cute Easter eggs.
In summer, bold colors like hot pink and sunny yellow can brighten up your look, making you feel like you’re ready for the beach!
As fall arrives, deeper shades like burgundy and orange can give your nails that warm, autumn vibe. You might even add a little gold or silver glitter to mimic the shimmering leaves.
And when winter hits, why not try cool blues and whites that remind you of snowflakes? Add some sparkly silver for a real festive touch!
Don’t forget to play with stripe thickness! Thin stripes can look elegant, while thick stripes can give a playful touch.
You can also mix up the direction of your stripes—vertical or horizontal, you decide! So grab your favorite colors and get creative; your nails are the perfect canvas for seasonal stripes!
Nail Art Tools for Stripes

Creating beautiful striped nail designs requires the right tools to achieve those clean, crisp lines. First off, you’ll need some good-quality nail polish. Pick a few colors that complement each other—think bold and bright or soft pastels!
Next, grab a striping brush. This little tool has long, thin bristles that help you paint precise lines. If you don’t have one, a toothpick or a fine-tipped paintbrush can work in a pinch.
You might also want to use nail striping tape. This tape is super handy for creating straight lines. Just stick it onto your nails where you want your stripes, paint over it, and peel it off to reveal perfect lines.
Don’t forget about a top coat! It’ll seal your design and make those stripes shine.
Conclusion
With all these fun striped nail design ideas, you can turn your nails into a canvas of creativity. Whether you love classic black and white or want to try bold colors, there’s a style for everyone. Don’t forget to grab your nail art tools, and let your imagination run wild! Remember, practice makes perfect, so don’t worry if it doesn’t turn out right the first time—just have fun with it! Happy painting!
