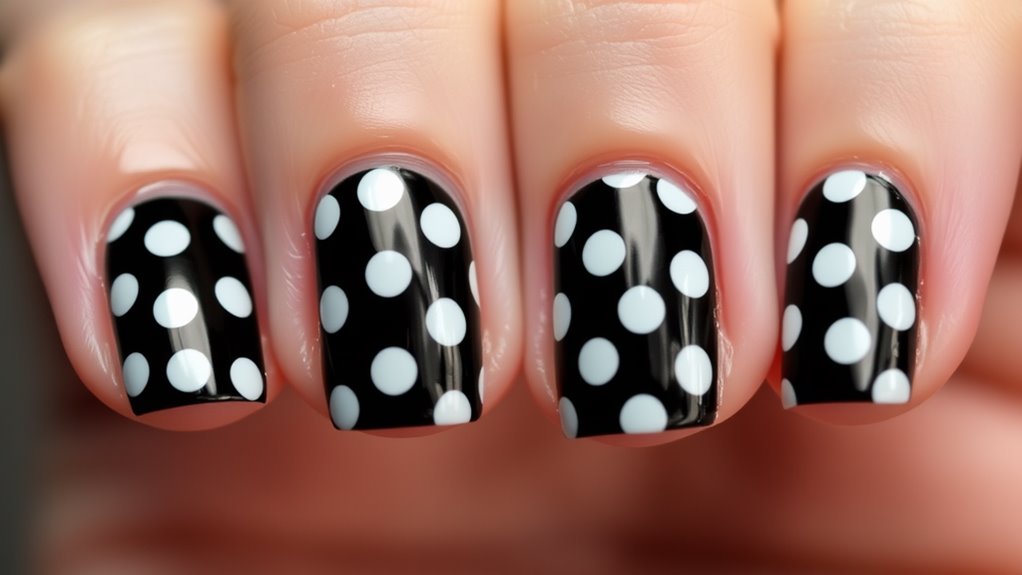
Classic Black and White Polka Dot Nail Ideas
Classic black and white polka dot nails are super easy and fun to do! Start with a base coat to protect your nails, then choose either black or white polish as your main color. Grab a dotting tool or even a toothpick to create your playful dots. Mix up the sizes for a unique twist, and don’t forget to seal it with a top coat for lasting shine. You can get really creative by adding stripes, hearts, or even glitter! Your nails will be the talk of the town, and soon you’ll learn how to add even more flair!
Polka Dot Basics
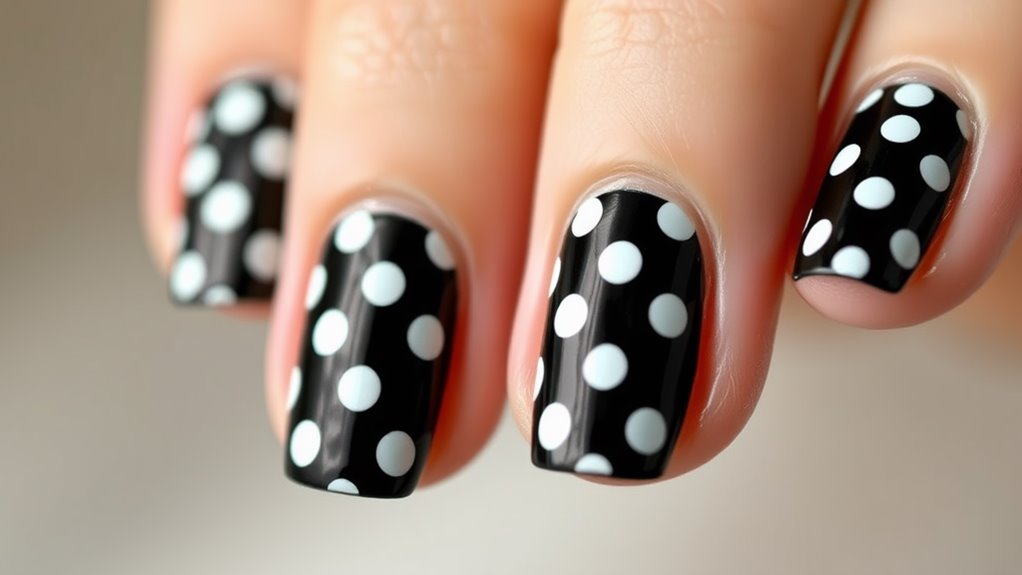
Polka dots are a timeless design that adds a playful touch to any manicure. They’re fun, flirty, and perfect for all occasions! You can easily create polka dots on your nails using just a few simple tools.
First, you’ll need a base coat to protect your nails and help your design stick. Choose a color for your base—maybe classic white or a bold shade that makes you smile.
Once your base coat is dry, grab a dotting tool or even a toothpick. Dip it into your chosen polish color, and gently press it onto your nails to create dots. Don’t worry about making them perfect; that’s part of the charm! You can vary the size of the dots by using different tools, too.
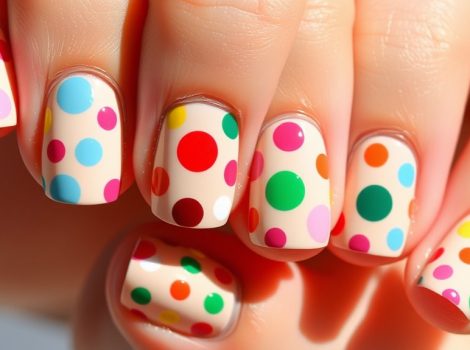
If you want to get adventurous, try alternating colors for each dot! Just remember, less is often more. Stick to two or three colors to keep your design looking fresh and stylish.
After you’ve dotted away, seal everything with a top coat to make your manicure shine and last longer. Now, you’re ready to show off those adorable polka dots! Who knew nail art could be this much fun?
Creative Design Variations
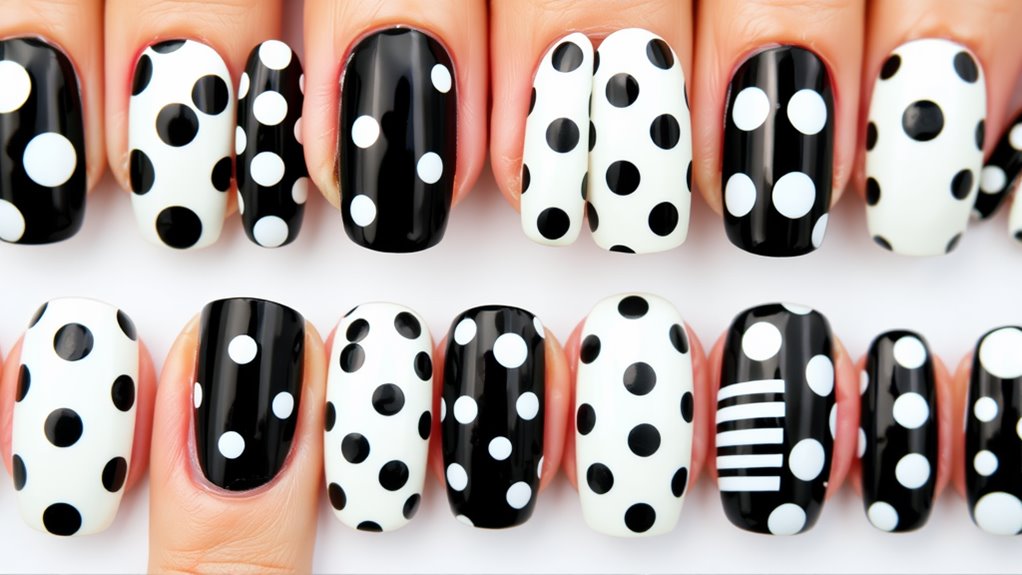
There are endless ways to get creative with your polka dot designs, and experimenting can lead to stunning results. Start by mixing up the sizes of your dots. You can have tiny dots alongside big ones to create a fun and playful look.
If you’re feeling artistic, try using shapes like stars or hearts instead of standard dots. This twist can make your nails stand out even more!
Another fun idea is to play with patterns. You could alternate solid black and white dots with stripes or even checkered designs. Imagine the compliments you’ll get!
Don’t forget about the background color, either. A bold color can make your polka dots pop, transforming your nails into a work of art.
You can even take it a step further by adding glitter to some of your dots for a touch of sparkle. Who doesn’t love a bit of bling?
Finally, think about layering your designs. Start with a solid color base, add some dots, and then top it off with a cute design or two. Your nails will be the talk of the town, or at least the nail salon!
Tools for Perfect Dots
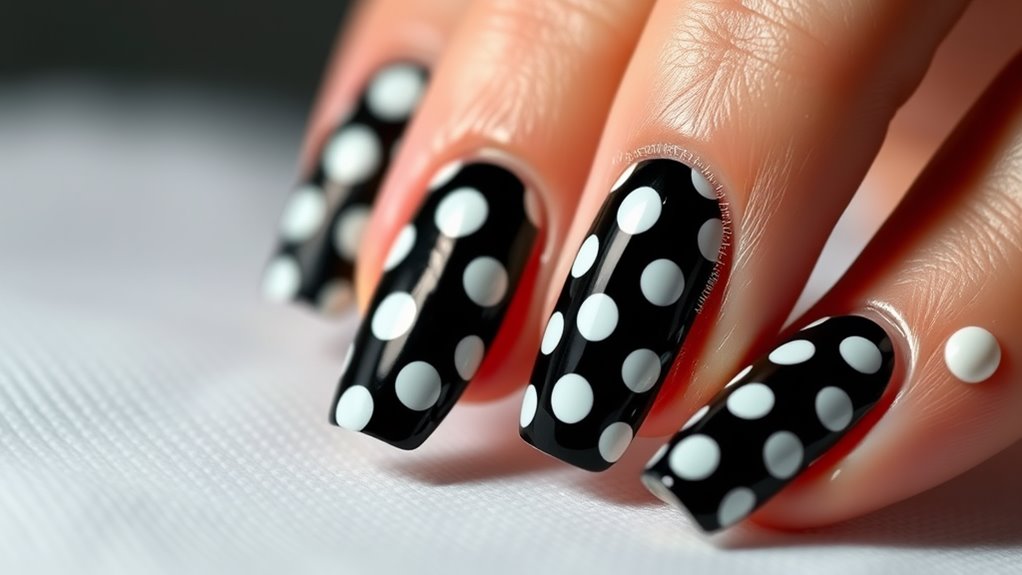
Creating perfect polka dots requires the right tools to achieve that flawless look. You don’t need a magic wand, just a few simple items!
First up, a dotting tool is your best friend. This handy tool has a rounded tip, making it super easy to create dots of all sizes. If you don’t have one, don’t worry! A bobby pin or toothpick can also do the trick.
Next, grab some nail polish in classic black and white. You’ll want a nice, thick formula for the best results. Thin polish can be tricky, and we want those dots to pop!
A small sponge or makeup applicator can help with creating a fun background. Just dab it on your nails for a cool texture before adding dots.
Lastly, don’t forget a top coat! It’ll seal your design and make those dots shine. Plus, it’ll keep your hard work from chipping away too quickly.
Step-by-Step Application
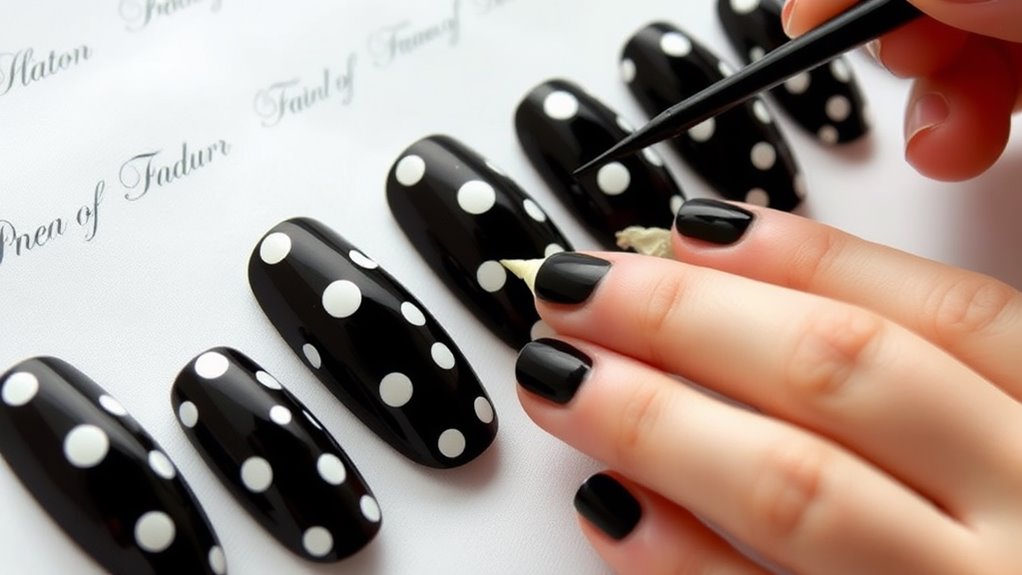
To achieve those perfect polka dots, start with a clean and dry nail surface. First, apply a base coat to protect your nails and help the polish stick better. Once that’s dry, choose a black or white polish for your base color. Paint your nails evenly, making sure to cover the entire surface. Let it dry completely—this part’s super important, or your dots will turn into blobs!
Now, grab your dotting tool or a bobby pin. Dip it into your contrasting color (if you’ve got black nails, use white dots, and vice versa). Gently press the tool onto your nail to create a dot. Don’t worry if they’re not perfect; polka dots are meant to be fun and a little imperfect! Space them out evenly, or mix up the sizes for a playful look.
After you’ve dotted away, wait for everything to dry before applying a top coat. This will seal in your design and give your nails a shiny finish.
And there you go! You’ve got fabulous polka dot nails that’ll have everyone asking, “Who did your nails?” Enjoy showing off your creative masterpiece!
Care Tips for Longevity
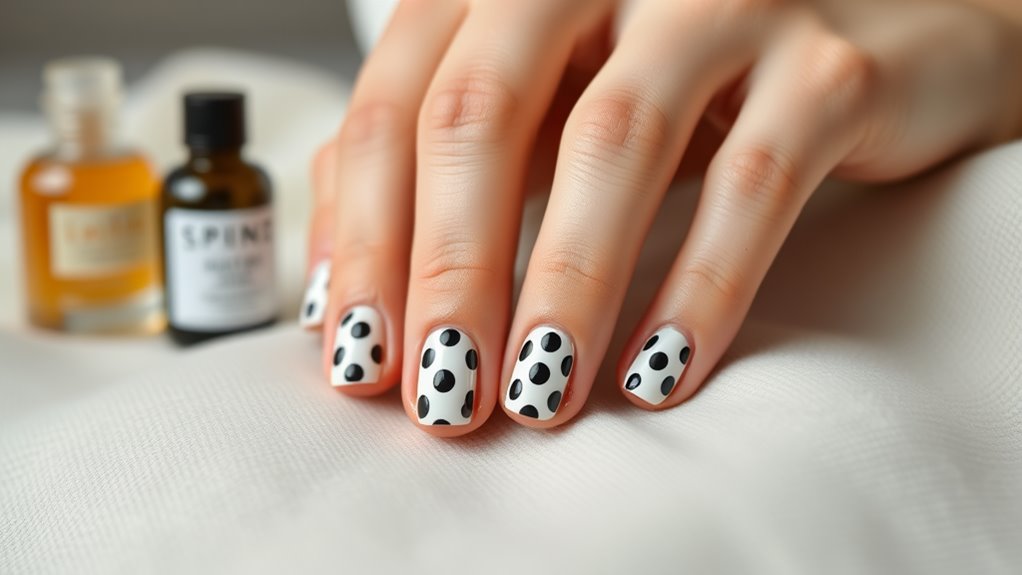
Your nail art deserves the best care to guarantee it lasts as long as possible. To keep those classic black and white polka dots looking fresh, start by applying a good base coat. This acts like a shield, protecting your nails from chips and stains.
Once your art is complete, don’t forget a top coat! It adds shine and creates a barrier against scratches.
Try to avoid soaking your hands in water for long periods. I know, it’s tempting to have a bubble bath, but too much water can make your polish peel. When washing dishes, wear gloves to keep your nails safe.
Also, be gentle! Don’t use your nails as tools, or you’ll risk ruining that perfect design.
Moisturizing your hands and cuticles is super important too. Dry skin can lead to cracks, which aren’t pretty. A quick dab of lotion or cuticle oil goes a long way.
Finally, if you notice any chips, fix them right away. It’s like a mini spa day for your nails!
With these care tips, your polka dot masterpiece will shine for days. Happy nail pampering!
Conclusion
Now that you’ve got all these classic black and white polka dot nail ideas, it’s time to release your creativity! With just a few simple tools and some practice, you can create fun designs that’ll wow your friends. Remember to take care of your nails so they stay fabulous for longer. So go ahead, grab your polish, and get dotting! You’ll be the nail art superstar in no time—just don’t forget to show off your masterpiece!

