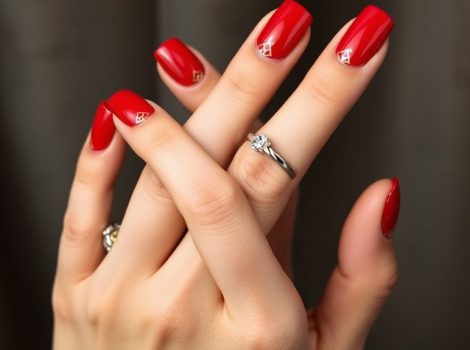
If you want to master Beetlejuice nails, you'll need to start by gathering a few essential supplies. You'll find that having the right black, green, and white polishes on hand makes all the difference. Once you've prepped your nails properly, you can create that striking base layer that sets the tone for your design. The real fun begins when you add those iconic Beetlejuice details, but there are some key techniques to keep in mind. Ready to discover how to elevate your nail game?
Gather Your Supplies
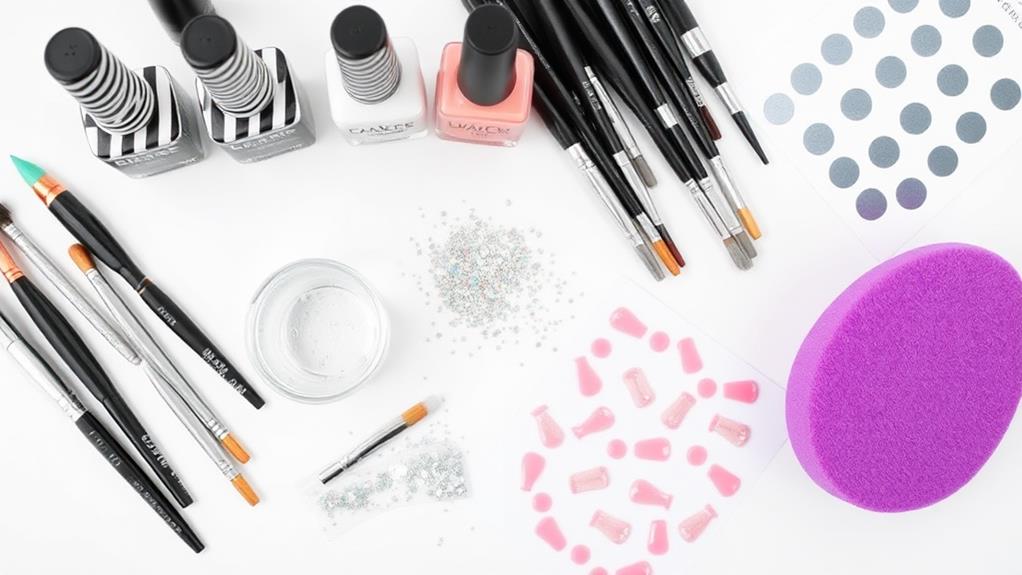
Gathering your supplies is the first step to creating stunning Beetlejuice nails.
You'll need a few essentials to get started. Grab some black and green nail polish, as these colors are key to capturing Beetlejuice's iconic look.
Don't forget a white polish for contrast and a topcoat to seal your design. You'll also want nail brushes or dotting tools for those fun details.
A good base coat will help protect your nails, too. Make sure you have cotton pads and nail polish remover handy for any mistakes.
Finally, consider some nail art stickers or designs to add extra flair.
With everything in place, you're ready to dive into the next steps and bring those Beetlejuice vibes to life!
Prepare Your Nails
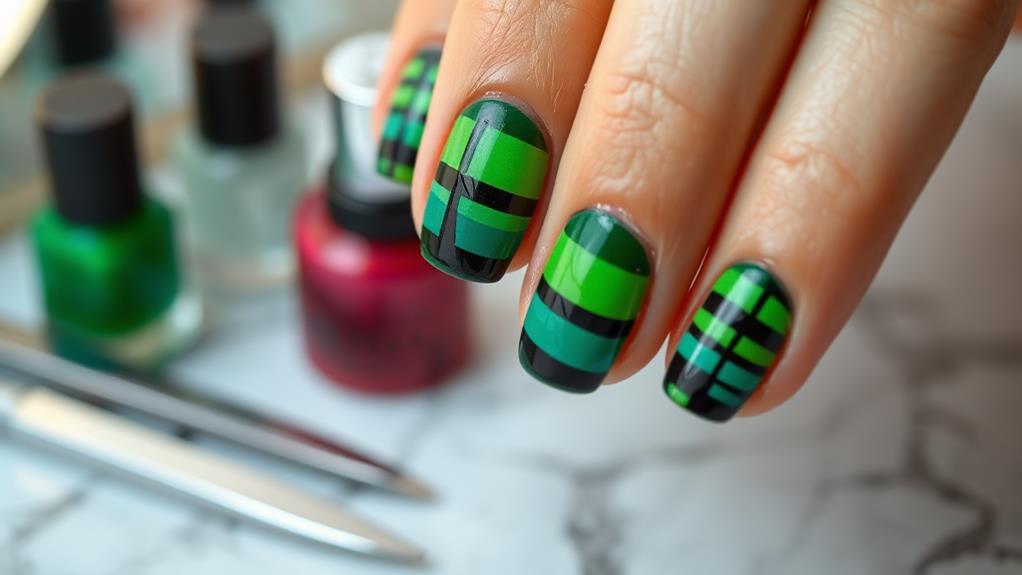
Now that you've gathered your supplies, it's time to prepare your nails for the Beetlejuice design. Start by removing any old nail polish. You want a clean canvas, so use a good nail polish remover and cotton balls.
Next, trim and file your nails to your desired shape. Whether you prefer square or oval, make sure they're all even. After that, gently push back your cuticles with a cuticle pusher. This step helps your nails look neat and allows for better polish application.
Then, wash your hands thoroughly to remove any residue. Finally, apply a base coat to protect your nails and create a smooth surface for the Beetlejuice design.
You're now ready for the fun part!
Create the Base Layer
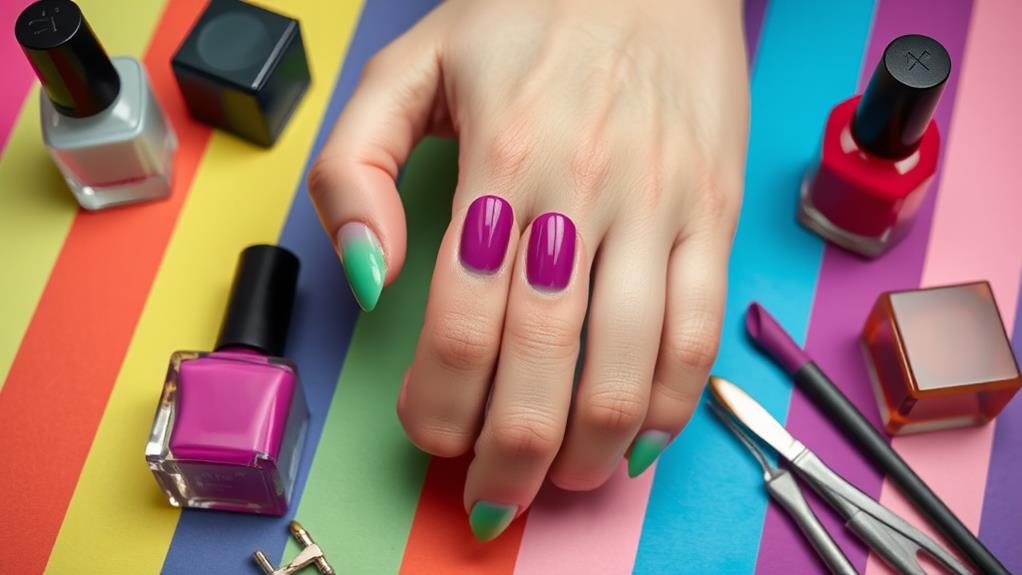
To create the perfect base layer for your Beetlejuice nails, start by applying a coat of white nail polish. This bright base will make your design pop and give your nails a clean look.
Make sure to cover the entire nail surface, including the edges. Once you've applied the first coat, let it dry completely. You might want to add a second coat for a more opaque finish; just ensure the first layer is fully dry before doing so. This will help prevent any smudging and ensure a smooth application.
After the second coat dries, take a moment to inspect your nails. They should look bright and even, setting the stage for the fun Beetlejuice details to come!
Add Beetlejuice Details
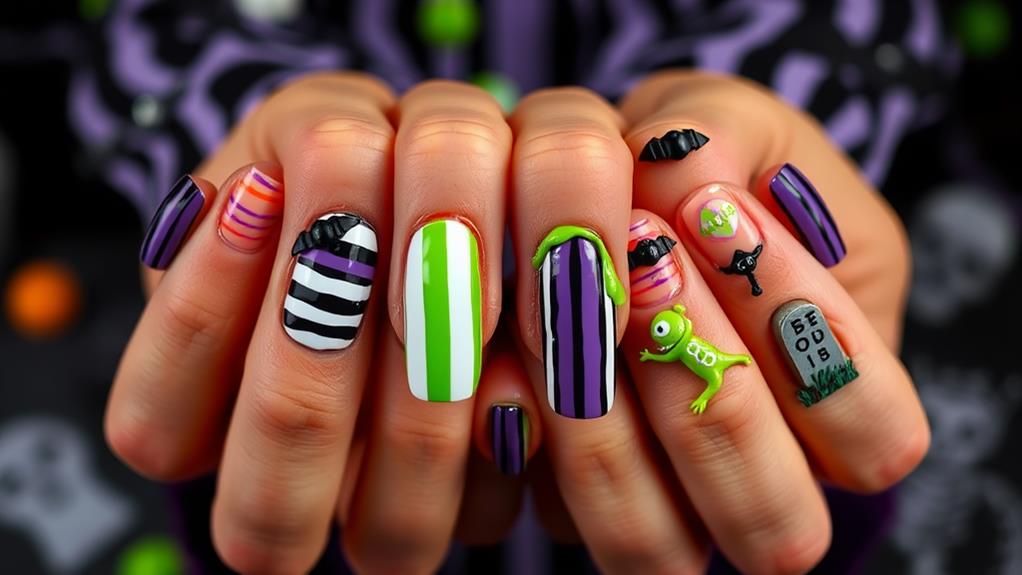
With your bright base layer fully dried and ready, it's time to infuse your nails with the iconic Beetlejuice details.
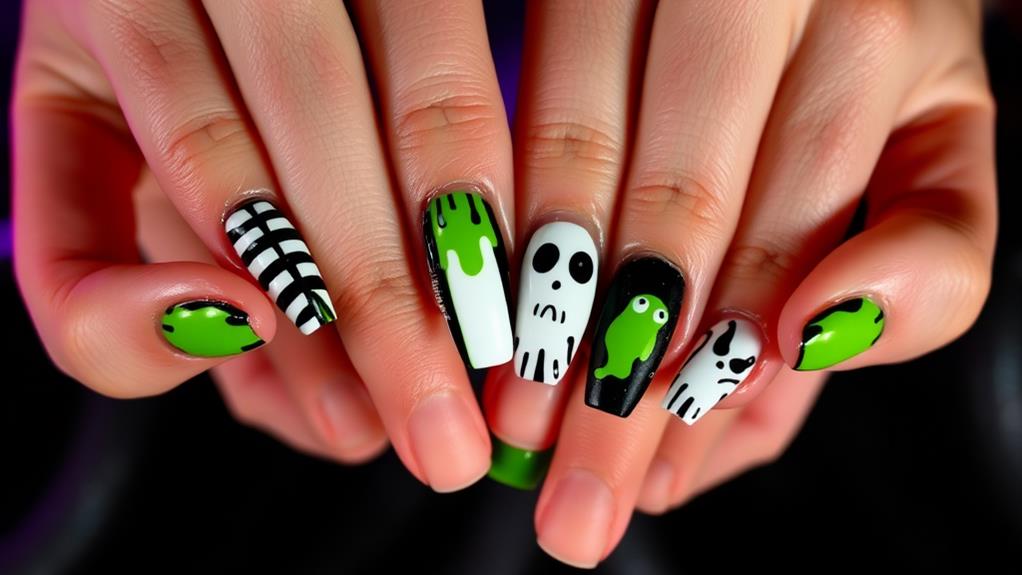
Start by using a thin nail art brush or a toothpick dipped in black polish to create random, wiggly lines. These will mimic the chaotic style of Beetlejuice himself.
Next, grab some white polish and add small dots or stars for that spooky vibe. You might also want to incorporate green or purple accents; think about adding stripes or little ghost shapes.
If you're feeling adventurous, try a mix of matte and shiny finishes for extra flair.
Finish With Top Coat
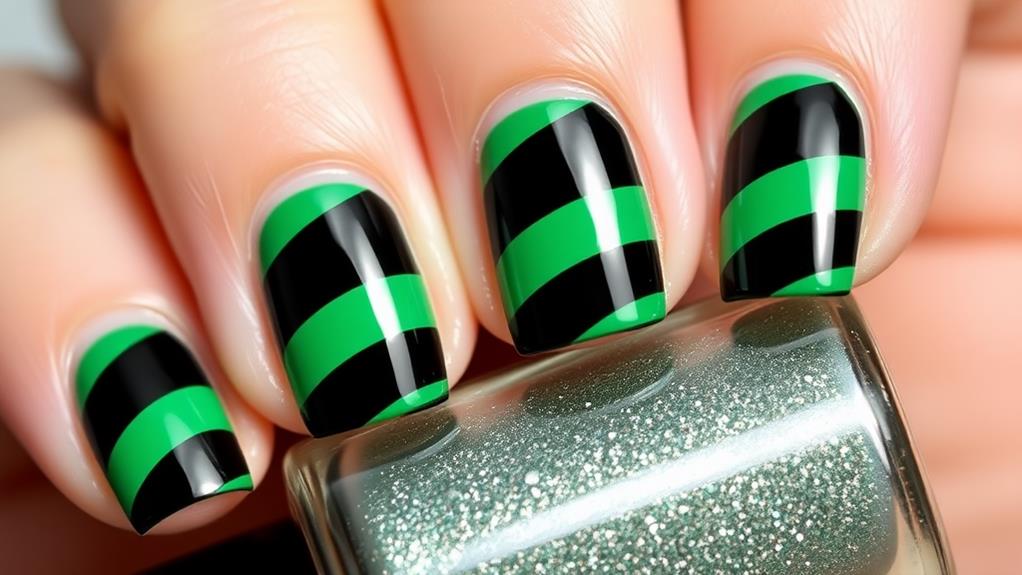
A glossy top coat is essential for sealing in your Beetlejuice nail art and giving it that professional finish.
Once you've added all those fun details, it's time to apply the top coat. Grab a high-quality, quick-dry top coat to prevent smudging.
Start by gently brushing a thin layer over your designs, ensuring you cover the entire nail. Don't forget the edges; that's where chips often start!
Allow it to dry completely, which usually takes just a few minutes. If you want extra durability, consider applying a second layer. This will enhance the shine and help your design last longer.
With that final touch, your Beetlejuice nails will look fantastic and ready to impress! Enjoy your spooky manicure!
