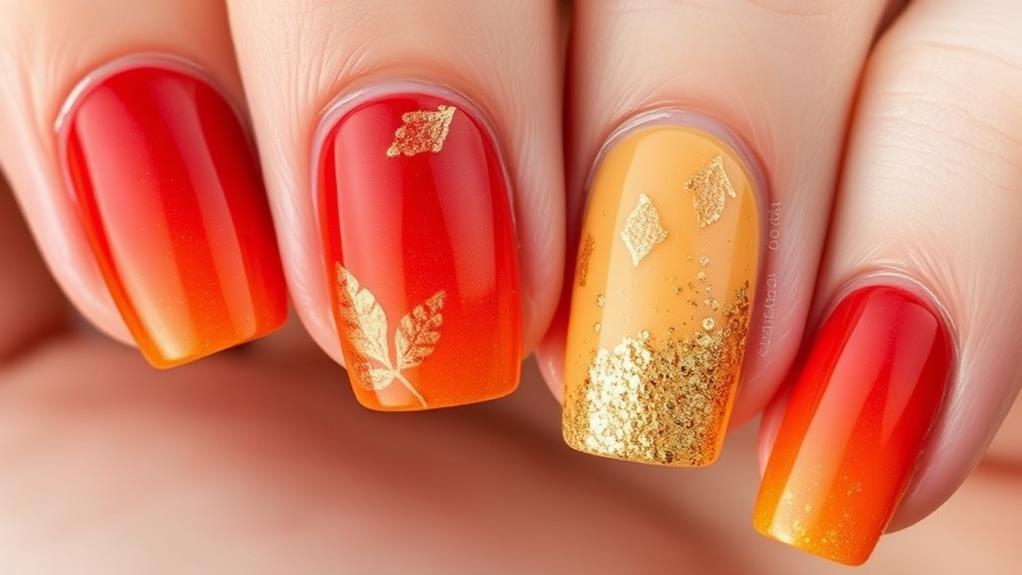
As the leaves begin to change, you might find yourself wanting to reflect that beauty on your nails. By following a simple step-by-step guide, you can create stunning fall transition nails that capture the essence of the season. You'll start by gathering the right supplies and selecting a color palette that resonates with autumn's warmth. But before you dive into the gradient technique, there are essential preparations to consider that can make all the difference in your nail art. Are you ready to uncover those crucial steps?
Gather Your Supplies
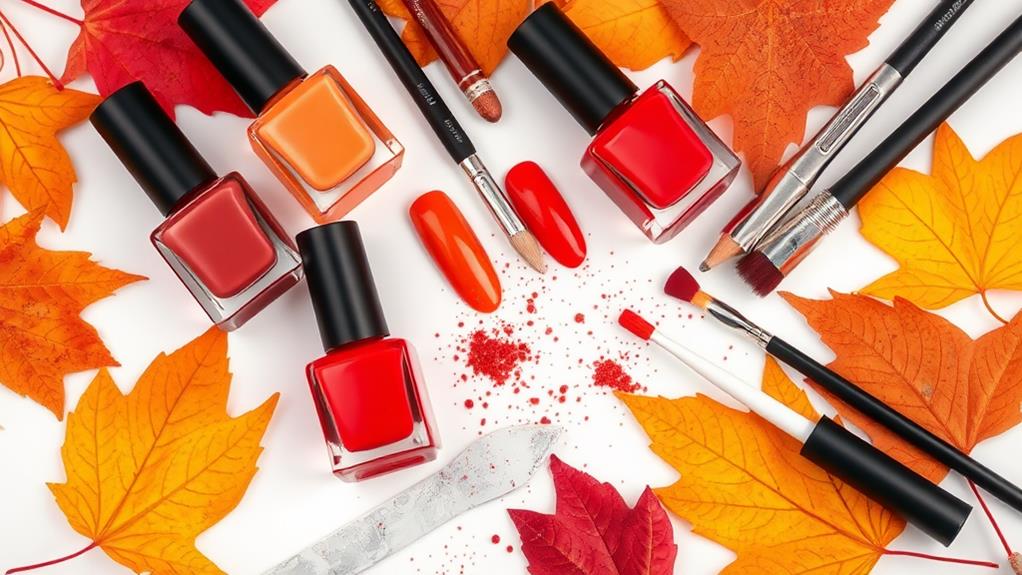
To get started on your fall transition nails, you'll need a few essential supplies. First, grab a good quality base coat to protect your nails and help the polish last longer.
Next, pick up some fall-inspired nail polishes in various shades, like deep reds, warm browns, and muted oranges. You'll also want a top coat for that glossy finish.
Don't forget nail files and buffers to shape and smooth your nails. A cuticle pusher and some cotton balls soaked in nail polish remover will come in handy too.
Choose Your Color Palette
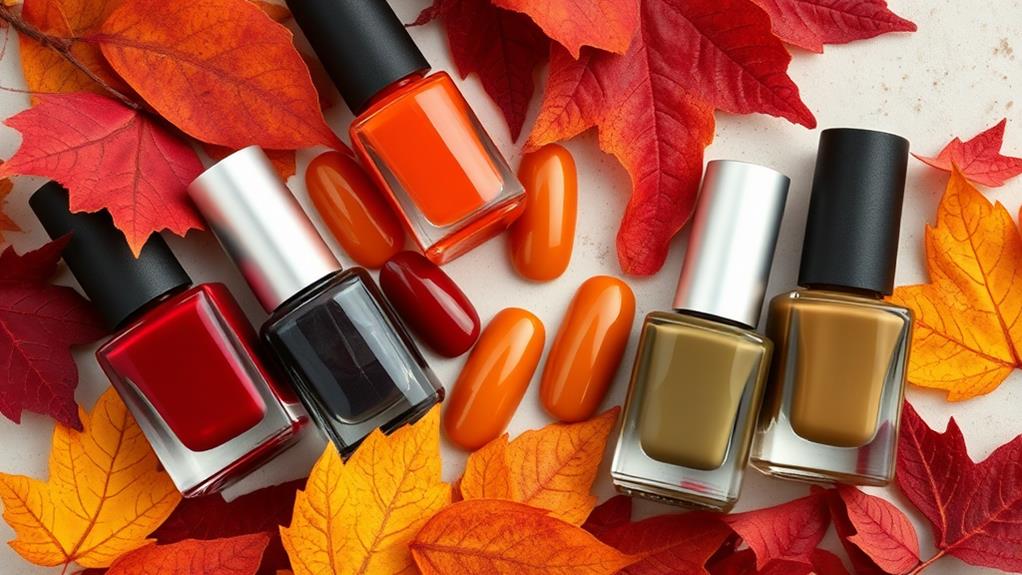
As you dive into the world of fall transition nails, selecting the right color palette is essential for capturing the season's essence.
Think warm and inviting hues that reflect autumn's beauty. Rich burgundies, burnt oranges, and deep golds can create a stunning look that resonates with the changing leaves.
You might also consider adding some neutral shades like taupe or cream to balance out the bolder colors. Don't forget about incorporating trendy metallics or glitters for a touch of sparkle!
Mixing and matching these colors can result in a unique design that showcases your personality.
Remember, it's all about creating a palette that makes you feel fabulous while celebrating the cozy vibes of fall.
Happy painting!
Prepare Your Nails
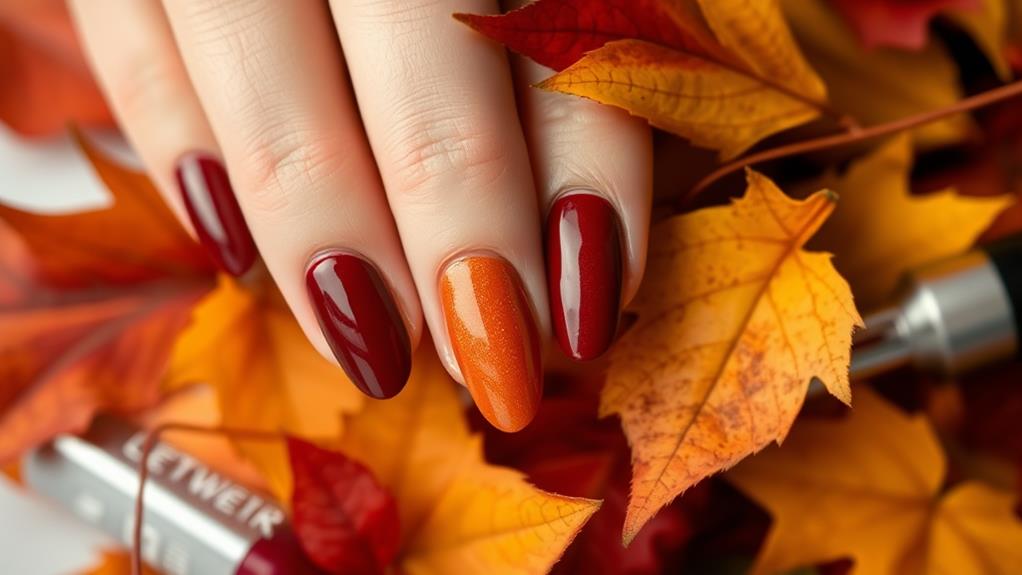
Preparation is key to achieving a flawless fall transition manicure. Start by removing any old polish; this ensures a clean canvas for your new design.
Next, trim and file your nails to your desired shape, whether it's square, oval, or something unique. Don't forget to push back your cuticles gently; this helps create a neat look.
If your nails are rough or dry, consider buffing them lightly to smooth the surface. Hydrate your hands and nails with a nourishing lotion or cuticle oil to keep them healthy and ready for polish.
Apply Base Coat
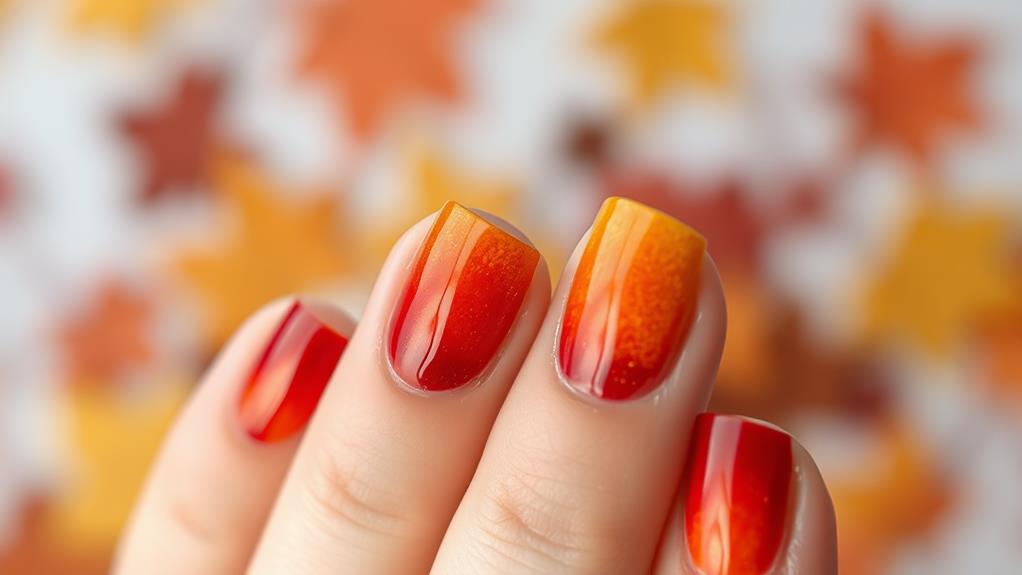
Applying a base coat is an essential step that many overlook, but it makes a world of difference for your fall manicure. A good base coat not only protects your natural nails from staining but also helps the polish adhere better, meaning your stunning colors will last longer.
Before you start, ensure your nails are clean and dry. Apply a thin layer of base coat evenly across each nail, making sure to cover the tips as well. This extra step prevents chipping and creates a smooth surface for the polish.
Plus, it can even help your nails feel stronger. Allow the base coat to dry completely before moving on to the next steps in your fall nail art journey. Happy painting!
Create the Gradient
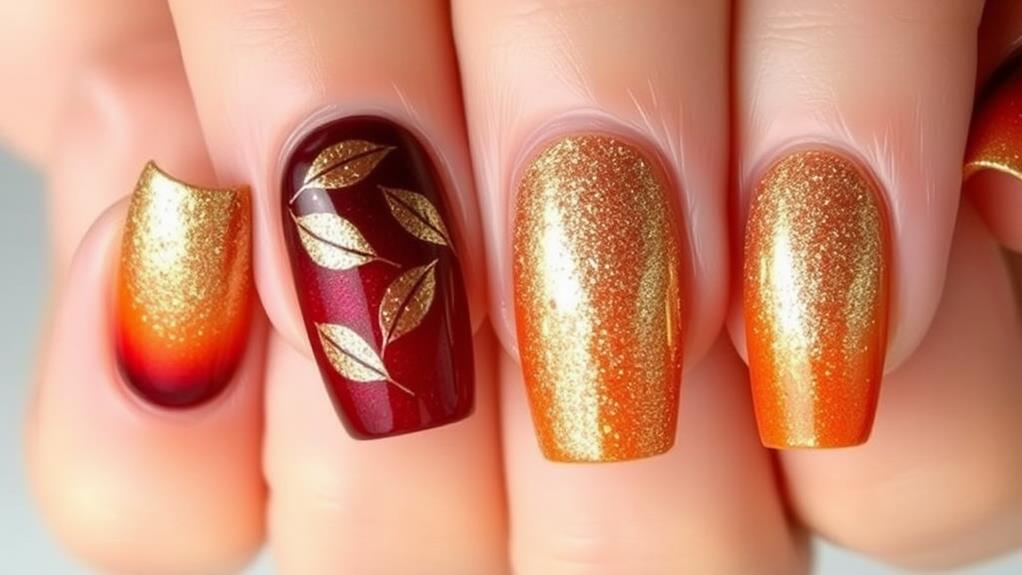
Creating a beautiful gradient on your nails is all about choosing the right color palette and mastering blending techniques.
You'll want to pick colors that represent the fall season, like warm oranges, deep reds, and rich browns.
Once you've got your colors, we'll go over some easy blending tips that will help your nails transition smoothly from one shade to another!
Choosing Your Color Palette
Choosing the right color palette for your fall transition nails can make all the difference in achieving a stunning gradient effect.
Think about colors that reflect the essence of fall, like warm oranges, rich reds, and deep browns. You might also consider adding a touch of gold or bronze for an extra pop.
When picking your shades, aim for a mix of contrasting and complementary colors to create a dynamic blend. It's essential to choose three or four shades that flow together harmoniously.
This selection allows for a smooth transition from one color to another, enhancing that beautiful gradient look. With the right palette, you'll set the stage for the perfect fall manicure that's both eye-catching and seasonal!
Blending Techniques Explained
Once you've settled on your color palette, it's time to bring those shades to life with effective blending techniques.
Start by applying a base coat to smooth the nail surface, then paint one color at the tip and another at the base. Use a makeup sponge to dab the two colors together, creating a gradient effect. This technique helps blend the colors seamlessly.
You can also try the "water marble" method by swirling the polishes in a bowl of water, dipping your nails in for a unique look. Remember to work quickly, as polish can dry fast.
Finish with a top coat for added shine and protection. With practice, you'll create beautiful fall transition nails that turn heads!
Finish With Top Coat
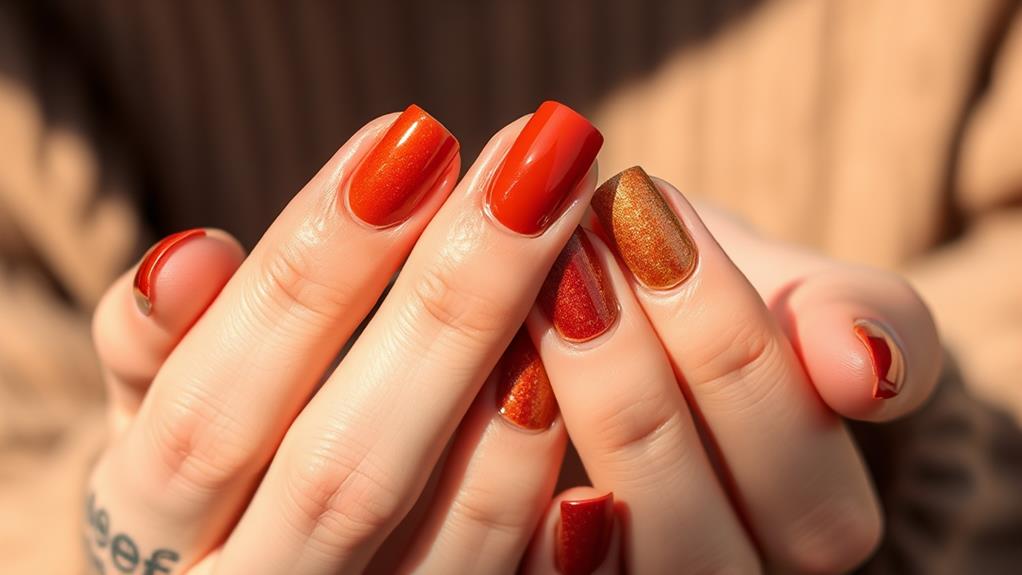
Now that you've created your stunning gradient, it's time to seal the deal with a top coat.
This step not only adds shine but also protects your nails from chips and wear, making your manicure last longer.
Let's explore some easy application techniques to make sure you get the best finish possible!
Importance of Top Coat
A glossy top coat acts as a protective shield for your freshly painted nails, enhancing both their appearance and longevity.
It seals in your hard work, preventing chipping and fading. Without a top coat, your beautiful design can quickly lose its charm, making all that effort feel wasted.
Plus, a top coat adds that stunning shine, giving your nails a polished look that catches everyone's eye. It can also help your nails dry faster, so you won't be waiting around forever.
Using a quality top coat ensures your fall transition nails look fabulous for days.
Application Techniques Explained
Achieving a flawless finish with your fall transition nails starts with mastering application techniques. First, make sure your nails are clean and dry before applying a base coat. This helps the polish adhere better and prevents chipping.
Next, apply two thin layers of your chosen color, allowing each layer to dry slightly before adding the next. This creates a rich, even color that pops!
Once your color is perfect, it's time for the top coat. Use long, smooth strokes to cover the entire nail, sealing in your design and adding a glossy finish.
Don't forget to wrap the tips of your nails with the top coat to prevent wear. With these techniques, your fall nails will look stunning and last longer!

