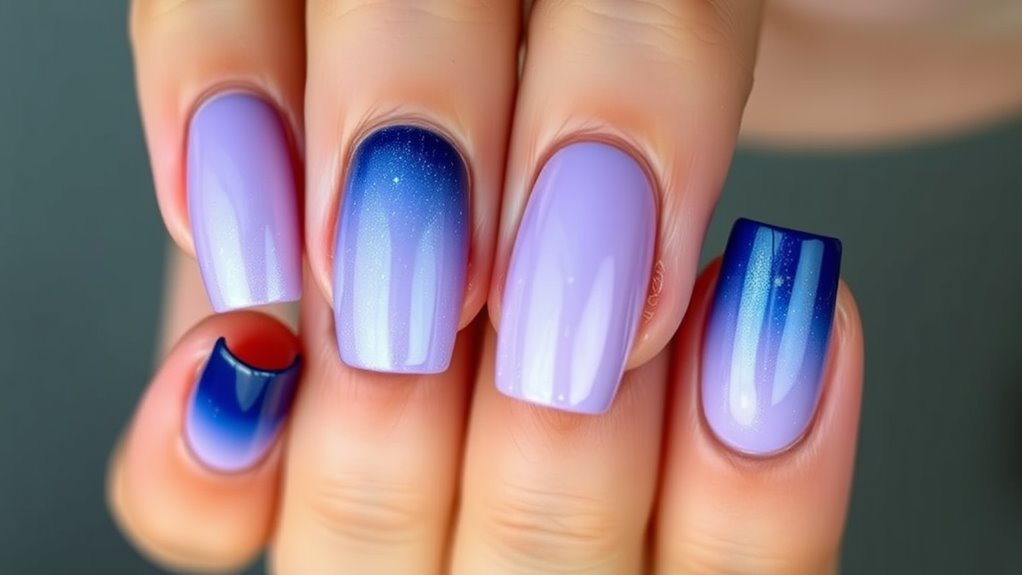
Unique Ombre Nail Styles to Try
You can create unique ombre nail styles that’ll really wow your friends! Start with classic techniques—use a makeup sponge to blend two colors for a smooth gradient. If you want to stand out, try bold combos like fiery red fading into bright orange, or sunny yellow into cool blue. For a little glam, add glitter at the tips. Don’t forget about finishes! Matte has a chic vibe, while glossy shines bright like a diamond. And hey, match your colors to the season for even more fun! Stick around, and you’ll uncover more awesome ombre ideas to try!
Classic Ombre Techniques
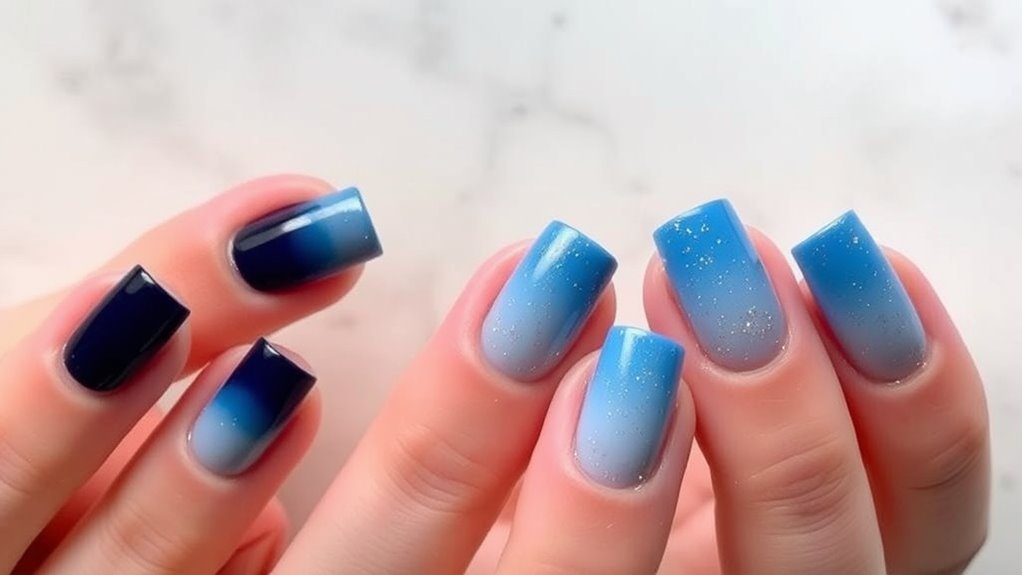
When it comes to classic ombre techniques, there are several tried-and-true methods that can elevate your nail art game. First up, you’ll want to gather your supplies: a base coat, two nail polish colors, a makeup sponge, and a top coat. Sounds easy, right?
Start by painting your nails with the lighter color as a base. This sets the stage for the ombre effect. Next, take your sponge and apply both colors side by side on it. You’re going for a gradient look, so don’t be shy—layer them generously!
Now, gently dab the sponge onto your nails. You may need to repeat this step a few times to achieve the perfect blend. Don’t forget to clean up any mess around your nails with a brush dipped in remover.
Bold Color Combos
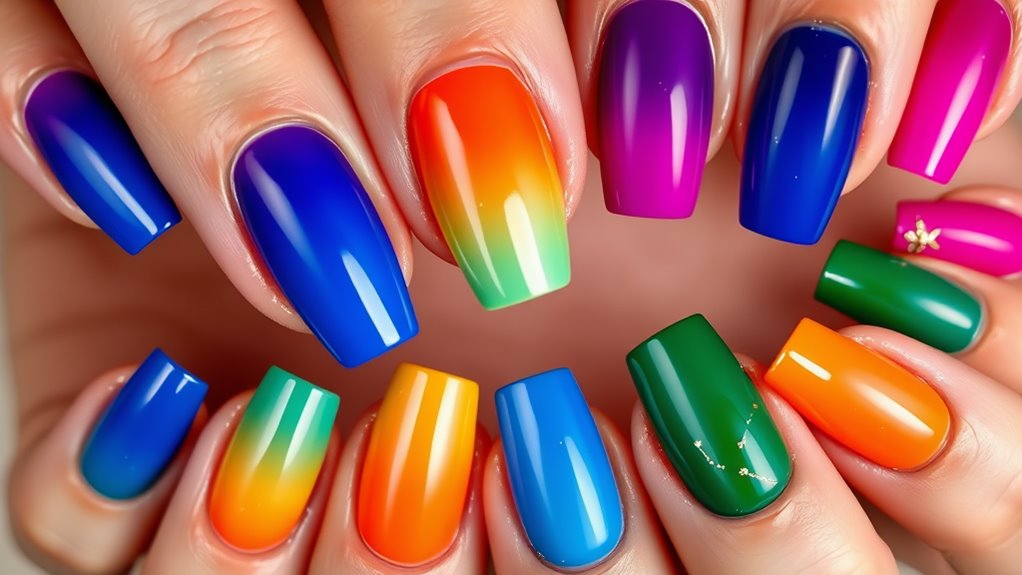
Bold color combinations can truly transform your ombre nails into a striking statement piece. Imagine rocking a vibrant pink that smoothly shifts into a deep purple!
These eye-catching combos not only show off your style but also let your personality shine. You could even go for a fiery red blending into a bright orange—perfect for turning heads.
When choosing your colors, think about what makes you feel good. Do you love the beach? Try a sunny yellow fading into a cool blue.
Feeling adventurous? Grab a neon green and mix it with a bold black. The key is to pick colors that contrast yet complement each other.
Don’t forget about your base coat! A light or neutral shade can help your bold colors pop even more.
And hey, if you make a mistake, just laugh it off! Nail art is all about having fun and expressing yourself.
Glitter Ombre Effects
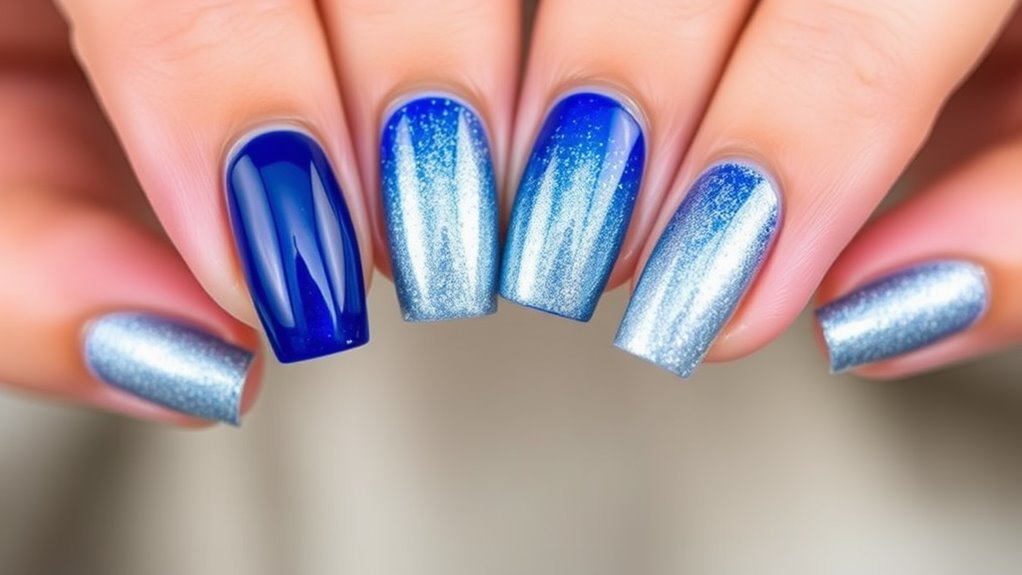
Glitter ombre effects can elevate your nail game to a whole new level of glam. Imagine having nails that sparkle and shine, like tiny works of art! This style blends a gradient of colors with a sprinkle of glitter, creating a dazzling look that’s perfect for any occasion.
You can start with a bold color at the base, then fade into a shimmering glitter towards the tips. It’s like magic!
To create this stunning look, you’ll need a few items. Grab your favorite nail polish colors, some fine glitter, and a makeup sponge.
Start by painting your nails with the base color. Once it’s dry, dip the sponge into the glitter and gently dab it onto the tips of your nails. This technique gives you that beautiful ombre effect, with the glitter gradually fading down.
Don’t worry if it’s not perfect right away—practice makes perfect! Plus, you can mix and match colors to create your unique style.
Whether you’re headed to a party or just want to feel fabulous, glitter ombre nails will surely turn heads. So go ahead, let your nails shine bright and show off your personality!
Matte vs. Glossy Finishes
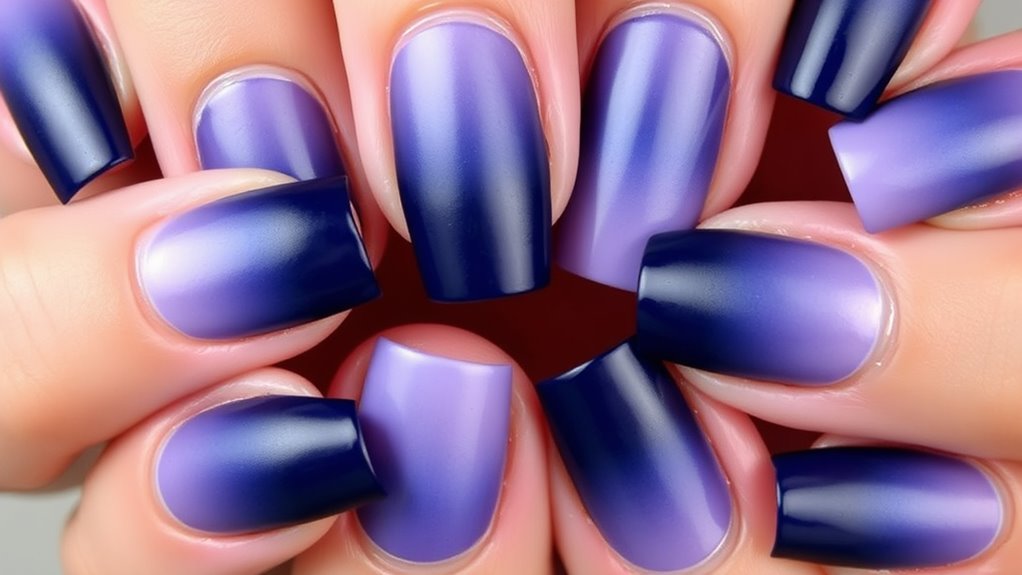
Whether you prefer a sleek, matte finish or a shiny, glossy look, the choice can greatly impact your nail art’s overall vibe. If you’re aiming for a chic, understated style, matte nails could be your best friend. They give off a cool, sophisticated feel and can make your ombre design stand out in a unique way.
Plus, the texture feels different, almost like velvet for your fingertips!
On the other hand, if you love a little shine, glossy finishes can really make your ombre pop. The light catches the colors beautifully, creating a vibrant and eye-catching effect.
Glossy nails are perfect for making a statement, making your design sparkle like a disco ball. Who doesn’t want their nails to shine brighter than their future?
Choosing between matte and glossy is all about what mood you want to convey. You might even want to switch things up depending on the occasion!
So, why not experiment with both? Trying different finishes can lead to some fun surprises and help you discover your favorite look.
Happy painting, and may your nails always be fabulous!
Seasonal Ombre Inspirations
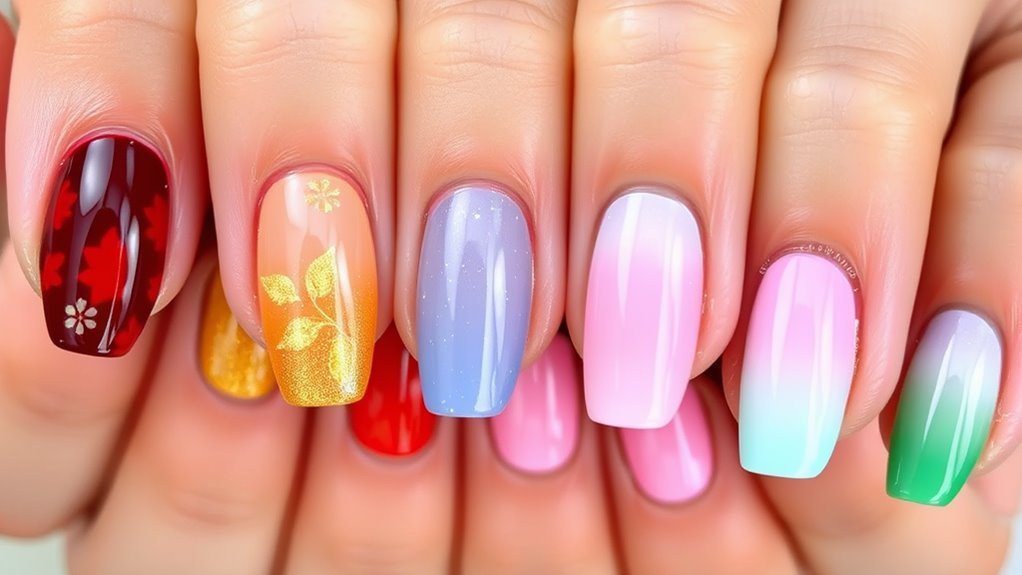
As the seasons change, so can your nail art, and seasonal ombre inspirations offer a fun way to embrace those shifts in color and mood.
For spring, think soft pastels like baby pink and mint green blending into each other. It’s like a garden blooming on your fingertips!
As summer rolls in, you can go bold with vibrant colors like sunny yellows fading into deep oranges or hot pinks. You’ll feel like you’re holding a tropical sunset!
When autumn arrives, warm colors like burnt orange, deep reds, and golden yellows can create a cozy vibe. It’s perfect for sipping pumpkin spice lattes while showing off those nails!
And when winter comes, icy blues or shimmering whites can give you that frosty feel. You can even add a hint of silver for that glistening snow effect.
No matter the season, you can match your nails to your mood. Just remember, ombre is about blending, so don’t rush it.
Take your time and have fun experimenting with colors. Your nails can be a canvas for your creativity, reflecting the beauty of each season in a stylish way!
Nail Art Accessories for Ombre
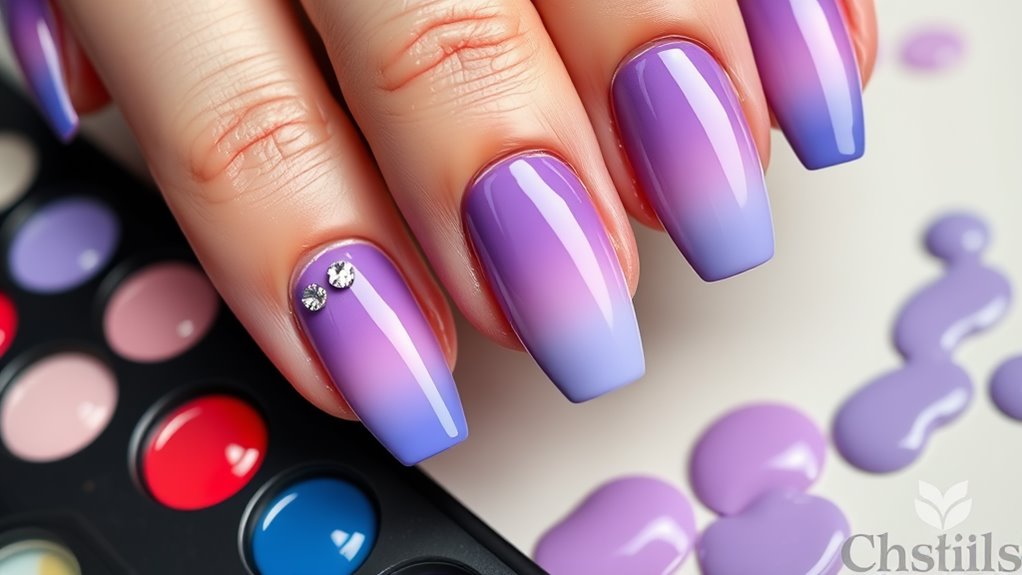
How can you elevate your ombre nail art game? Adding nail art accessories can make a huge difference! Think about using nail stickers or decals. They come in all sorts of fun designs, like flowers, hearts, or even sparkles. Just stick them on after you’ve created your ombre effect, and you’ll have a cute, personalized touch!
Another awesome accessory is glitter. Who doesn’t love a little sparkle? You can sprinkle some fine glitter on the tips of your nails or mix it into your ombre colors for an extra pop. It’s like adding fairy dust to your fingertips!
Don’t forget about nail tape! This handy tool helps you create clean lines and shapes. Use it to section off parts of your nail before painting. It’s a great way to combine different colors and styles, making your ombre even more unique.
Lastly, consider using rhinestones or gems. They’re the cherry on top of your nail art cake! Place them at the base of your nail or along the side for a fancy finish.
With these accessories, your ombre nails will stand out and shine bright! So, get creative and have fun!
Conclusion
You’ve got tons of fun ombre nail styles to try out. Whether you’re going for a classic look or something bold and glittery, there’s an ombre for every occasion. Remember to play around with different colors and finishes to find what suits you best. Nail art is all about expressing yourself, so don’t be afraid to get creative! Happy nail painting, and may your nails shine bright like a diamond!
