How to Create Stunning Rhinestone Nail Designs
Creating stunning rhinestone nail designs is a fun way to show off your creativity. Start by prepping your nails—remove old polish, trim them, and apply a base coat. When picking rhinestones, choose sizes and colors that pop. Use a dotting tool and tweezers to place rhinestones carefully on your dried polish. You can mix patterns, like adding a half-moon design or playful shapes. Don’t forget to seal your masterpiece with a top coat for extra shine! With these tips, your nails will sparkle like they’re ready for a party. Stick around, and you’ll find even more awesome ideas!
Essential Tools for Nail Art
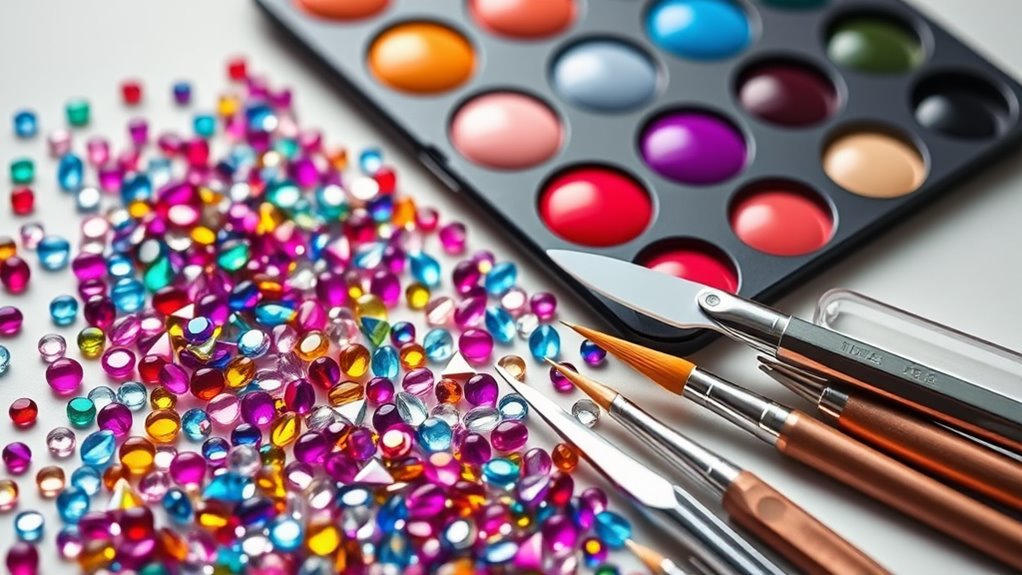
Creating stunning rhinestone nail designs starts with having the right tools at your fingertips. You don’t want to jump in without the essentials, trust me! First, grab a good-quality nail polish in your favorite colors. You’ll need a base coat to protect your nails and a top coat to seal those fabulous designs.
Next, a dotting tool or a toothpick is a must-have for placing those tiny rhinestones. It’s like your magic wand for nail art! You’ll also want some nail glue—just a tiny bit will do, so your gems don’t go flying off when you least expect it.
Don’t forget a pair of tweezers; these will help you pick and place rhinestones without ending up with a sticky mess. A nail file and buffer are also key, making sure your nails are smooth and ready for action.
Lastly, consider a nail art brush for adding intricate designs or patterns. With these tools in hand, you’re all set to create dazzling rhinestone nails that’ll make everyone stop and stare.
Preparing Your Nails
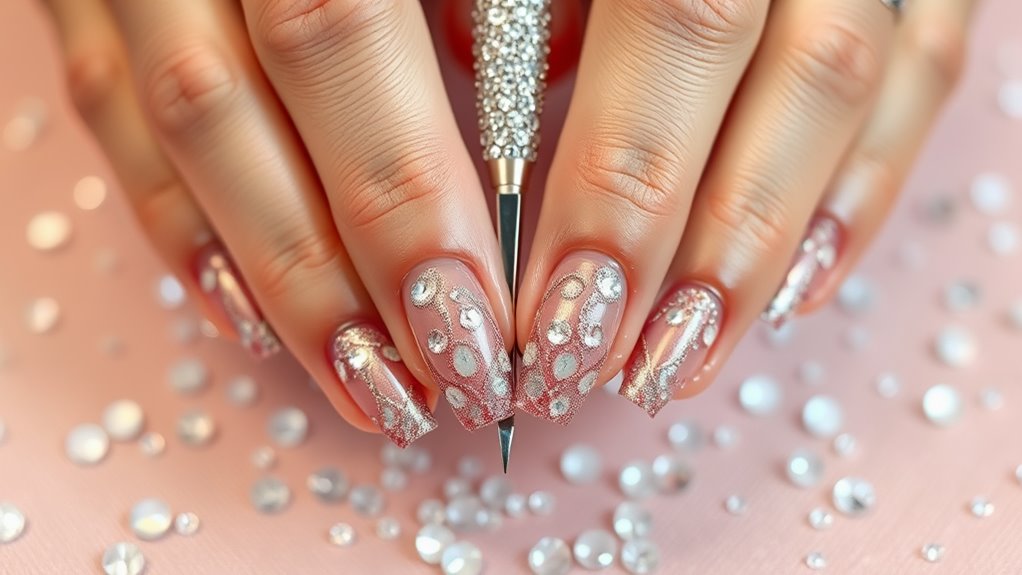
Before diving into your stunning rhinestone nail designs, you’ll want to make sure your nails are prepped and primed for the best results. Start by removing any old polish. You don’t want those leftover colors crashing your rhinestone party! Use a gentle nail polish remover to wipe everything away.
Next, trim and shape your nails. Whether you prefer square, round, or almond shapes, give your nails a nice clean look. Don’t forget to file the edges to avoid any snagging later.
Once your nails are shaped, it’s time to buff them. Buffing helps create a smooth surface, which is super important for your rhinestones to stick well.
Now, wash your hands to remove any dust or debris. After that, apply a base coat. This not only protects your natural nails but also gives your rhinestones a better surface to cling to.
Finally, let that base coat dry completely. Remember, patience is key; don’t rush it!
With your nails prepped and ready, you’re all set to start adding those fabulous rhinestones. Get ready to sparkle!
Choosing the Right Rhinestones
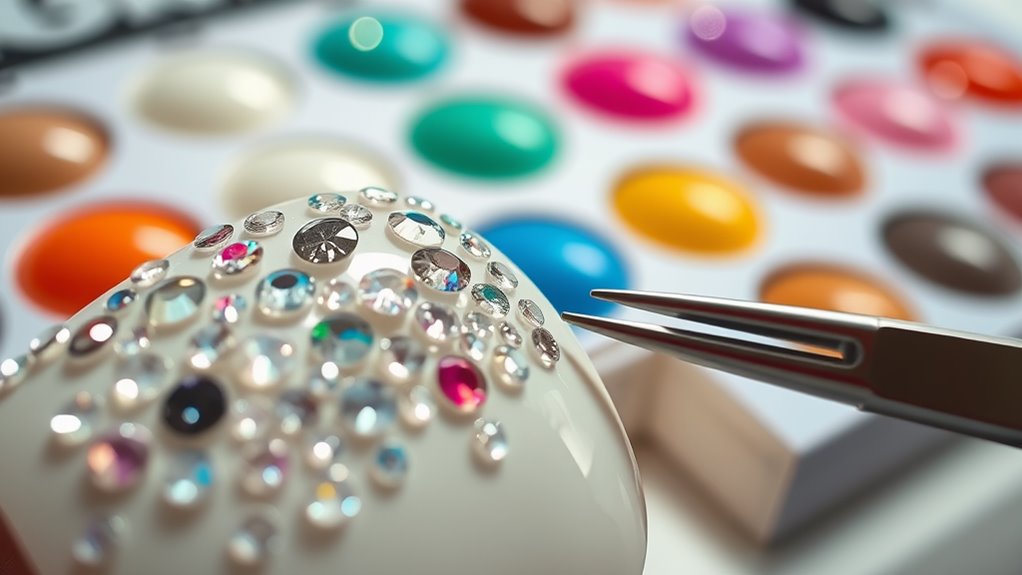
Choosing the right rhinestones can make all the difference in your nail design. With so many options out there, it might feel a bit overwhelming. But don’t worry, I’ve got your back!
First, think about the size of the rhinestones. Tiny ones can create a delicate look, while larger stones are more eye-catching. You’ll want to mix and match sizes for a fun effect.
Next up, consider the colors. Clear rhinestones are classic and go with everything, but colored ones can really make your nails pop! If you’re feeling adventurous, try different shades that match your outfit or mood.
Don’t forget about the shape! Round stones are super popular, but you can also find heart, star, or even flower shapes. These unique designs can add a playful touch to your nails.
Lastly, think about the quality. Higher-quality rhinestones shine brighter and last longer, so invest a little more if you can. You want your nails to sparkle like a disco ball, right?
Now that you know what to look for, you’re ready to choose the perfect rhinestones for your stunning nail design!
Nail Design Techniques
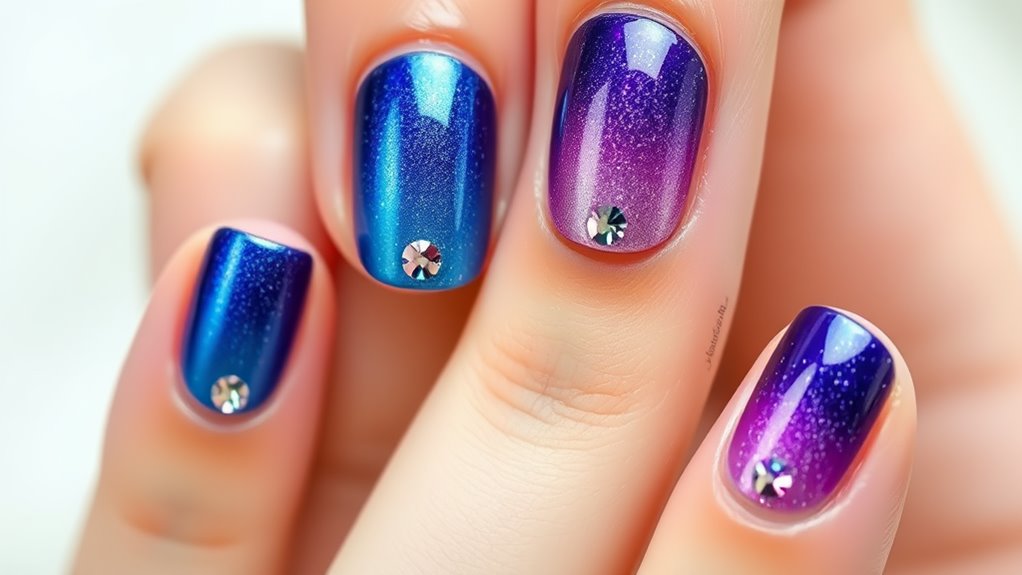
Once you’ve picked the perfect rhinestones, it’s time to explore some nail design techniques that will showcase your selection.
You can start by creating a gradient effect, where you blend different colors of polish. This makes the rhinestones pop like a firework! Just imagine those sparkly gems shining against a colorful background.
Another fun technique is the half-moon design. Paint your nails with a solid color, then leave the tips bare or paint them a different shade. Place rhinestones along the curve of the moon shape for a classy look. It’s like giving your nails a fancy little crown!
If you’re feeling adventurous, try the ombre technique. You can mix two or more colors together and place rhinestones on the tips or the base. This creates a stunning visual effect that will surely grab attention.
Lastly, think about symmetry. Placing rhinestones in a pattern, like stripes or dots, can create a balanced look that’s pleasing to the eye.
Application Methods
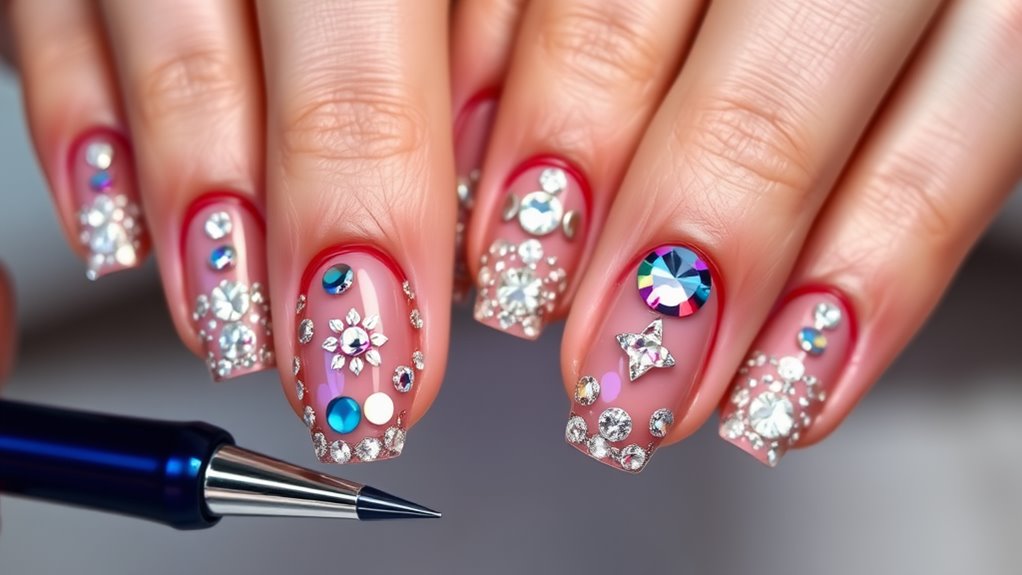
When it comes to applying rhinestones to your nails, having the right tools and techniques makes all the difference. First, gather your essentials. You’ll need a dotting tool, a pair of tweezers, rhinestone glue, and, of course, your fabulous rhinestones! It’s like preparing for a treasure hunt, and you’re the explorer.
Start by painting your nails with your favorite polish and let it dry completely. Once dry, apply a small dot of rhinestone glue where you want to place each stone. This glue is super important because you don’t want your bling to go missing after a day of fun.
Using the tweezers, gently pick up a rhinestone and place it on the glue. Don’t worry if you mess up; just reposition it before the glue dries.
For extra sparkle, try mixing different sizes and colors of rhinestones! Just remember, too many can be overwhelming—like a glitter explosion.
Once you’re done, let everything dry completely. Now, you’re ready to show off your stunning rhinestone nails! Just be prepared for compliments, because everyone will want to know your secret!
Creative Design Ideas
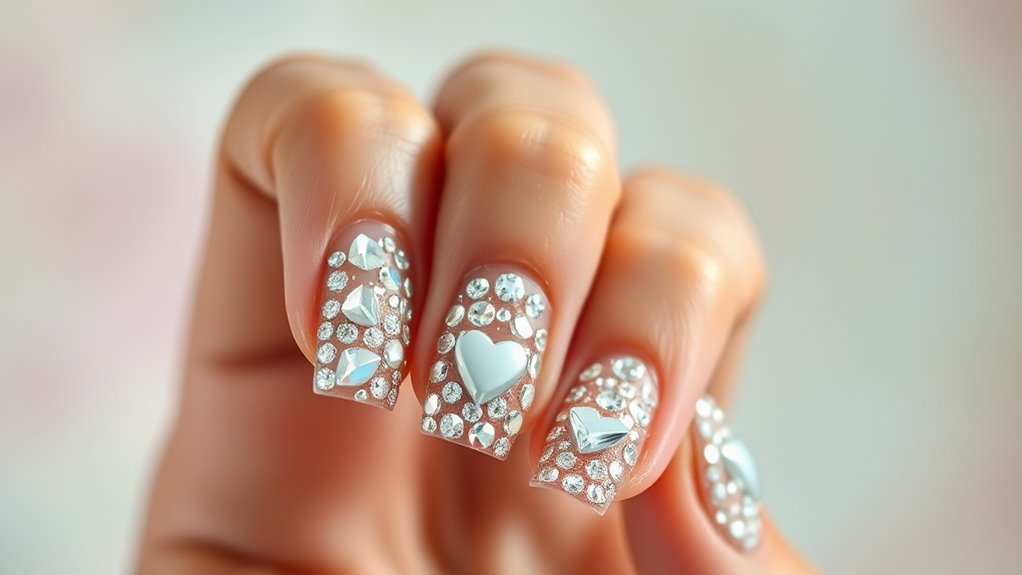
After mastering the application methods, it’s time to release your creativity with rhinestone designs that truly stand out.
Let’s explore some fun ideas that’ll make your nails sparkle like stars! First, think about a gradient effect. You can use smaller rhinestones at the cuticle and larger ones toward the tip for a beautiful change. It’s like a party for your fingertips!
Next, try creating shapes! You could arrange rhinestones in hearts, stars, or even flowers. Just imagine showing off a heart design on Valentine’s Day—it’ll totally impress your friends!
If you’re feeling adventurous, mix colors. A rainbow rhinestone design can brighten up any outfit and add a playful touch.
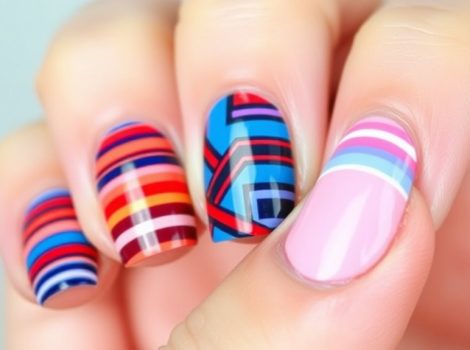
Don’t forget about patterns! You can create stripes, polka dots, or even chevron designs using different sizes and colors of rhinestones. The key is to let your personality shine through.
Lastly, remember to think about the occasion. For a fancy dinner, go for classic colors like gold or silver. For a casual day out, bright and bold colors will do the trick.
Have fun, and let your nails tell your unique story!
Tips for Long-lasting Results
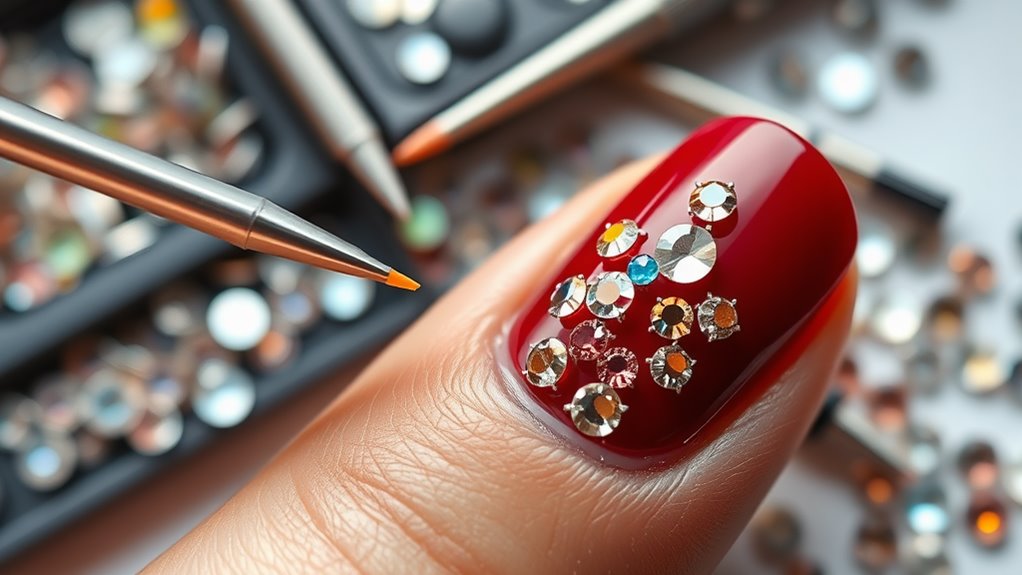
To guarantee your stunning rhinestone nail designs last, start with a strong foundation.
Begin by prepping your nails properly. Clean them well, remove any old polish, and gently buff the surface. This helps the base coat stick better, which is essential for a long-lasting finish. Speaking of which, don’t skip the base coat! It’s like a superhero cape for your nails, protecting them from damage and giving your rhinestones something to cling to.
Next, when you’re applying the rhinestones, use nail glue or a strong top coat to secure them. Don’t just plop them down and hope for the best; make sure they’re pressed firmly into the glue.
Also, avoid using too many rhinestones in one design. While it’s tempting to go all out, too many can lead to them losing their grip and falling off.
Lastly, finish with a good-quality top coat. This seals everything in and gives your nails that extra shine.
Just remember, patience is key! Allow each layer to fully dry before moving on. With these tips, you’ll keep your dazzling nail art looking fabulous for longer. Happy decorating!
Troubleshooting Common Issues
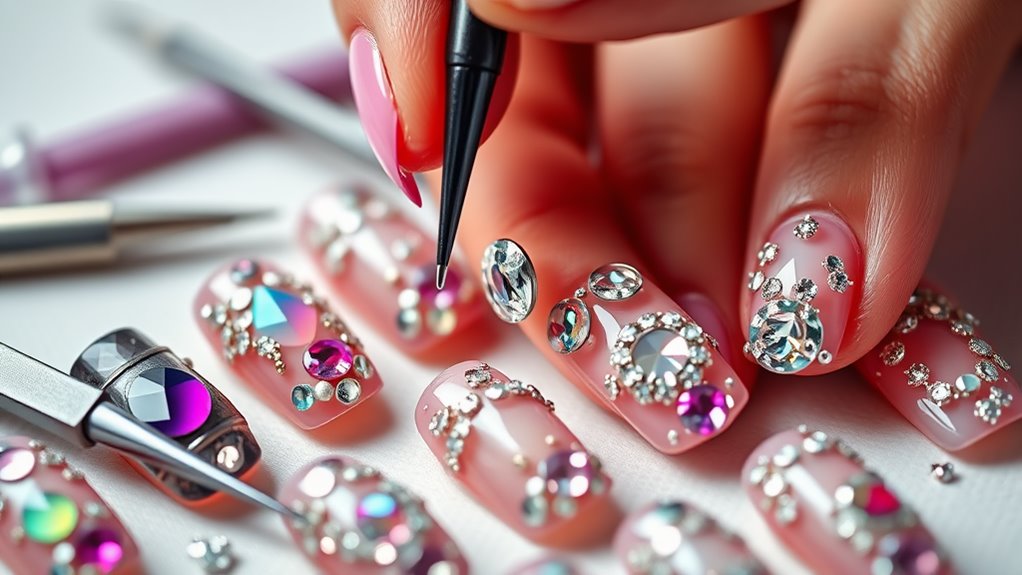
Many nail enthusiasts encounter common issues while applying rhinestone designs, but most can be easily resolved with a little know-how.
One typical problem is the rhinestones not sticking properly. If that happens, check your nail surface. It should be clean and dry. You might want to apply a top coat before adding the rhinestones to give them a better grip.
Another issue is losing rhinestones too soon. If your design starts to look like a game of missing pieces, it could be due to not using enough adhesive. Make sure you’re using a strong nail glue or gel that can hold those gems in place.
Also, avoid using too much pressure while doing everyday tasks—those blingy beauties need a little TLC!
Sometimes, you might notice the rhinestones looking dull after a few days. To prevent this, try to avoid harsh chemicals and always apply a top coat around the stones, not directly on them.
And remember, practice makes perfect! Don’t get discouraged—each design is a chance to learn and shine.
With these tips, you’ll be well on your way to creating stunning rhinestone nail art that lasts!
Seasonal and Themed Inspirations
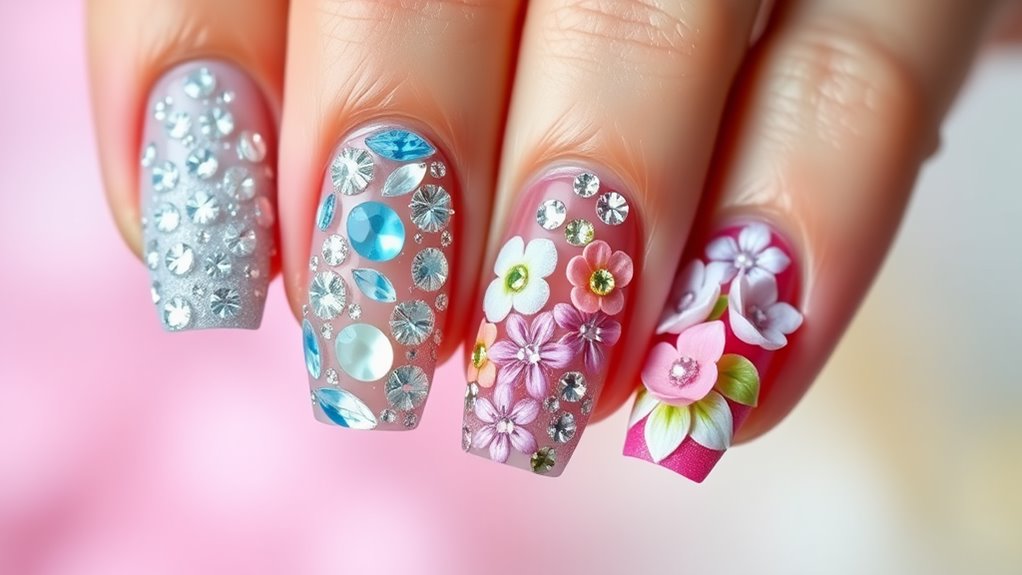
Creating stunning rhinestone nail art becomes even more exciting when you incorporate seasonal themes. Think about what each season brings!
For spring, pastel colors like soft pinks and greens can be adorned with tiny floral rhinestones. It’s like carrying a garden on your fingertips!
When summer rolls around, vibrant colors like sunny yellows or ocean blues can shine bright. Add a few starfish or beach-themed rhinestones, and you’ve got a vacation on your nails!
As the leaves change in fall, warm hues of orange, red, and brown can be complemented by gold or bronze rhinestones. Picture little pumpkins or acorns sparkling on your nails!
Winter is a magical time, perfect for icy blues and whites. You can create a frosty look with clear rhinestones, mimicking snowflakes. Throw in some silver or gold to add a touch of glam!
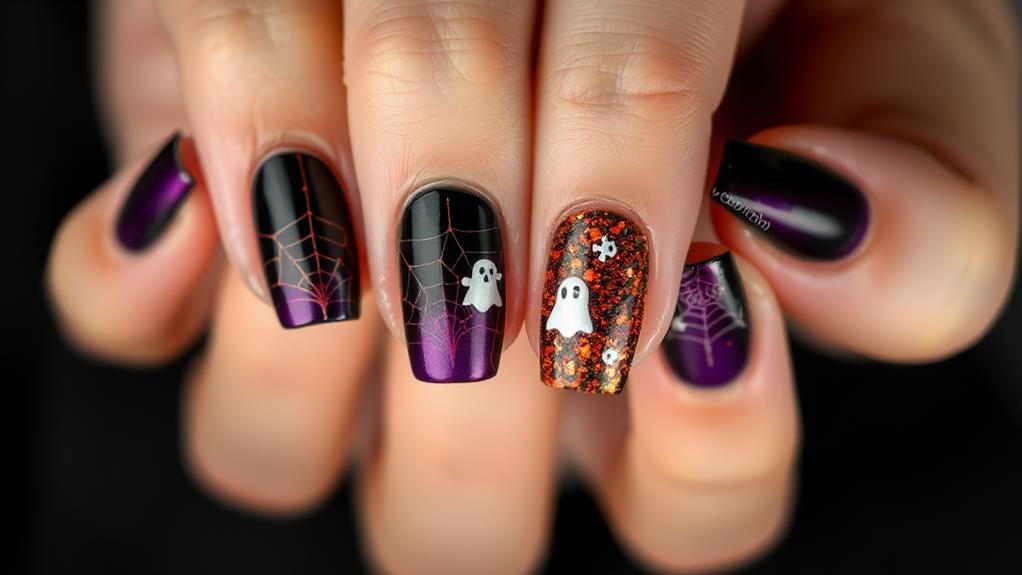
Don’t forget about holidays! Halloween can bring spooky designs with black and orange rhinestones, while Christmas can shine with red, green, and even some glitter.
Caring for Your Nail Art
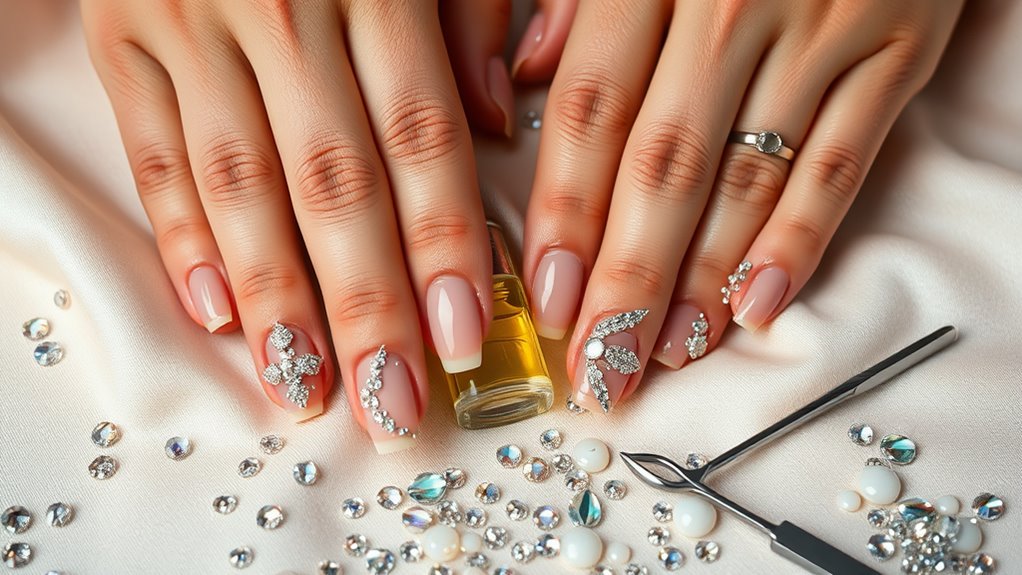
Caring for your rhinestone nail art is essential to keep it looking fabulous and lasting longer. First, avoid soaking your nails in water for long periods. Soaking can weaken the adhesive, making those sparkly gems pop off. Instead, try to keep your hands dry when washing dishes or taking a bath. If you need to scrub something, use gloves to protect your nails.
Next, be gentle when you’re doing everyday tasks. Activities like typing or opening cans can snag your rhinestones and damage your art. It’s like being a superhero— you’ve got to protect your mani!
When it comes to cleaning, opt for a soft cloth to wipe your nails, avoiding harsh chemicals that can dull the shine. If you notice a rhinestone loosening, don’t panic! A tiny dab of clear nail glue can save the day.
Lastly, consider scheduling a touch-up every few weeks. This way, your nails stay fresh and stunning. Remember, you’ve put in the effort to create this dazzling look, so give it the love it deserves.
With a little care, your rhinestone nail art can sparkle like stars for weeks!
Conclusion
Now that you know how to create stunning rhinestone nail designs, it’s time to let your creativity shine! Remember, practice makes perfect, so don’t be afraid to experiment. Whether you’re going for a sparkly look for a party or just want to add a little bling to your everyday nails, you’ve got this! With the right tools and techniques, your nails will be the talk of the town. Have fun, and happy decorating!


