Unique Striped Nail Designs With Negative Space
If you want unique striped nail designs with negative space, you’re in for a treat! Negative space means leaving parts of your nails bare, creating a cool contrast with stripes. You can use tape to make straight lines or get creative with shapes like zig-zags and waves. Try mixing soft pastels with bold colors for a fun look. Remember, keeping your stripes thin makes it easier and chic! And don’t forget to finish with a top coat to keep your art shiny and fresh. There’s so much more to explore, so get ready for some nail art magic!
Understanding Negative Space Techniques
Negative space techniques in nail art can transform a simple design into a striking masterpiece. You might wonder, what’s negative space? It’s when you leave parts of your nail bare, letting the natural color shine through. This creates cool contrasts and makes your designs pop. Imagine a bright blue polish with a heart shape left unpainted—it’s eye-catching, right?
To get started, pick a base color you love. Then, use tape or nail art brushes to create shapes or lines on your nails. You can go for triangles, waves, or even zig-zags! The key is to think creatively about which areas you want to showcase and which ones you want to paint.
Don’t be afraid to experiment! If you mess up, just remove the polish and try again. You’ll find that negative space allows your nails to breathe and stand out without being overly complicated.
Plus, it’s a fun way to express your personality. So grab your nail polish, and let your imagination run wild. You’ll soon be rocking those unique designs that’ll have everyone asking, “How’d you do that?”
Happy painting!
Classic Striped Nail Ideas
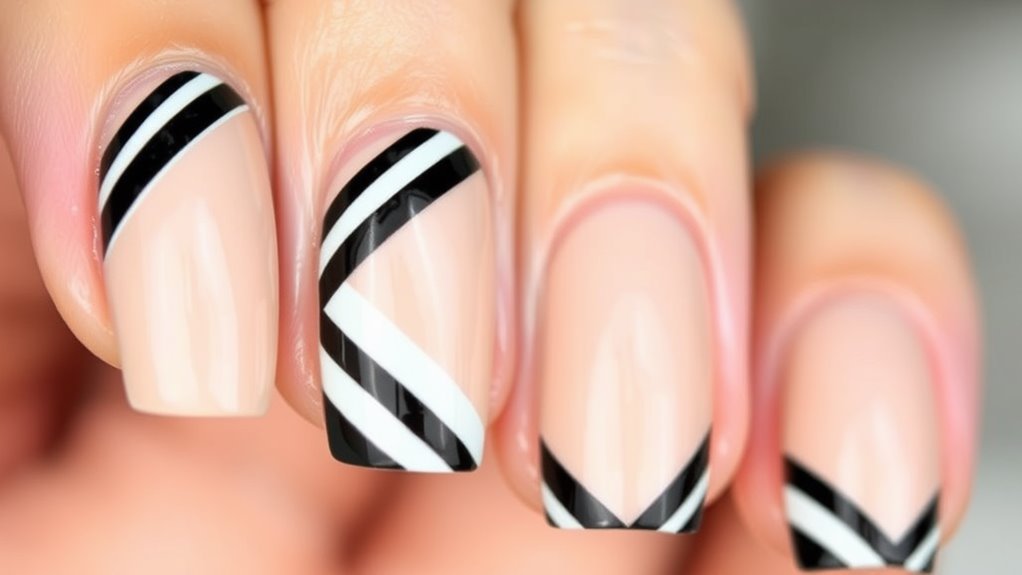
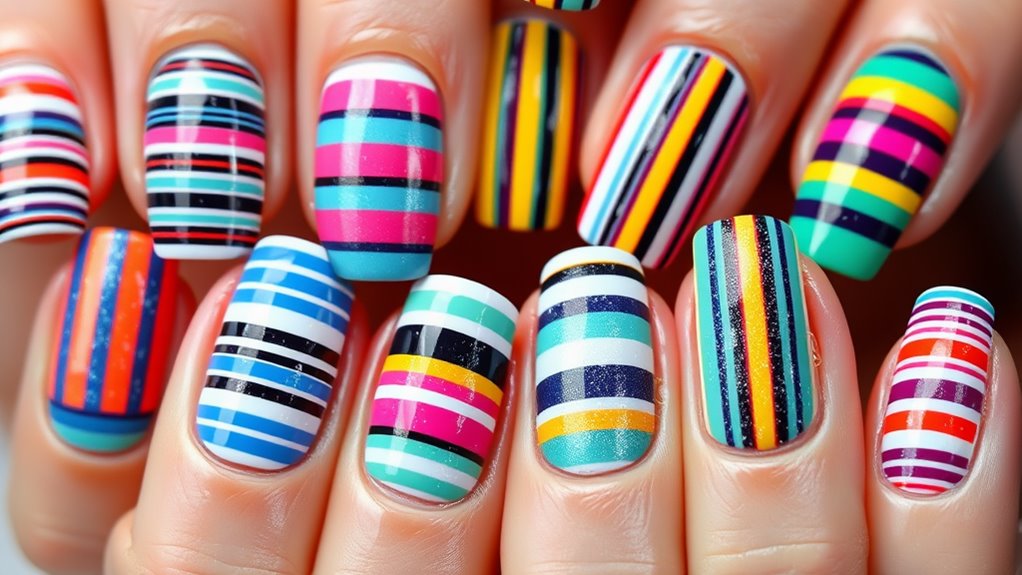
When you’re looking to add a timeless touch to your nails, classic striped designs are a perfect choice. These stripes can be simple and elegant, making them suitable for any occasion. You can choose between vertical and horizontal stripes, depending on the look you want to achieve. Vertical stripes can create an elongated appearance, while horizontal stripes can add a bit of width.
One fun idea is to mix two colors that you love. Maybe a classic white and a soft pastel? The contrast can make your nails pop! You can also try thin and thick stripes. Thin stripes give a delicate look, while thick stripes are bold and eye-catching.
If you’re feeling adventurous, consider alternating the colors for each nail. This way, each finger tells a little story of its own!
Don’t forget to finish with a top coat to make your design shine and last longer.
Classic striped nails are a great way to express yourself while keeping things stylish. So, grab your favorite nail polish, and let your creativity flow! You’ll love how classic stripes can transform your nails into a chic masterpiece.
Bold Color Combinations
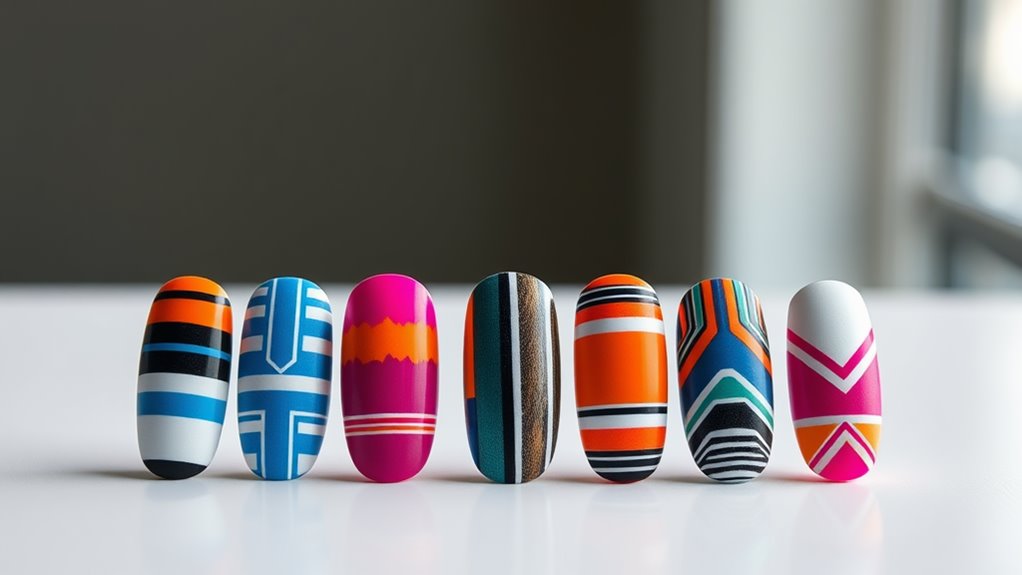
Bold color combinations can instantly elevate your striped nail designs and make a striking statement. Imagine your nails dressed in bright pink and electric blue stripes, or maybe neon green with bold black. The right colors can turn your nails from simple to sensational! You can mix and match vibrant hues to create a fun look that reflects your personality.
Don’t be afraid to experiment! Try pairing warm colors like orange and yellow with cooler shades like turquoise. You’ll be amazed at how these contrasting colors pop against each other.
If you want to go extra bold, consider using metallic shades alongside sharp colors. A shiny gold stripe with a deep purple base can create a nail design that’s truly eye-catching.
When you’re choosing your colors, think about what mood you want to express. Bright colors can feel cheerful and lively, while darker shades might give a more mysterious vibe.
Whatever you choose, just remember: nail art is all about having fun! So grab your favorite polishes, get creative, and let your nails be the talk of the town! You’ve got this!
Minimalist Striped Designs
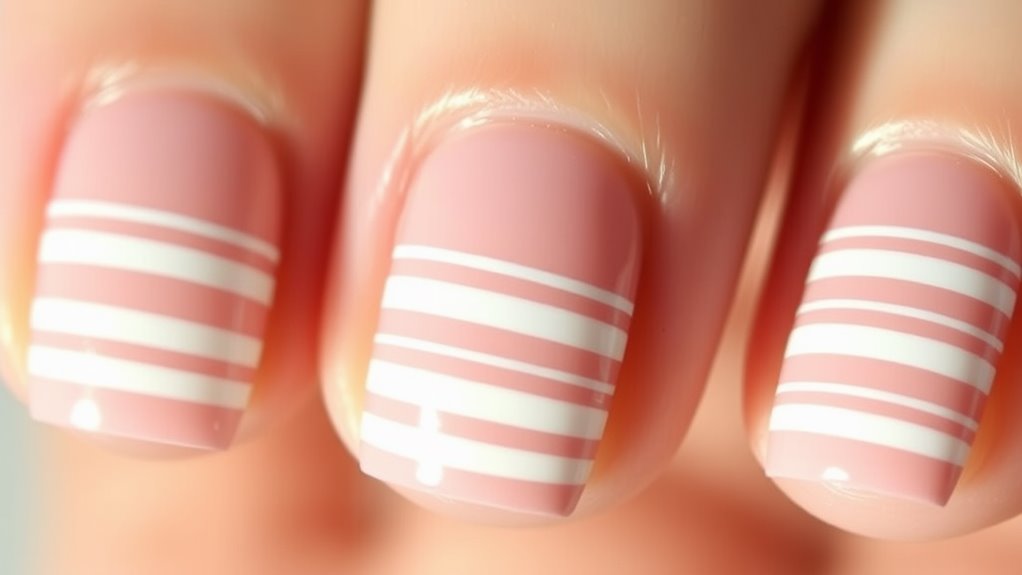
For those who appreciate the beauty of simplicity, minimalist striped designs offer a chic and understated way to showcase your nails. These designs focus on clean lines and subtle colors, making them perfect for everyday wear. You can start with a clear base coat to let your natural nails shine.
Then, choose a soft pastel or neutral color for the stripes. Using a thin brush or nail tape, create delicate stripes across your nails. You might go for just one or two stripes on each nail, keeping it light and airy. This design works great for both short and long nails.
The beauty of minimalist stripes is that they’re super versatile. You can wear them to school, work, or even a fun night out. Plus, they’re easy to match with any outfit!
If you want to add a playful twist, try mixing different widths of stripes. It’ll give your nails a bit more character without overwhelming the simplicity. Remember, less is more, and your nails will look effortlessly stylish.
Geometric Patterns With Stripes
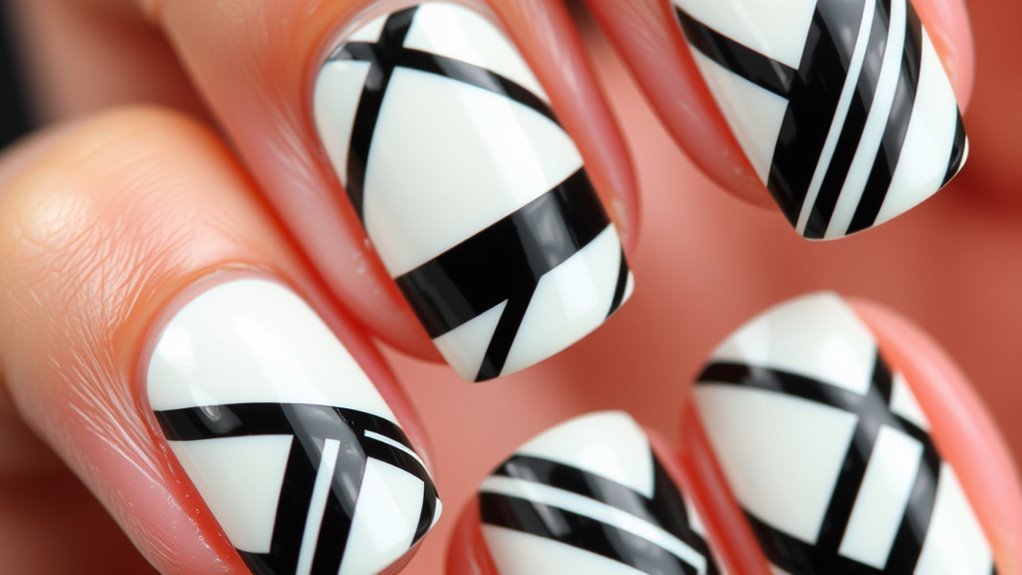
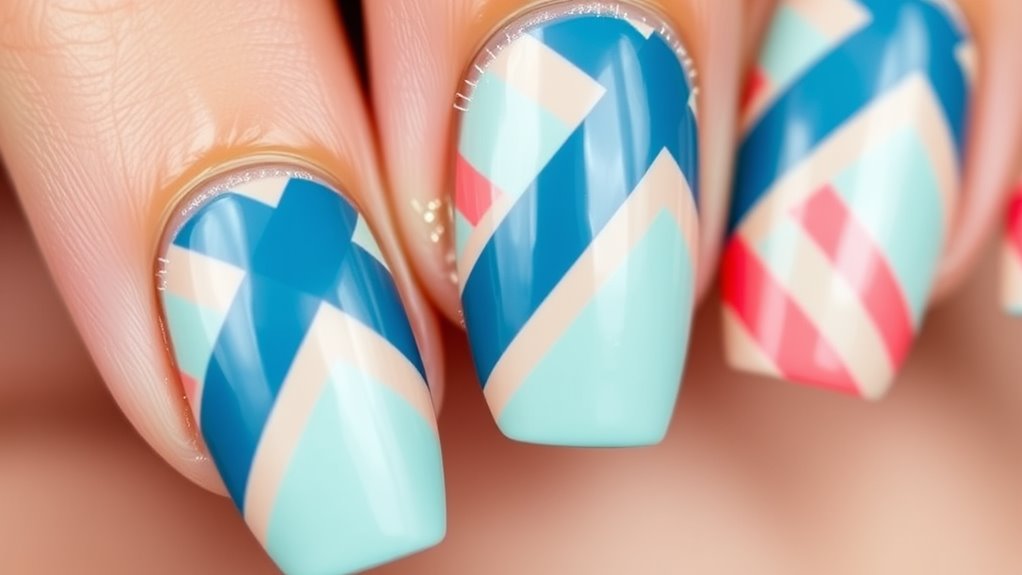
Often, geometric patterns featuring stripes can elevate your nail art game to a whole new level. Imagine your nails adorned with bold triangles and stripes that create a stunning visual experience. You can mix and match colors to create an eye-catching design that reflects your personality.
Stripes can be straight, zig-zagged, or even curved, giving you endless options to play with. To start, choose a base color you love. Once that’s dry, grab some tape or a nail art brush. You can tape off sections to create clean lines or use a brush for freehand designs.
Experiment with different widths of stripes; thick stripes can make a powerful statement, while thin ones might give a more delicate look. Don’t forget to incorporate negative space! Leaving parts of your nail bare can add a trendy twist to your geometric patterns.
Plus, it makes your design feel modern and fresh. Remember, practice makes perfect, so don’t be discouraged if your first attempt isn’t exactly what you envisioned. Nail art is all about having fun, so get creative, let your imagination run wild, and enjoy the process!
Seasonal Striped Nail Inspirations
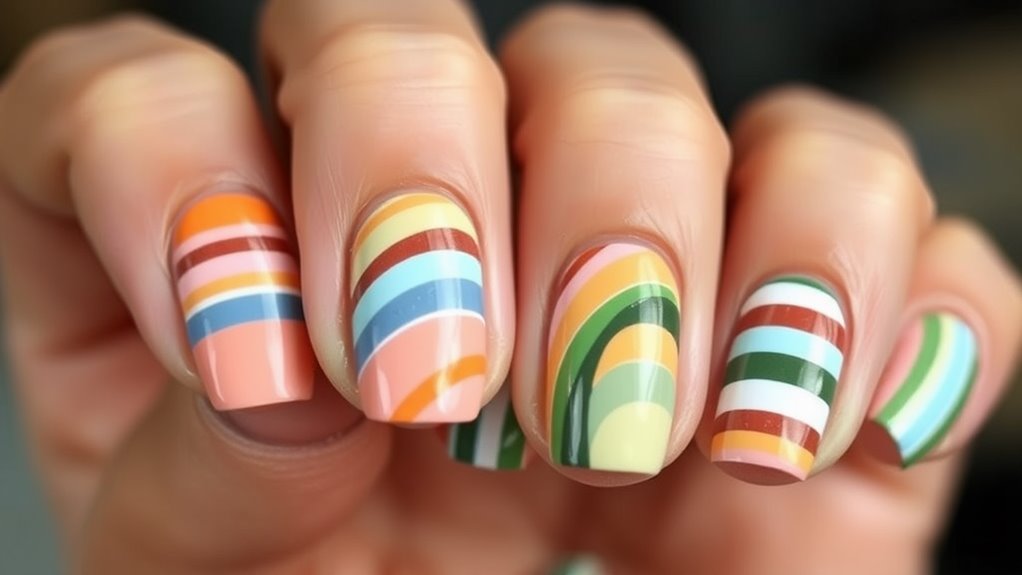
Seasonal striped nail designs can add a festive touch to your look, no matter the time of year. Think of bold, bright colors that match the season!
In spring, try soft pastels like light pink and mint green, creating stripes that look like blooming flowers. Summer is perfect for vibrant shades like sunny yellows and ocean blues. You can even add some white stripes for a beachy vibe!
When autumn rolls around, go for warm tones like deep oranges and rich browns. Mixing in gold or copper stripes can really make your nails shine like fall leaves.
And for winter, icy blues and frosty whites can give you that chilly, magical feel. You might even want to add some silver stripes to mimic twinkling snowflakes!
Don’t forget to switch up the stripe styles, too! You can go for thick stripes, thin lines, or even zigzag patterns.
No matter what, be bold and have fun with it! Seasonal striped nails are a great way to express your creativity. So grab those nail polishes, and let your nails be the star of the season!
Tools for Creating Striped Nails
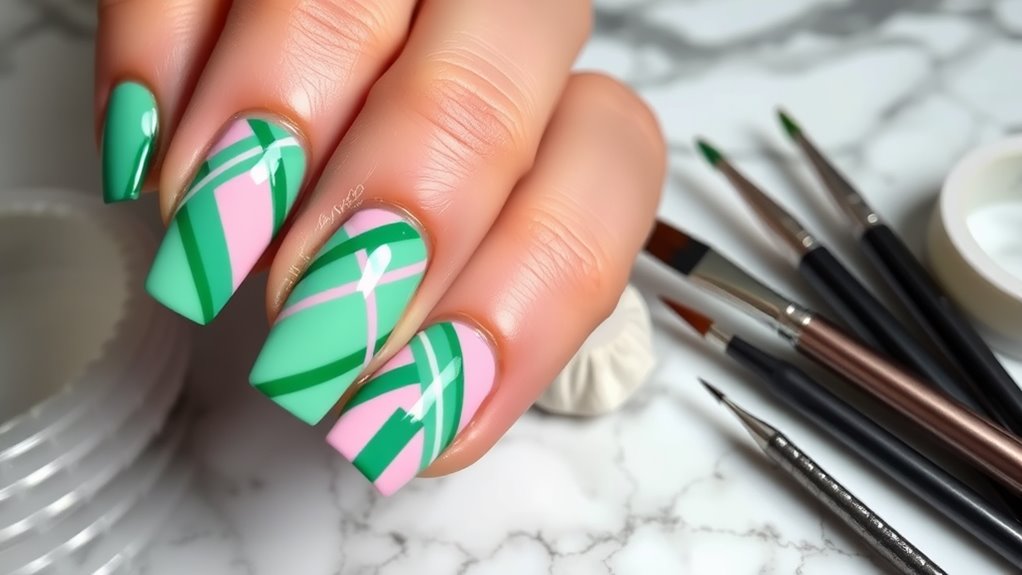
Creating stunning striped nails requires the right tools to achieve that perfect look. Don’t worry, you won’t need a toolbox filled with hammers and wrenches!
First, grab some good-quality nail polish in your favorite colors. You’ll want a base coat to protect your nails, and top coats for that glossy finish.
Next, a striping brush is your best friend. It’s thin and helps you paint those lovely stripes with ease. If you don’t have one, a toothpick or a fine-tipped nail art pen can work too!
You’ll also want some tape. It’s a lifesaver for creating clean lines. Just place the tape where you don’t want polish, paint over it, and peel it off once it’s dry. Voila! Perfect stripes!
Lastly, don’t forget a quick-dry spray or drops. They’ll save you from smudging your masterpiece while you’re trying to grab a snack—because we all know that’s a real danger.
Tips for Long-Lasting Manicures
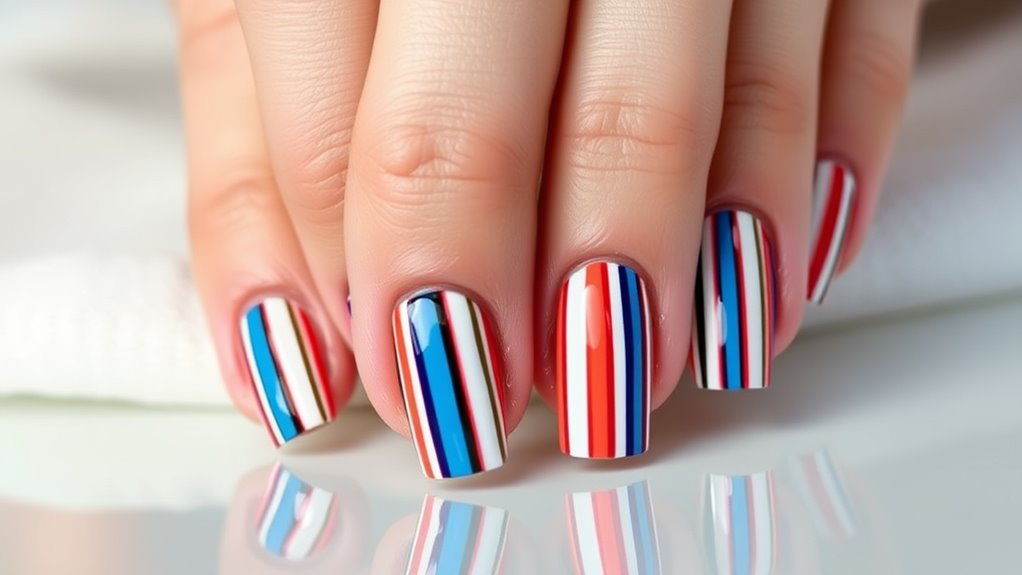
Want your manicures to last longer and look fabulous? You can totally make that happen with a few simple tips!
First, always start with clean, dry nails. Remove any old polish and wash your hands. Next, apply a base coat. This helps your polish stick better and prevents staining. Think of it as a cozy blanket for your nails!
When you choose your polish, go for quality. Cheaper polishes might look good, but they won’t last as long. Apply thin layers instead of one thick coat. It might take a bit longer, but it’ll dry faster and look smoother.
Don’t forget to seal everything with a top coat; it’s like giving your nails a shiny shield!
And here’s a fun tip: avoid using your nails as tools. Opening cans or scratching things can lead to chipping. Keep your nails out of harm’s way!
Finally, give your polish a quick refresh with another layer of top coat every few days. This will keep your nails looking fresh and fabulous!
With these tips, your manicures will be the talk of the town, or at least the nail salon! Happy painting!
Conclusion
Now that you know all about unique striped nail designs with negative space, it’s time to get creative! Whether you choose classic styles or bold colors, there’s something for everyone. Mixing in geometric patterns or seasonal vibes can make your nails truly pop. Don’t forget the right tools and tips for a long-lasting look! So grab your polish and let your imagination run wild—your nails are ready to be the life of the party!

