Geometric Minimalist Nail Designs to Try
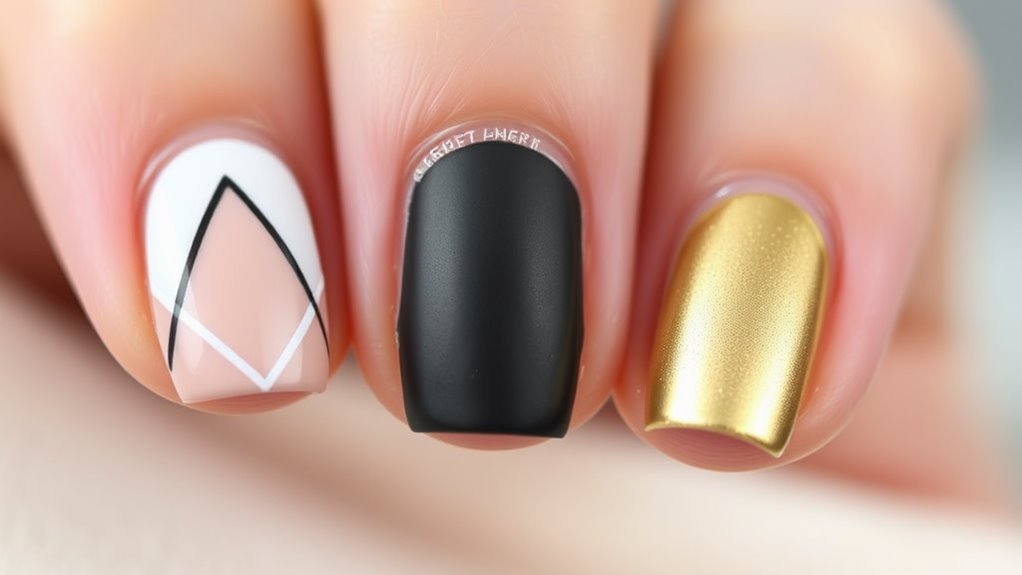
If you’re looking to add some flair to your nails, geometric minimalist designs are perfect! You can try classic triangle patterns or fun striped designs with bright colors. Use some painter’s tape to create sharp angles, or even combine dots and lines for a cool look. Start by gathering your nail supplies, like fine brushes and a base coat. Remember to let your nails dry completely between layers. These designs are not only chic but also super fun to create! Stick around, and you’ll discover even more tips and tricks to make your nails stand out!
Understanding Geometric Minimalism
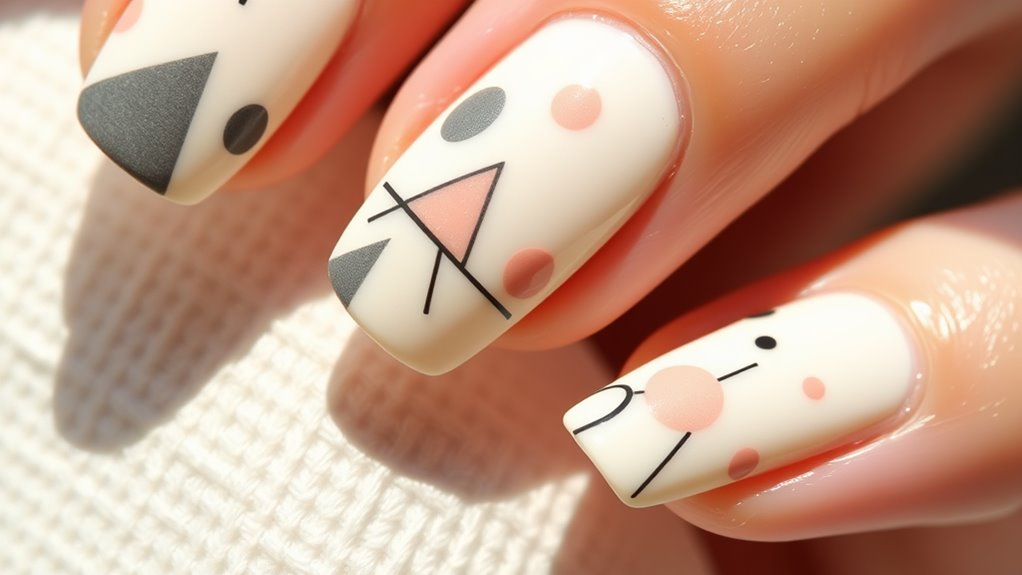
Geometric minimalism is all about simplicity and precision, focusing on clean lines and basic shapes. Think of it like creating art with just a few colors and forms.
When you look at geometric minimalist nail designs, you’ll notice they often use triangles, squares, and circles, which come together to create a stunning effect. It’s like playing with building blocks, but on your nails!
You don’t need a million colors or complicated patterns to make a statement. In fact, the beauty of geometric minimalism lies in its ability to showcase how less can be more.
Essential Tools and Materials
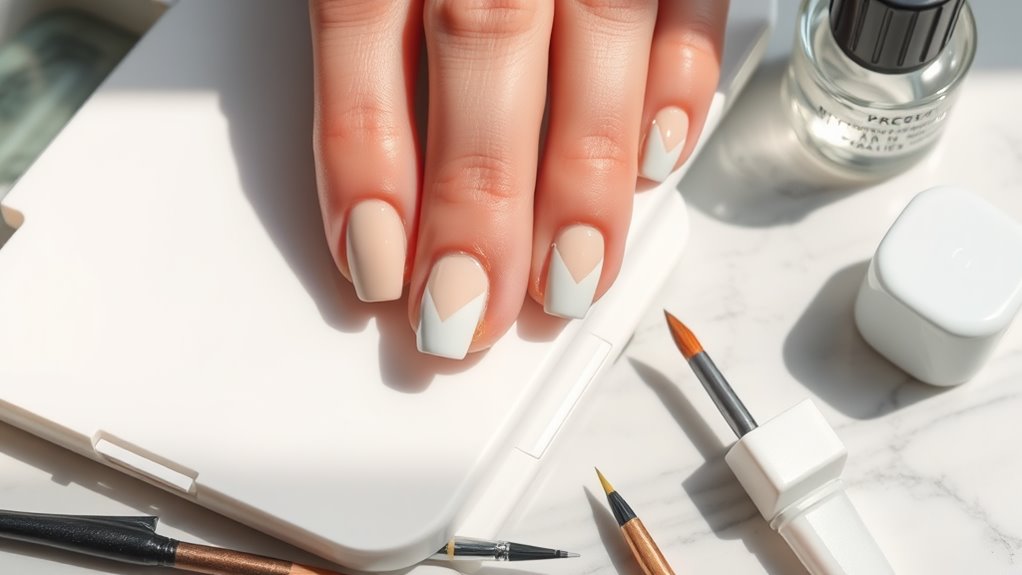
To create stunning geometric minimalist nail designs, you’ll need a few essential tools and materials to guarantee precision and ease. First up, grab a good quality nail polish in your favorite colors. You can’t go wrong with a classic white or soft pastel for that clean look!
Next, you’ll want some fine nail art brushes. These little wonders help you create those sharp lines and shapes that make your design pop. Don’t forget about striping tape! This nifty tool helps you achieve straight edges and perfect angles.
You can also use a dotting tool to add tiny dots or details that bring your design together. A base coat and top coat are must-haves, too; they help protect your nails and keep your art looking fresh longer.
Lastly, make sure you have some cotton swabs and nail polish remover handy for any little mistakes—you know, just in case! With these tools ready, you’ll be all set to release your creativity.
Top Geometric Nail Designs
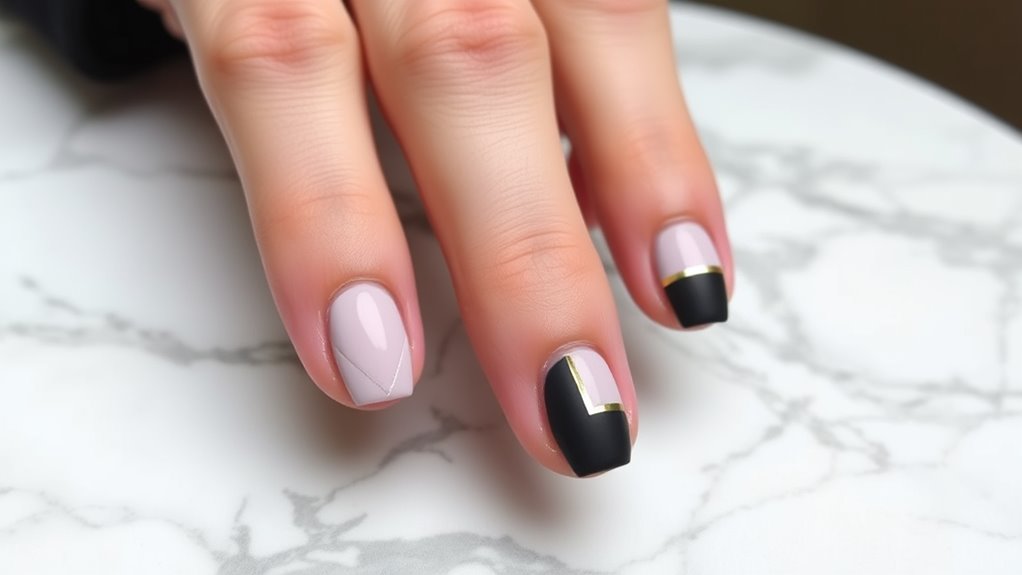
Once you’ve gathered your tools and materials, it’s time to explore some top geometric nail designs that will elevate your manicure game.
You’ll love how easy it’s to express your creativity with these fun ideas.
First up, try the classic triangle design. Paint one nail a solid color and then use tape to create a triangle shape. Fill it in with a contrasting shade, and voilà! You’ve got a chic look.
Next, consider the striped design. Use a thin brush to paint vertical or horizontal lines across your nails. Mix and match colors for a playful twist.
If you’re feeling daring, how about a polka dot and line combo? Dot your nails with a bobby pin for perfect circles, then add lines to create a fun geometric pattern.
Step-by-Step Application Guide
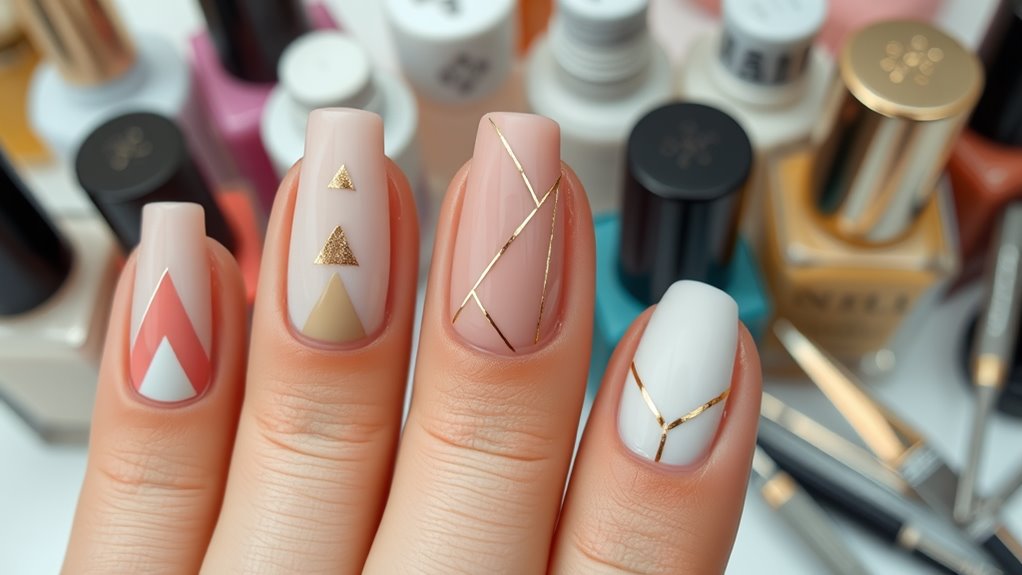
Creating stunning geometric nail designs starts with a solid foundation. First, gather your supplies: nail polish in your favorite colors, a base coat, top coat, and some painter’s tape or nail striping tape. Trust me, you’ll want these tools handy!
Begin by applying a base coat to protect your nails. Let it dry completely—patience is key here!
Next, paint your nails with a solid color as your background. Choose a light color for a fresh look or a dark one for some drama. Once that’s dry, it’s time for the fun part!
Use painter’s tape to create geometric shapes. Stick the tape on your nails to form triangles, stripes, or whatever design you fancy.
Now, paint over the exposed parts with a contrasting color. After a few moments, carefully peel off the tape to reveal your masterpiece.
Tips for Long-Lasting Results
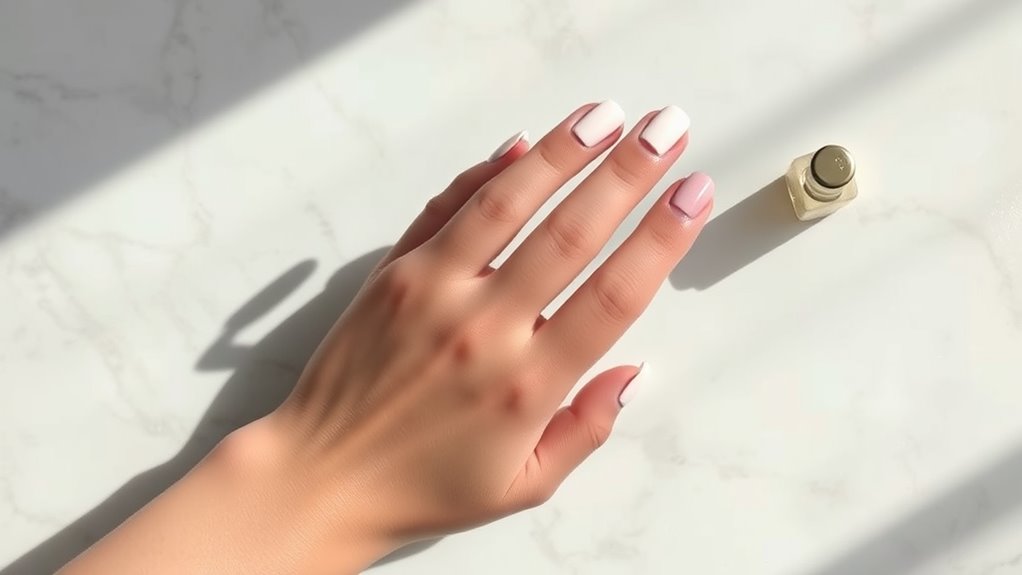
Your nail design deserves to last, and there are several tips to guarantee it stays vibrant and chip-free for days.
First, always start with a clean slate. Make sure your nails are free from oils and dirt. A quick wipe with nail polish remover can do wonders!
Next, apply a base coat. This not only helps the polish stick, but it also protects your nails from stains.
When you paint your design, use thin layers of polish. It might take a bit longer, but trust me, it’ll dry faster and look smoother.
Don’t forget to seal everything with a top coat. This magical layer adds shine and keeps your design safe from chips.
Also, give your nails some time to dry completely. You might be tempted to do things right away, but patience is key!
To keep your nails looking fresh, try avoiding harsh chemicals and wear gloves when doing chores.
And remember, if you notice any chips, don’t panic! A quick touch-up can save the day.
Follow these tips, and you’ll rock those geometric minimalist nails for longer than ever!
Conclusion
Now that you’ve got the scoop on geometric minimalist nail designs, it’s time to get creative! Grab your tools, pick a design that speaks to you, and let your imagination run wild. Remember, practice makes perfect, so don’t worry if it doesn’t turn out just right the first time. Have fun with it, and soon you’ll be showing off your stylish nails to everyone! Happy painting, and may your nails be as cool as you are!
